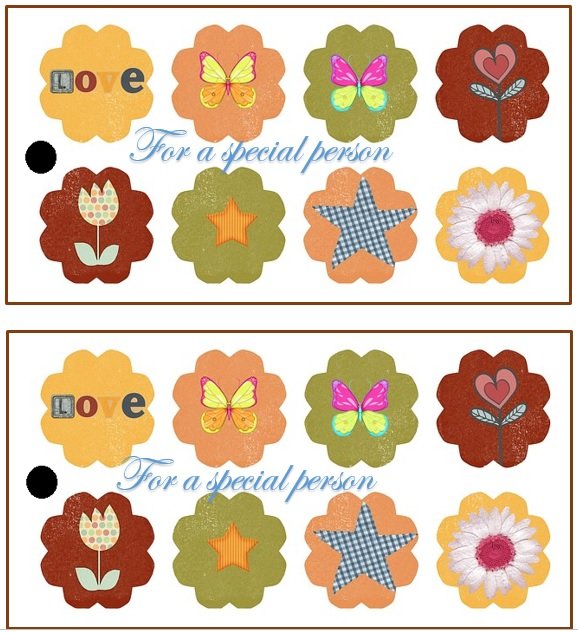
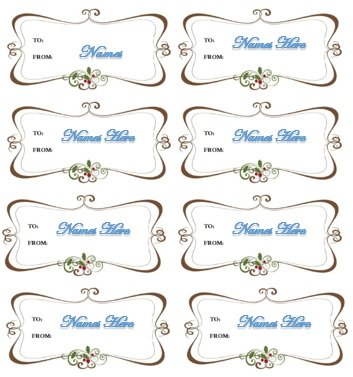
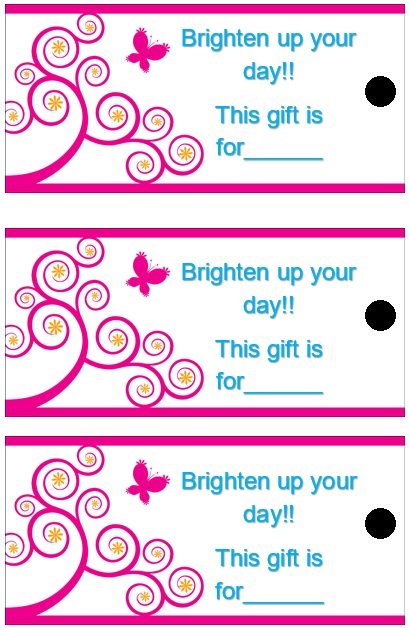
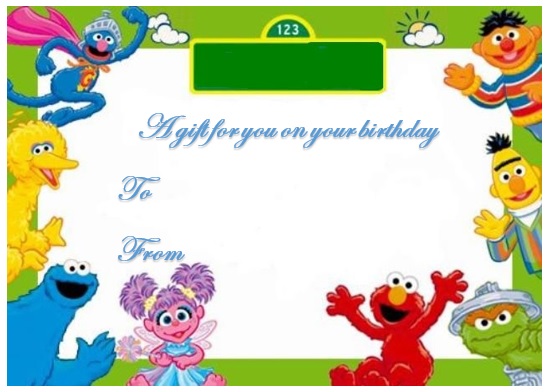
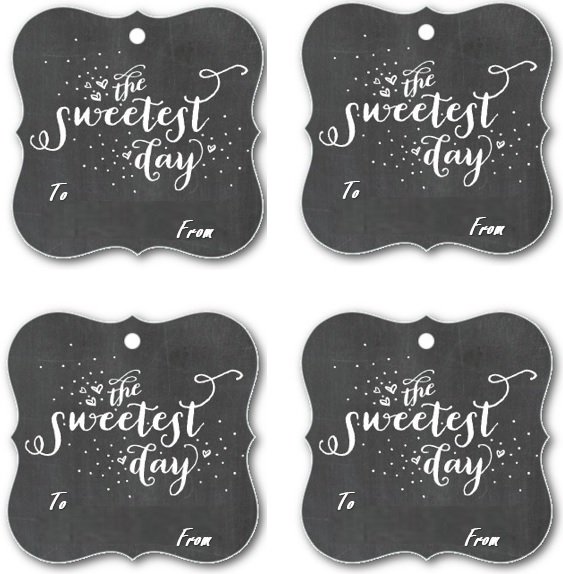
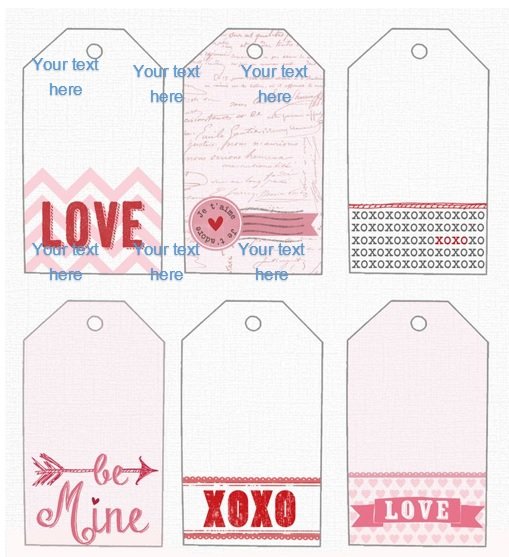
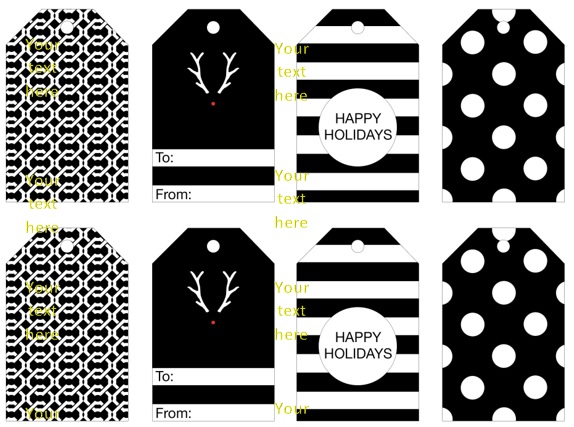
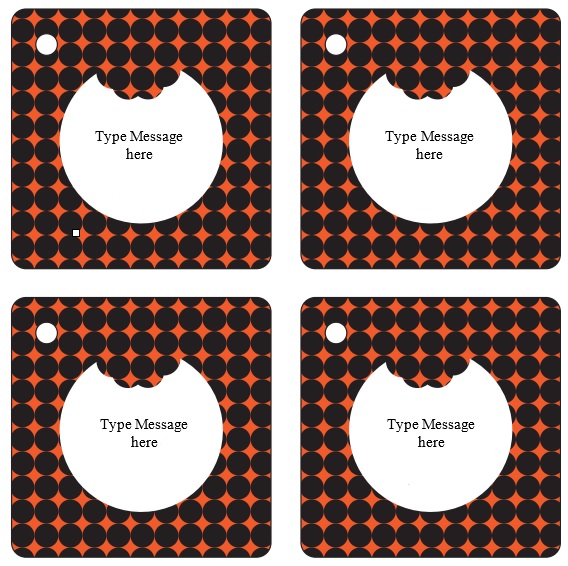
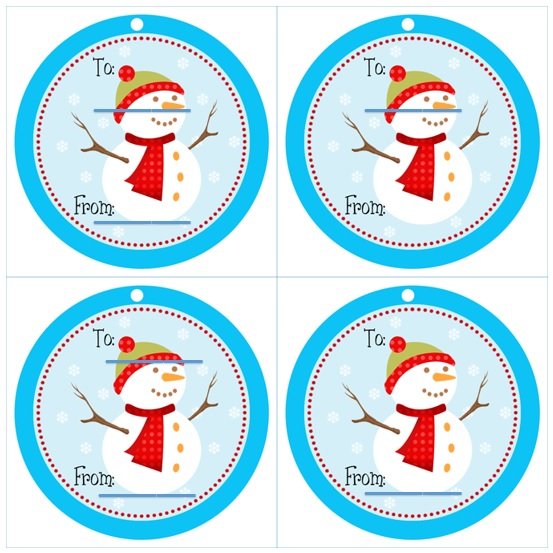
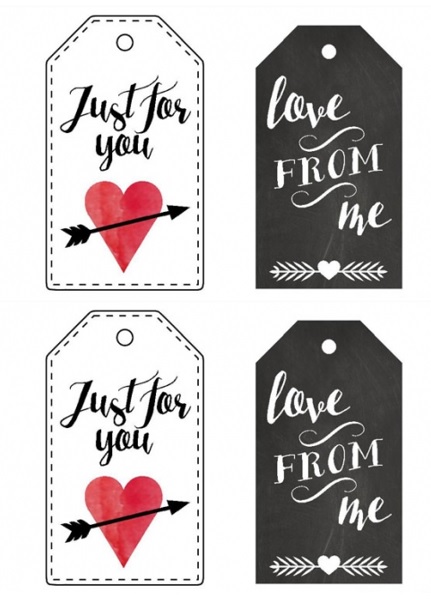
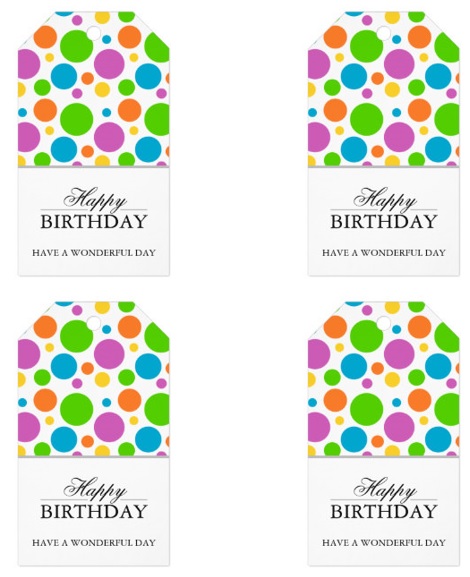
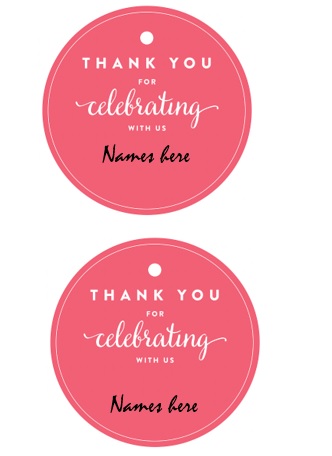
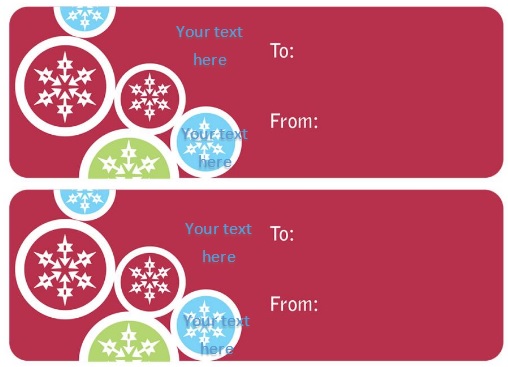
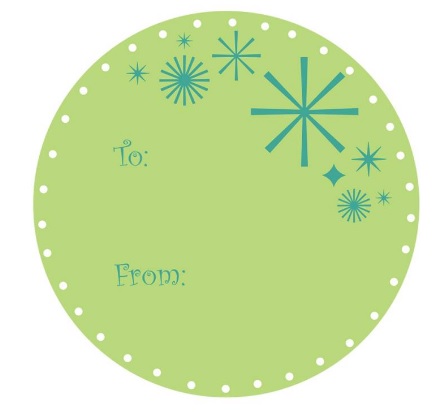
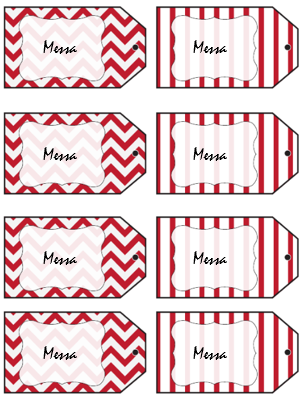
Gift tag templates are come in all shapes, sizes and materials. Gift tags make a sudden impression on a gift receiver. They add attractiveness to any package given to family, friends, co-workers and others for occasions that need an extra touch.
A gift tag is basically a small piece of paper that is cut from a stencil or handmade drawing. They can be copied on a material that is attached to a gift like stock, recycled paper, adhesive backed paper, plastic, wood, etc. For the gift recipient’s name and the giver’s name, it has a short word or phrase and has space and can be either tied or directly adhered to a gift. It serves as an identifier to the receiver of the gift. Moreover, it is also an exchange of greetings and good will.
Table of Contents
How to use a gift tag template?
You can use a gift tag about anything. An everyday to and from gift tag is used with gift. There are many other options for gift tags;
- For holidays, decorative item tags
- Party favor tags
- Wedding shower and baby shower gift favor tags
- Wedding sparkler tags
- Graduation day tags
- Table place/setting holder tags
- Name plate tags
- Thanks for coming tags
- Thank you gift tags
- Luggage tags
- Business tags
- Party invitation tags
- Calling card tags
- Save the date tags
- Wine and other food/drink tags
- Recipe tags
- Earring and clothing tags
- Banner tags for special occasions
- Picture I.D. tags
- You should also check Christmas Gift Certificate Templates.
How to make a gift tag template?
Creating a gift tag template is an easy process. You can download these templates from the internet that are PDF or Word compatible. They give full directions as to what to do and how to print off the tags. Internet is one of the easiest and least expensive ways to find templates.
With the help of a die cutting machine or an individual die cut, you can also make a gift tag template. You just have to select an appropriate size you want, the die cut, and card stock to go along with it. You can also go through Microsoft Word. Follow the below directions to make a gif tag in MS Word;
- Open a blank Word document and click on the Insert tab.
- Then, select shapes and choose the shape you want for your tag such rectangle, oval, etc. The size you want for the tag, draw your shape.
- Go to the Format tab for a more defined outline of the shape for printing/cutting. You can see Weight under the Shape Outline drop box. Select 3 pt. or another outline size like thicker, thinner, or whatever you want.
- Go to the Shape Outline, to change the outline color, drop down and select a color.
- Above the Shape Outline, there is a Shape Fill option, go here to change the fill color for the tag and choose the color you want.
- From the Shape Fill drop down, select the Picture option in order to put a design inside the shape. You can also go to any picture file from your computer to put a design inside the shape. You can also play with the Gradient and Texture options for more background options.
- In order to add text to your tag shape, go to the insert tab and select Text Box.
- At the bottom of the drop down menu, Select Draw Text Box and then draw the text box over the tag shape. Moreover, make your text box clear to keep the text box from blocking your tag shape.
- Go to the Text Box tab and select No Fill for the Shape Outline.
- After making the text box clear, type the word or word phrases that you want to place on the tag. Select the font, size of the font, and color. Furthermore, this process remains the same with any Word document.
- Group it together before printing the tag so that it can be moved around the page as one thing instead of trying to move each section. Hold down the Ctrl key and click on each element of the tag in order to group it until all sections are selected.
- When the cursor is in right place then click as it will become an arrow with a plus sign. This way, the process is done correctly.
- In the end, right click on your selection and then under Grouping select Group. This makes the tag to be one unit that can be moved, copied, pasted, changed, etc.
When you have all done with the above steps you have a printable gift tag template that is ready to be printed out on card stock. The holes can be punched, string or twine looped. You can also add other decorative embellishments added. You may also like Gift Certificate Templates.
The size of a gift tag:
Gift tags come in different sizes that range from small tags to large tags. Obviously, small tags are for smaller gift boxes and large tags are for larger gift boxes. The gift box that you are sending, the gift tag should be proportional to its size. However, the standard size of gift tags is 3.5 by 2.5 inches and some may also come up to 5 by 2.5 inches. The best size to set on the printable tag template should be 2 by 1 inch in case the tag is for a small gift box.
Some gift boxes are larger enough that require gift tags measuring 9 by 4 inches or bigger. The program you are using while customizing a printable tag template provides you options for selecting gift tag sizes. So, you should carefully select the correct size from the options. Also, you can manually enter the dimensions you want your gift tag to be. The size that will be proportional to the gift box size you are sending is the main point to consider when creating your gift tag outline.
What to write on a gift tag?
To make your gift card stand out from all the others, personalizing a gift tag is the fun way. You can find out hundreds of single words and phrases on the internet, and in books and magazines as to what to write on a gift tag. However, you can also make up your own wording. You can write on the tag itself or directly printed on the tag through a printable gift tag template. You can find out suitable words or phrases for almost anything and everything.
Tie a tag on a gift bag:
You can tie a tag on a gift bag in different ways;
By using a string
When you have made a gift tag, punch a hole at the top center. Inserting a string to tie the gift is the main purpose of this hole. Tie gift tags on a gift bag is the commonest way people use. Tying the string like a ribbon or shoelace is the commonest way to tie.
Stick it with glue
You don’t have to punch a hole in your gift tag because you can also stick it to the gift box or bag by using glue. You should become little creative and on the side of the gift tag, stick a natural flower or a leaf from the garden.
Place your gift tag on an ice cream stick
Your gift tag may also include ice cream, chocolate, or another closely relevant product. On an ice cream stick, prop the gift tag and then stick it on the gift bag. To make it easily visible, raise it a little above the bag.
Clipping the gift tag
Just bring a clip and then clip the gift tag on the edge of the gift bag. It can work wonders on your gift tag. Also, a simple cloth peg can be used rather than a clip in case you want to be more innovative.
Conclusion:
In conclusion, a gift tag template is a great way to make your gift more attractive for the recipients. They act as an identifier to the receiver of the gift. These tags come in all shapes, sizes and materials. You can make your own gift tag by using MS Word or can download gift tag templates from any website. These templates have full directions as to what to do and how to print off the tags.
Faqs (Frequently Asked Questions)
There are 7 household items that you can use to make gift tags;
1- Old greeting cards
2- Extra wrapping paper
3- Brown paper bags
4- Scrapbook or craft paper
5- Use your junk mail
6- Magazine clippings
7- Cut up an old shirt box

