An index card template is an organized and standardized note card used for recording information. You can use them for many things such as creating flashcards, writing recipes, and for study purposes.
What is an index card?
An index card is a mini card consists of card stock; used for storing and recording discrete data such as addresses, contact numbers, etc. The most common size of these cards is 3 by 5 inches and other available sizes are 4 by 6 inches, 5 by 8 inches and ISO-size is A7. They are used in several events and help you with your planning.
What are the uses of an index card?
An index card is used for various purposes such as;
- For a huge range of applications and environments.
- In the house, it is used to record and store recipes.
- Used for shopping lists.
- To record and store contact information and other organizational data.
- In the business, it is used to record presentation notes, project research, and notes. Also, to record contact information.
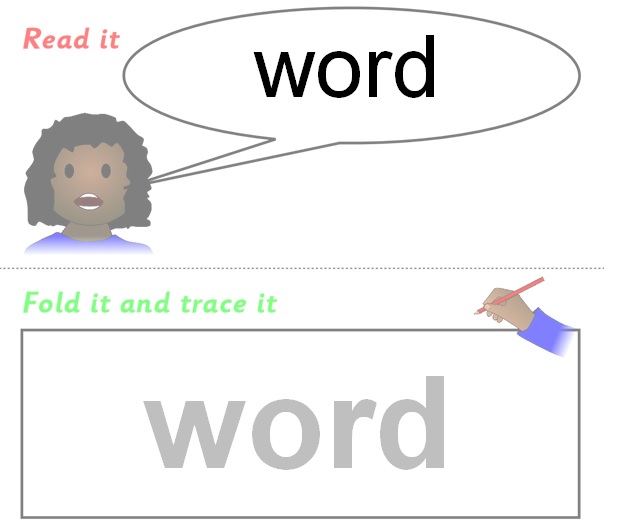
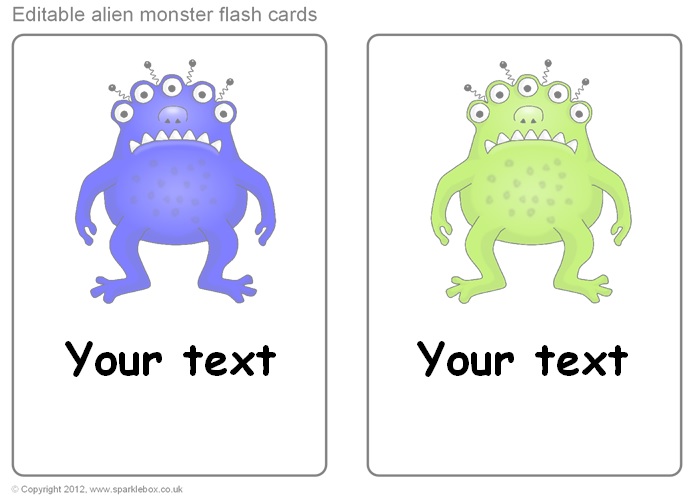
- In schools, they are used as flashcards or other visual aids.
- In academic research, it is used to store data like bibliographic citations or notes.
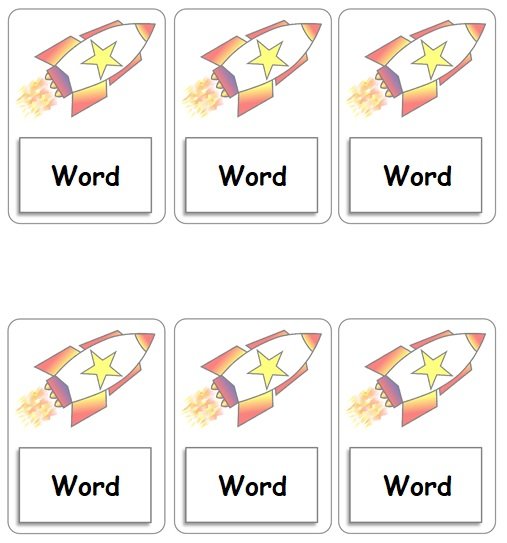
Flash card templates are used in schools especially for the kids to make the learning process more innovative and interesting for the kids to learn while playing with different flashcards.
The sizes of index cards:
The size of the index card you select depends on your requirements, preferences, and the amount of details you want to write on each card. Let us discuss the most common ones;
Standard index card size
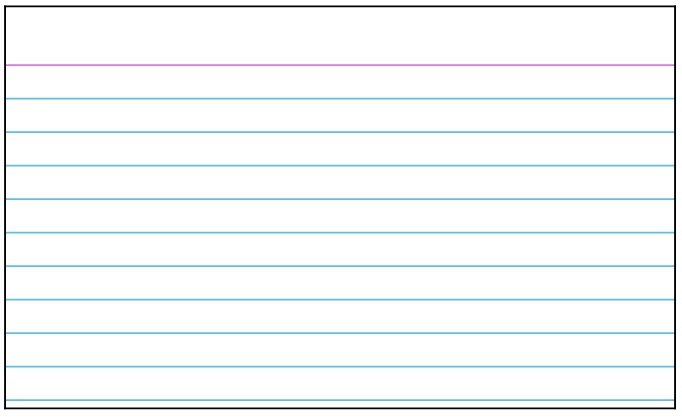
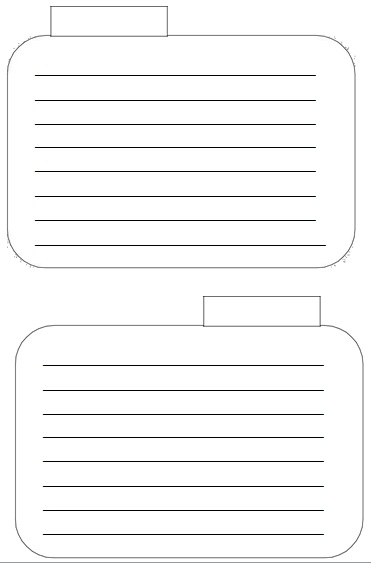
The standard size of an index card is 3 by 5 inches. Since this size gives a sufficient amount of space for writing so it is widely used. You can easily place it into a pocket or card holder. It can be used for writing down brief notes, facts, or tasks.
Other common index card sizes
Here are a few other sizes of index cards;
- 4 by 6 inches index card: as compared to the standard size, this card has more space for writing. You should use them if you want to make more detailed notes. In addition, they are still convenient to carry around.
- 5 by 8 inches index card: it is the largest size and is commonly used when you need to record a significant amount of information on a single card. People usually use them for outlining presentations and planning projects.
How to establish a note card system?
You can also use note cards for different purposes aside from index cards. Using them for research is one standout purpose of these cards. Establishing a note card system can help you out immensely when you have tasked to do research on a topic. Keep yourself organized from the start of the process to the end. Researching become easier by keeping things organized.
You can categorize all the details you collect throughout by having such a system. You can use different note cards for each of the topics to keep everything organized. Then, you’ll be able to do so faster and easier as you start writing your paper.
When establishing a note card system, follow the below steps;
Doing research
You have to discover some interesting facts when you do research. For facts and information, keep an eye out relevant to your topics. Write down such useful information whenever you find them on the note cards. In addition, paraphrase the sentences instead of copying them verbatim. Also, you have to write down where you found the information.
By having these cards, you will become able to pay attention to what you’re researching more. You need to write all the information down in a brief and concise manner due to their size. This indicates that on the cards you won’t end up writing unnecessary information.
You can number and color-code your cards in case you really want to keep them organized. Use a different color for each main topic. After that, assign numbers to the cards accordingly. This way, your note card system would become really organized.
Organizing your information
Organize your information when you are done with gathering data. By this time, you have all the information that you have gathered from different sources. In the next step, you need to gather all your note cards and organize them as you want.
However, this process becomes easier if you used different colors. By color, you should just sort the cards and arrange them by number. Then, as per the order which you want to write them on your research paper, arrange the piles of cards.
Create your research outline and start writing
You can start making an outline after organizing your note cards. The piles of cards you’ve sorted, check the topics of them. Making the writing part even easier by using them to create your research outline. You can start writing your paper when you’ve finished your outline. Use the pile of cards for each topic to write down the information. To complete your paper in a very organized manner, use all the facts that you’ve gathered.
You will be able to make a great paper through this system. It would give well and strong content. You’ll become more organized and efficient when you have established your note card system. This applies to research writing as well as when you have different projects or tasks ahead of you.


How to make an Index card template in MS Word from scratch?
Here are the steps to follow to make this card in MS Word from scratch;
- Firstly, open a new MS Word document. Head to the Layout tab on the Ribbon in order to set the right size for the index cards. To open the options, click the little arrow at the edge of the Page Setup.
- Click on the tab for Paper on the Page Setup panel. Scroll down the given paper sizes. In case, you want a size close to your desired number then select that. In case not, select the last choice on the drop-down list that is Custom Size. According to the dimensions of the size of your index card, enter the Width and Height. To set the dimensions, click OK.
- By selecting Size from the Layout tab, you can also arrive at the same options. At the end, the scroll-down list takes you to different paper sizes and the More Paper Sizes command.
- Furthermore, index card can vary in sizes. According to Wikipedia, in North America and the UK, the most common size for index cards is 3 by 5 inches. Commonly, it is referred as the 3 by 5 card. In addition to this, 4 by 6 inches, 5 by 8 inches, and ISO-size A7 are other available sizes.
Set the Margin
You might like to set a margin that leaves space for a punch hole in case you want to keep them organized in a binder file.
On the card from the default 1″ to the Narrow .5″, set the print margins. On the Layout tab, go to the first button that says Margins. From drop-down, select Normal (which is the default) or Narrow.
Now, your Word document is set up with your custom dimensions. Microsoft Word by default will print the cards in portrait so if you wish (Layout > Orientation), flip the orientation between Portrait and Landscape.
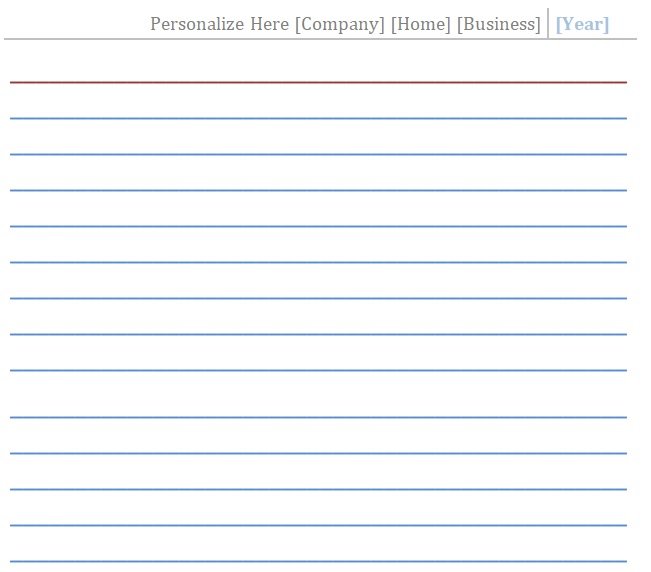
To fit index cards purpose, design them. Your first blank index card is ready and you can fill it with any information you want. To open the second page or the second index card with the same dimensions, press Enter or do a Page Break. Make as many index cards as you desire.
Frequently Asked Questions (FAQ):
Index card templates are very helpful. You can download them online and also create your own template. Creating your own template is very easy. For creating your own template, you just need a computer, a printer, and you just have to follow the below steps;
1- Open the MS Word and find the Page Layout tab.
2- Then, click on the ‘More Paper Sizes’ option.
3- Next, change the size of the paper width to 5 inches and the height to 3 inches. You can also input the size that you want. Click ‘OK’ after changing the size.
4- Hence, by doing the above step you have a printable index card template. Then, it’s up to you if you want to leave it blank, or add lines or a grid to it.
5- Give the title to your template or any notes that you want to print out.
6- When you have all done with the above steps, you can print it out.
Let us discuss step-by-step how you print on a 3 by 5 inches card in MS Word;
Step#1: Firstly, open the Word document that you want to print. Then, choose the file and click Print.
Step#2: A drop-down menu appears when you click on the option of Copies and Pages.
Step#3: Next, choose the Layout option.
Step#4: For going to the words Page per sheet click on the drop-down menu.
Step#5: Then, from the drop-down menu choose the number of Pages per Sheet you want to print.
Step#6: After doing the above step, ensures that the direction of your page is correct.
Step#7: Finally, when you set all your references, click print.
The first and foremost part of researching is to organize the information and your thoughts. For this purpose, you can use an index card system to collect information. This makes your work easy for you. Furthermore, you can classify the information you find by topic.