Winter window painting ideas will turn your plain glass into a frosty winter gallery that brightens even the greyest cold day. A painted window catches the low winter light, glows warmly from inside at night, and gives every room a seasonal focal point without taking up a single inch of floor space.
Every design below uses washable tempera paint or window markers, so it wipes away in minutes when spring arrives. Most designs take under an hour and cost very little. Pick one favourite window, gather a few brushes and stencils, and paint a scene that makes your home feel cosy all winter long.
1. Frosted Fern and Ice Crystal Patterns
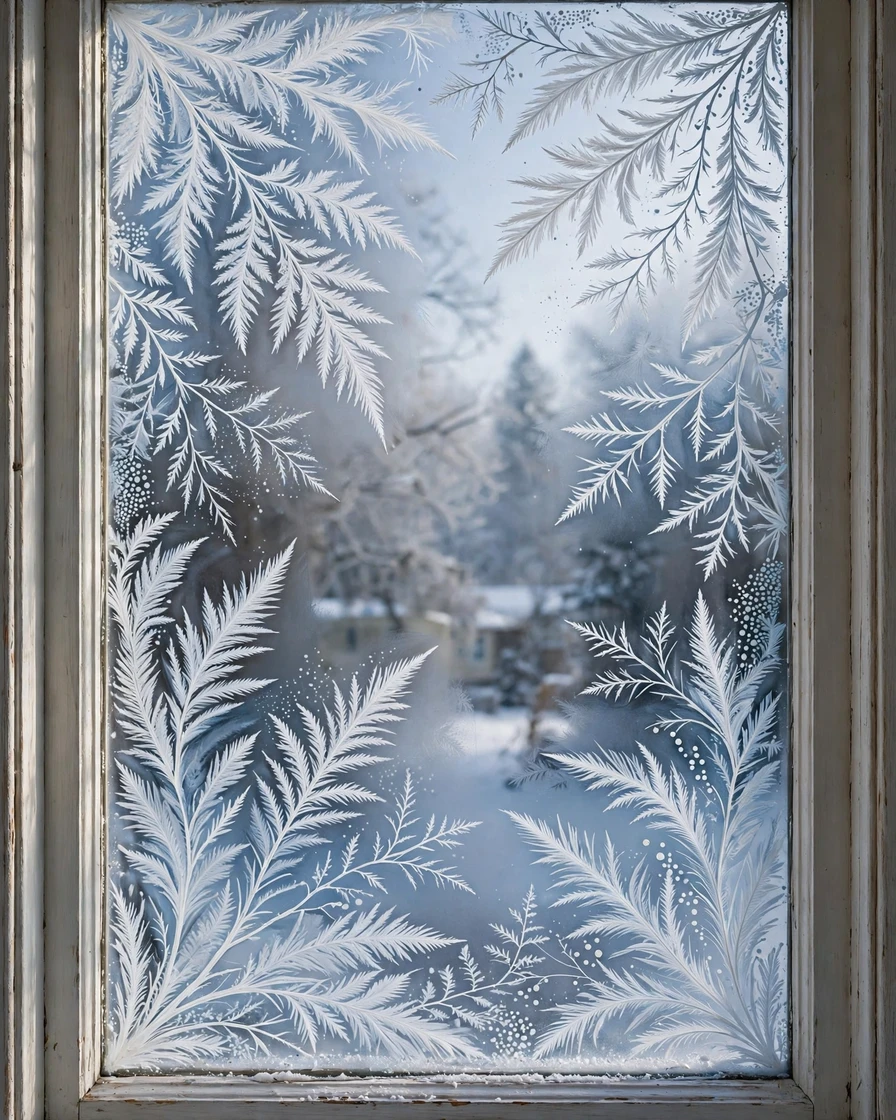
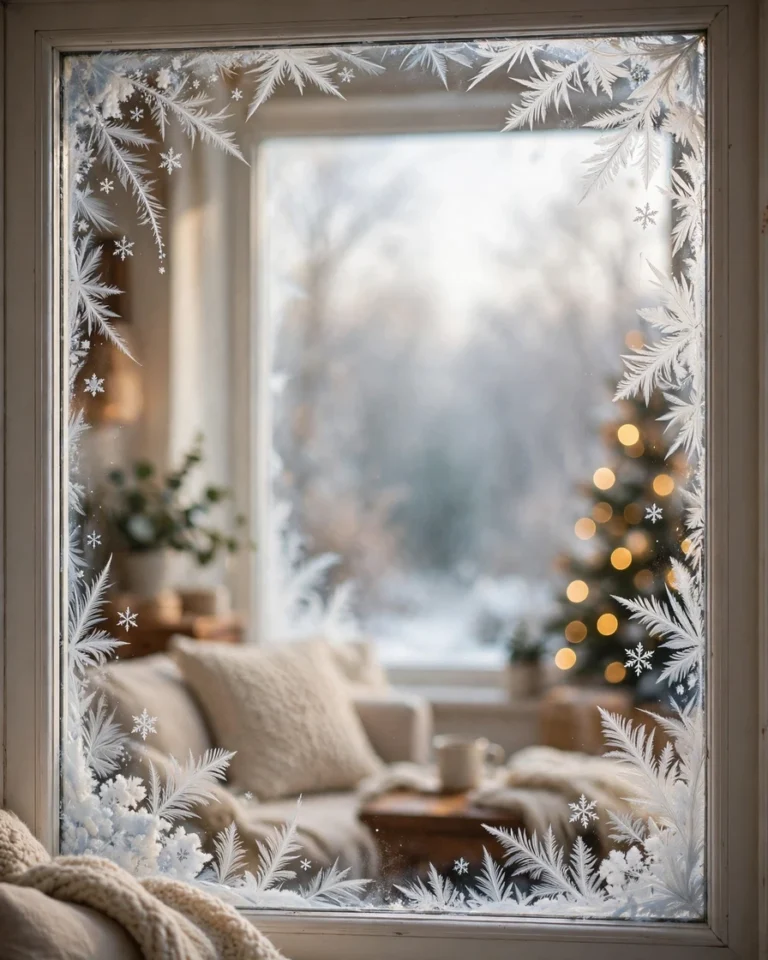
Turn your window into a pane of real winter frost with delicate fern and ice crystal patterns that look as if Jack Frost visited overnight. The design spreads from the corners in feathery white fronds, with fine branching lines, tiny dots, and soft blue-grey shading that catch the daylight beautifully. Start by cleaning the glass and sketching a few main stems in white tempera paint with a fine brush, then add smaller side branches with quick flicking strokes. A stencil or a real fern leaf pressed against the glass makes a perfect guide for beginners. Add depth with a pale blue wash in the background and a sprinkle of white dots for sparkle. This is the cheapest idea on the list, because it needs only white and pale blue paint. When spring comes, the whole design wipes away with warm soapy water in minutes.
Quick tip: Practise the fern strokes on a piece of clear plastic first, so your hand is steady before you paint on the glass.
2. Vintage Ice Skates Tied with a Ribbon

A pair of vintage white ice skates hanging by their laces brings instant nostalgia to a window. Paint the two boots side by side, tilted slightly, with their laces looped over a small hook and tied in a loose red ribbon bow. Add silver blades with a thin grey outline, a dusting of white snow on the toes, and soft white dots drifting down behind them for falling snow. Sketch the boot shapes first in pencil on paper, then tape the drawing behind the glass and trace it with white tempera paint so the proportions stay neat. Use a fine brush for the laces and a flat brush for the boot bodies. A touch of red on the bow and the skate lining adds a warm pop against the icy blue background. This design suits a narrow window or the corner of a large pane, and it pairs beautifully with a simple frosted border.
Quick tip: Paint the blades last, with a ruler as a straight edge, so the silver lines stay crisp and clean.
3. Cardinals Perched on Birch Branches
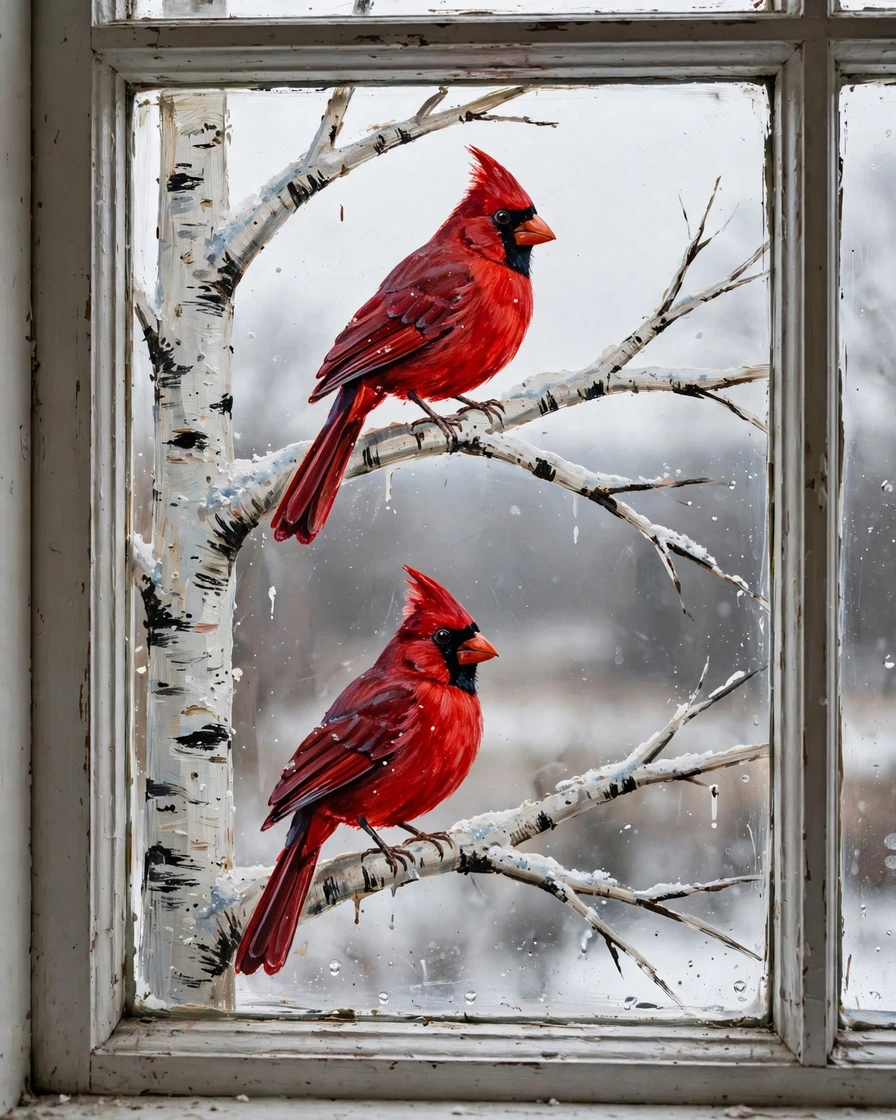
Two bright red cardinals on white birch branches make one of the most striking winter window scenes, because the red feathers glow against the pale bark and the grey winter sky. Paint a diagonal birch branch across the lower corner of the glass, with its black bark marks and a dusting of snow along the top edge. Perch one cardinal near the top of the branch and a second one lower down, facing the other way for balance. Build the birds from simple shapes: a round body, a pointed crest, a long tail and a small orange beak, then add black around the face. Use a sponge to dab snow onto the branch and the birds’ backs. Free cardinal stencils are easy to find online, or you can trace a printed picture taped behind the glass. Work in layers, letting the white birch dry before adding the red birds on top.
Quick tip: Paint the birch branch first and let it dry fully, so the red cardinals sit cleanly on top without smudging.
4. A Gentle Deer in Falling Snow
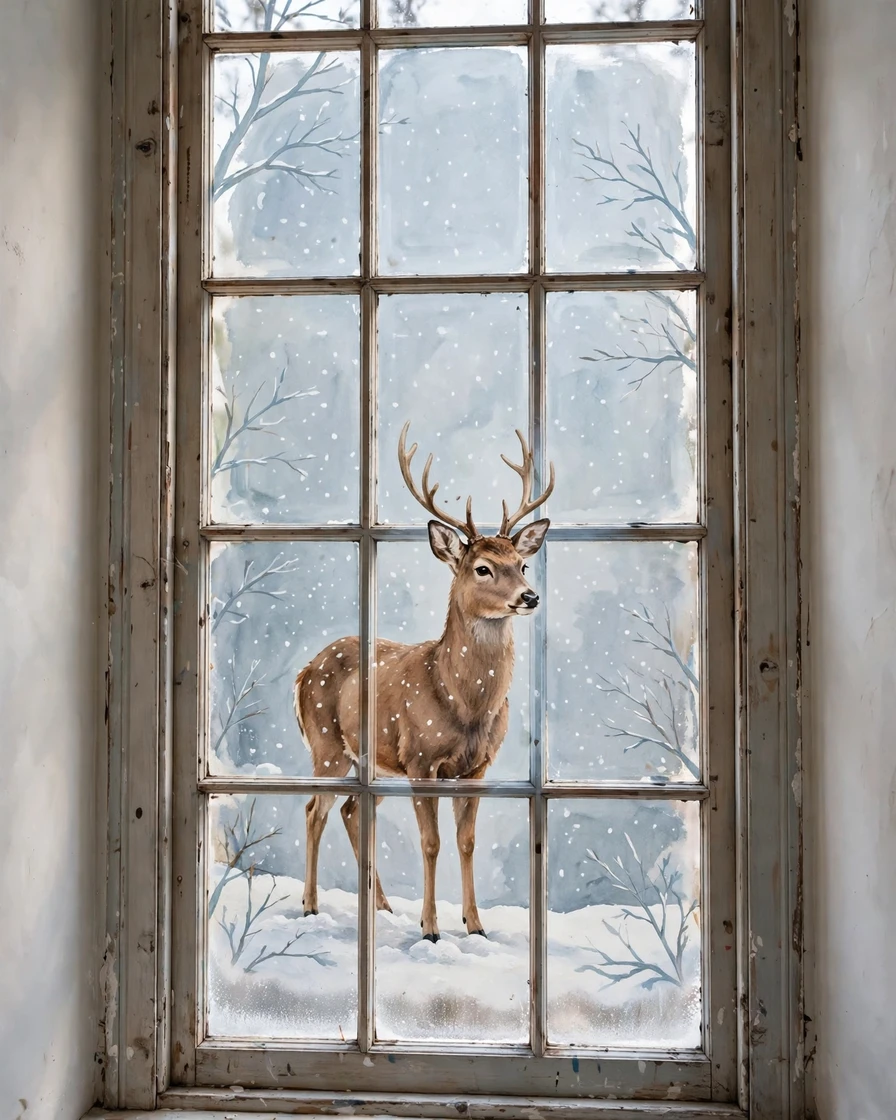
A single deer standing quietly in falling snow turns a window into a peaceful winter portrait. Paint the deer in warm brown tones in the centre of the pane, with a soft white snowy ground line beneath its hooves and gentle white dots drifting down all around it. Keep the background simple, with a pale blue-grey wash and a few faint bare branches at the edges, so the deer stays the star of the scene. Tape a printed deer silhouette behind the glass and trace the outline with a fine brush, then fill in the body with a flat brush and add lighter shading on the belly and legs. A small white dot for the eye and a soft pink-brown nose finish the face. This design works best on a large window where the deer can stand life-size, and children love helping with the falling snow dots.
Quick tip: Use a toothbrush flicked with white paint to scatter fine, even snow dots across the whole pane in seconds.
5. Mittens and a Scarf Hanging on a Line
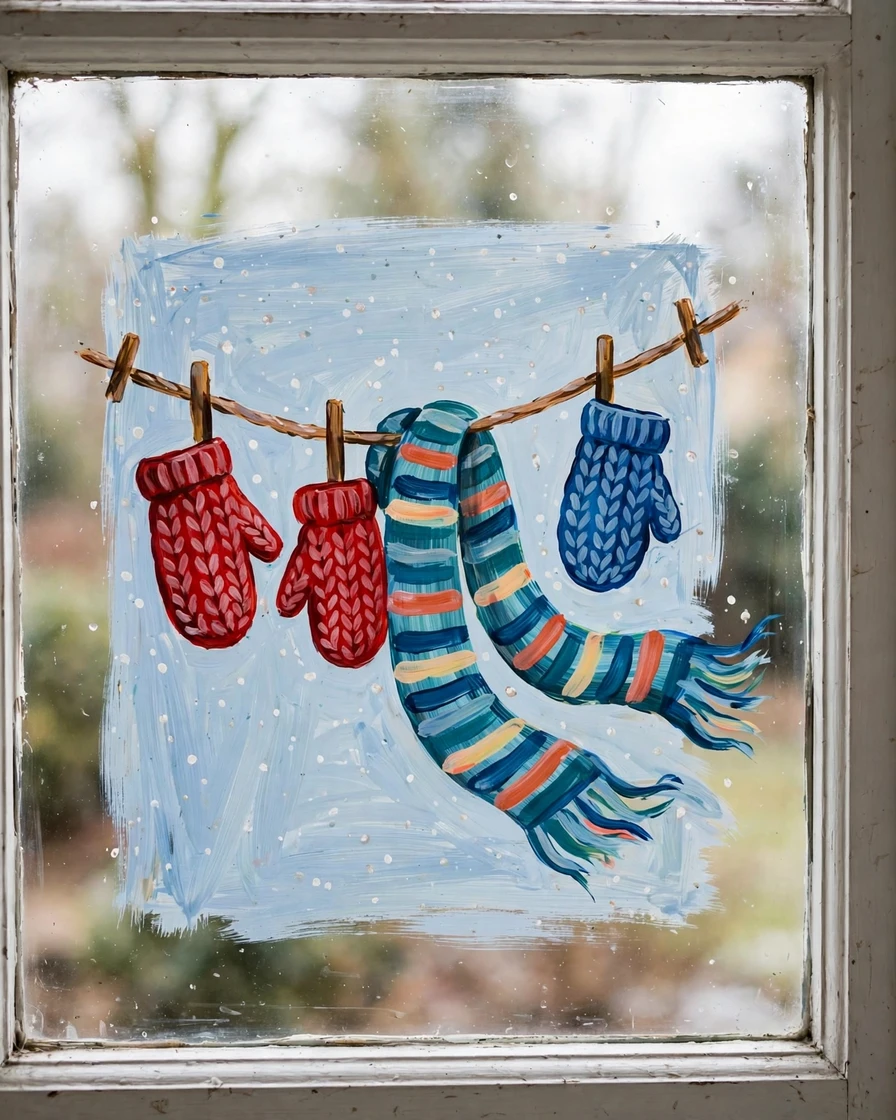
Colourful mittens and a striped scarf pegged on a washing line bring a playful, homely feeling to a winter window. Paint a slightly sagging line across the upper third of the glass, then hang two red mittens, one blue mitten and a long striped scarf from wooden pegs, with the scarf ends fluttering gently in the breeze. Add small white snow dots and a pale blue background so the bright knitwear stands out. Use a flat brush for the mitten shapes and a fine brush for the ribbed cuffs and the scarf stripes, which give the knitted look. Masking tape makes a neat straight line to paint along, and a sponge adds snowy texture to the tops of the mittens. This is a wonderful design to paint with children, because the shapes are simple and every mitten can be a different colour. It looks charming on a kitchen window.
Quick tip: Let each mitten dry before painting its neighbour, so the bright colours never bleed into each other.
6. A Steaming Mug of Hot Cocoa
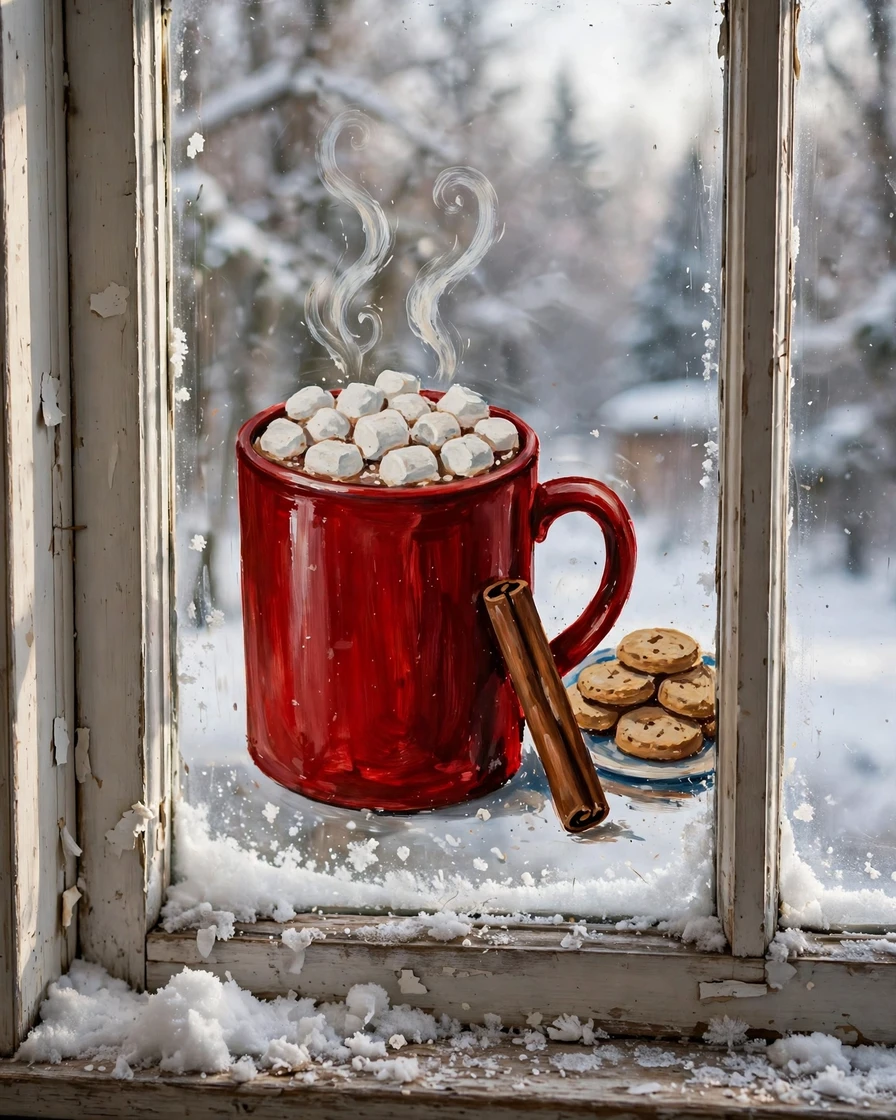
A big steaming mug of hot cocoa is the cosiest winter window design of all, and it looks wonderful on a kitchen or dining room window. Paint a large red mug in the centre of the pane, filled with rich brown cocoa and topped with white marshmallows, with two curly wisps of steam rising into the cold air. Add a cinnamon stick leaning against the mug and a small plate of biscuits beside it, with a dusting of snow along the bottom edge of the glass. Sketch the mug as a simple rounded rectangle with a curved handle, then fill it in with a flat brush and add the marshmallows with a round sponge. Use a fine brush for the steam curls, keeping them loose and wavy. A sprinkle of white dots suggests cocoa powder or falling snow. This cheerful design takes under an hour and needs only a handful of paint colours.
Quick tip: Dab the marshmallows on with a round sponge instead of a brush, for soft, puffy edges that look good enough to eat.
7. A Winter Moon over Snowy Mountains
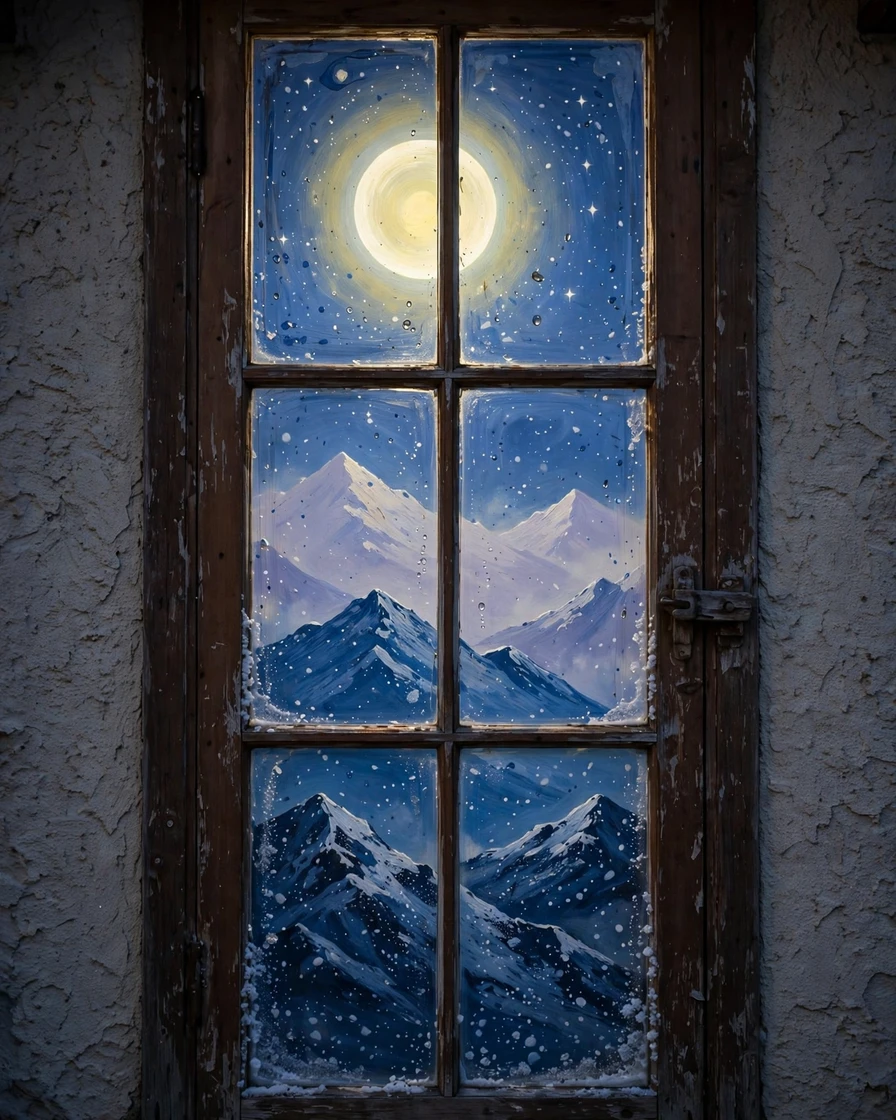
A glowing full moon rising over snowy mountain peaks turns a tall window into a dramatic winter landscape. Paint three layers of mountains across the lower half of the glass, with the nearest ridge dark blue, the middle ridge mid-blue, and the far peaks pale lavender, so the scene gains real depth. Add a large pale yellow moon near the top, with a soft white halo, and scatter small white stars and snow dots across the deep blue night sky. Use masking tape to get clean straight edges on the mountain slopes, and a sponge to dab snow along the ridges. Let each layer dry before painting the next one in front of it. A round plate makes a perfect moon guide, and a toothbrush flicked with white paint creates tiny stars in seconds. This design looks magical at night when the room light shines through the moon.
Quick tip: Paint the moon before the mountains, so the peaks overlap its lower edge and the moon looks as if it is truly rising.
8. Playful Penguins on Ice
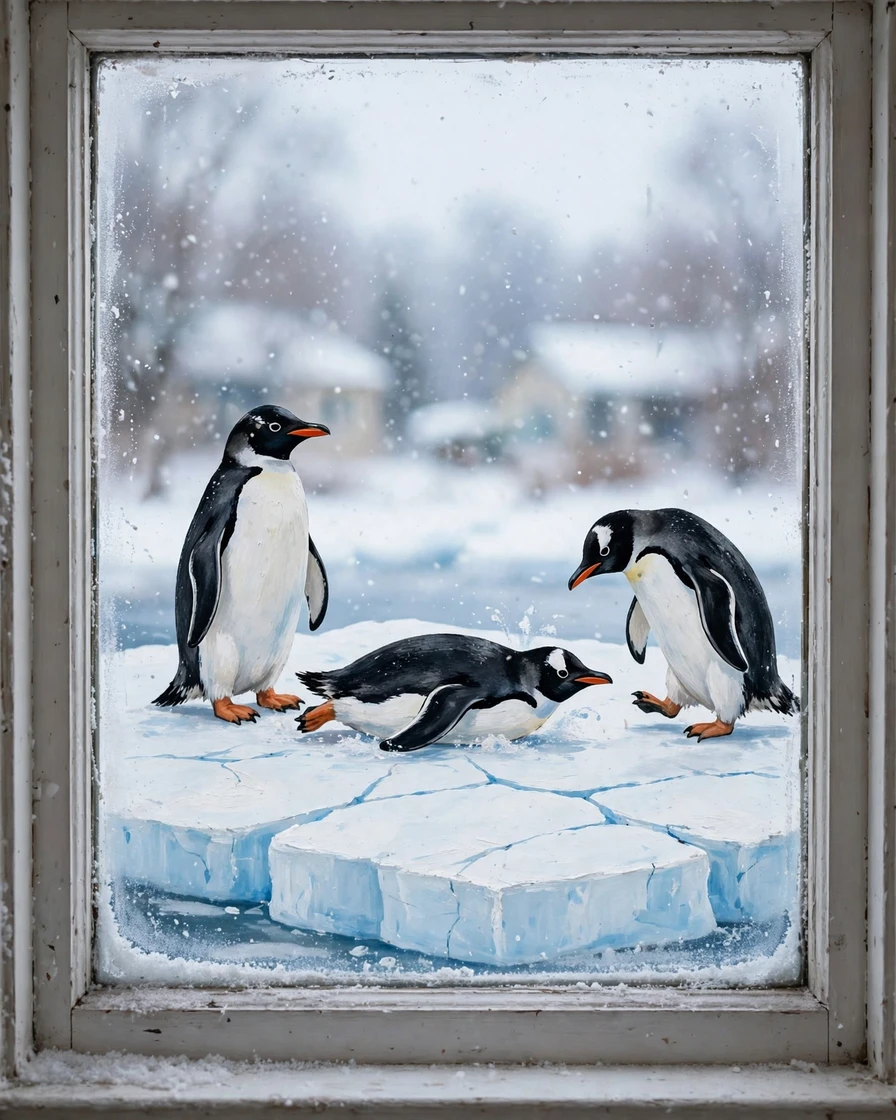
Three playful penguins on a bright ice floe bring smiles to any winter window, and children will love this cheerful scene. Paint one penguin standing tall in the centre, one sliding on its belly, and one waddling in from the side, all on a white ice floe with pale blue cracks and a few small snow mounds. Build each penguin from a black oval body, a white oval belly, a small orange beak and two orange feet, then add tiny white dots for snow on their backs. Keep the background a soft icy blue with falling snow dots, so the black and white birds stand out clearly. Trace printed penguin shapes taped behind the glass if freehand drawing feels tricky. A sponge gives the ice a frosty texture, and a fine brush adds the beaks and eyes. This joyful design suits a playroom or a child’s bedroom window perfectly.
Quick tip: Give each penguin a different pose and a different direction to face, so the little group feels lively and full of character.
9. A Frozen Lake with Ice Skaters
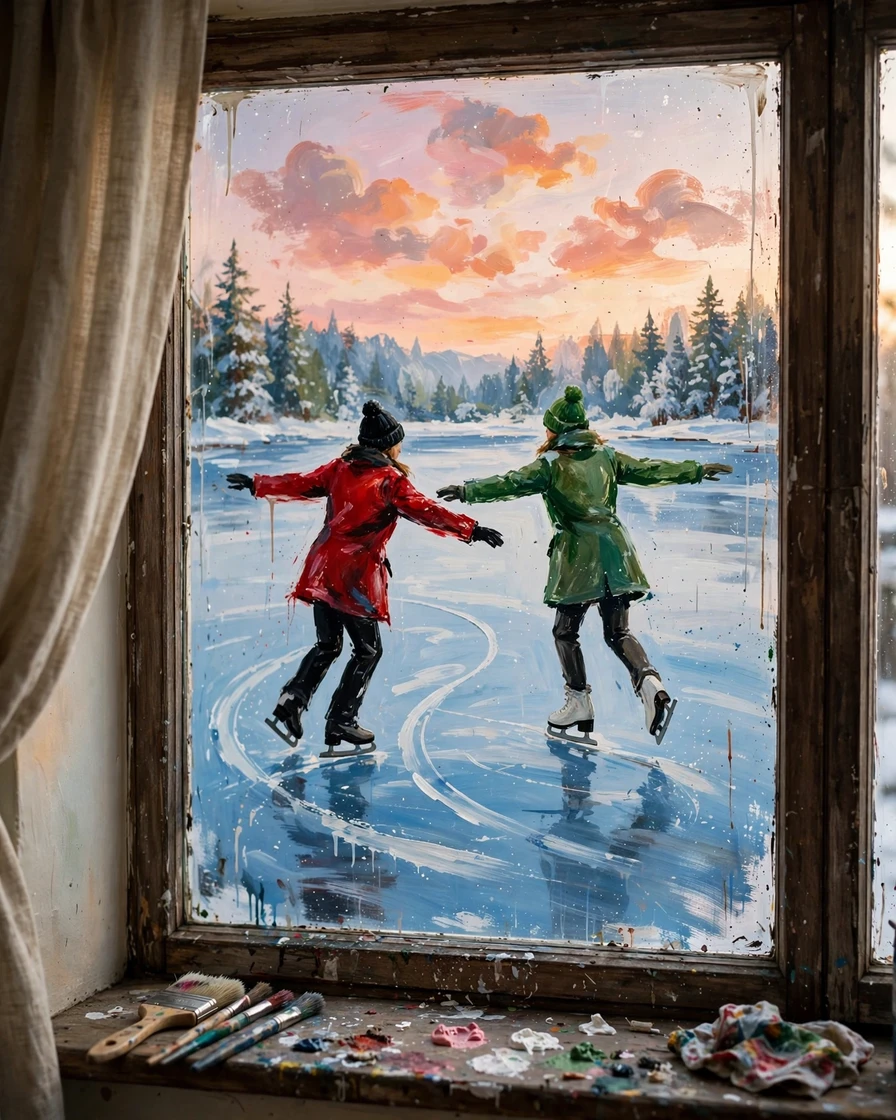
Ice skaters gliding across a frozen lake capture the joy of winter days and make a lovely wide window scene. Paint the lake as a pale blue band across the lower half of the glass, with white skate trails curving behind two skaters, one in a red coat and one in a green coat, their arms out for balance. Add snow-covered trees along the far shore and a soft pink and orange sunset sky above, with a few birds flying home in the distance. Sketch the skaters as simple stick figures first, then add coats, hats and scarves with a fine brush. Use a sponge to soften the sunset colours where they meet, and a ruler for the straight far shoreline. A white crayon or paint pen adds the skate trails and the sparkle on the ice. This active scene looks wonderful on a wide living room window.
Quick tip: Paint the sunset sky first and let it dry, so the trees and skaters stand out as crisp silhouettes against the colour.
10. Sparkling Icicle Border Along the Glass
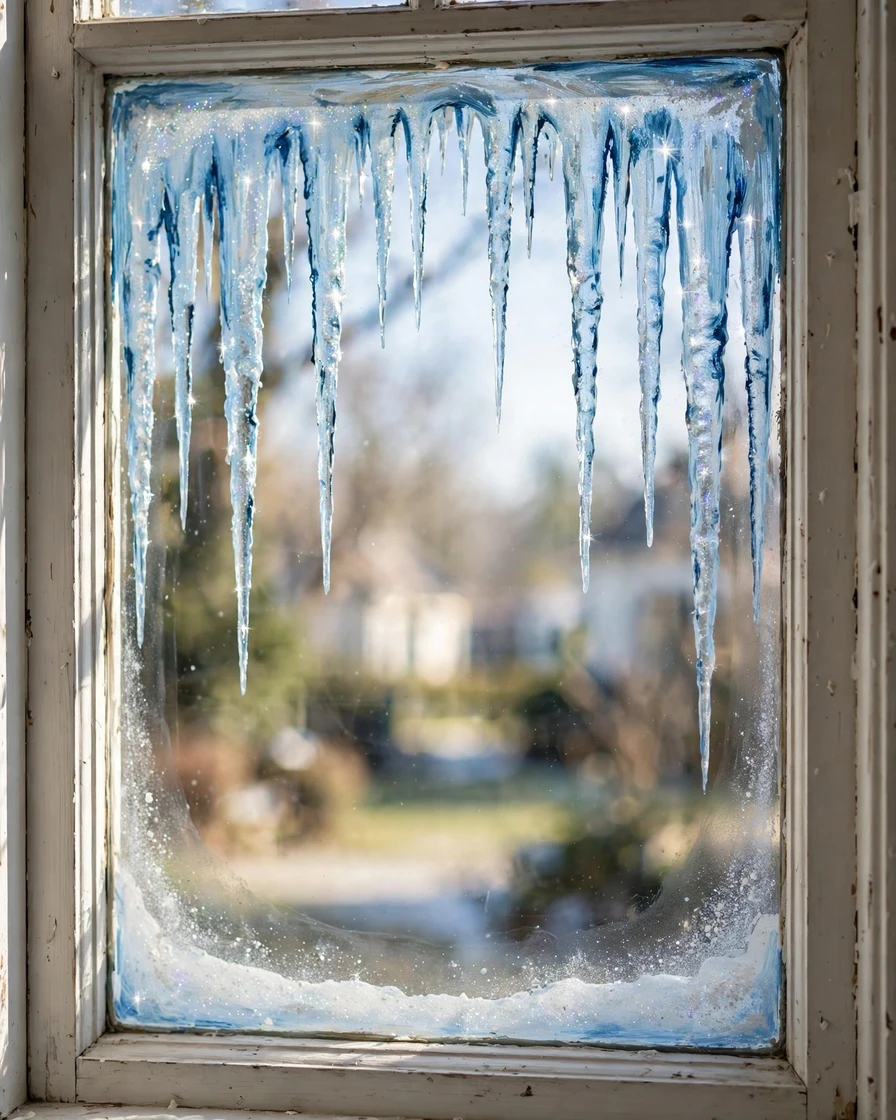
A sparkling icicle border turns any window into a frozen frame and is one of the easiest winter designs to paint. Paint long icicles hanging down from the top edge of the glass, with varied lengths so the border looks natural, and add a soft band of snow along the bottom edge to complete the frame. Use pale blue paint for the icicle bodies, a darker blue line down one side for shading, and a bright white highlight down the other side so each icicle looks glossy and three-dimensional. A sponge dabbed along the top edge creates a snowy drift where the icicles begin. This design needs no stencil, because icicles are simple tapered triangles, and it leaves the centre of the glass clear so daylight still pours in. It pairs beautifully with any of the other designs on this list, or it can stand alone as a crisp, elegant frame.
Quick tip: Vary the icicle lengths and angles slightly, because perfectly even icicles look printed rather than naturally frozen.
11. A Snowy Pine Forest at Dusk
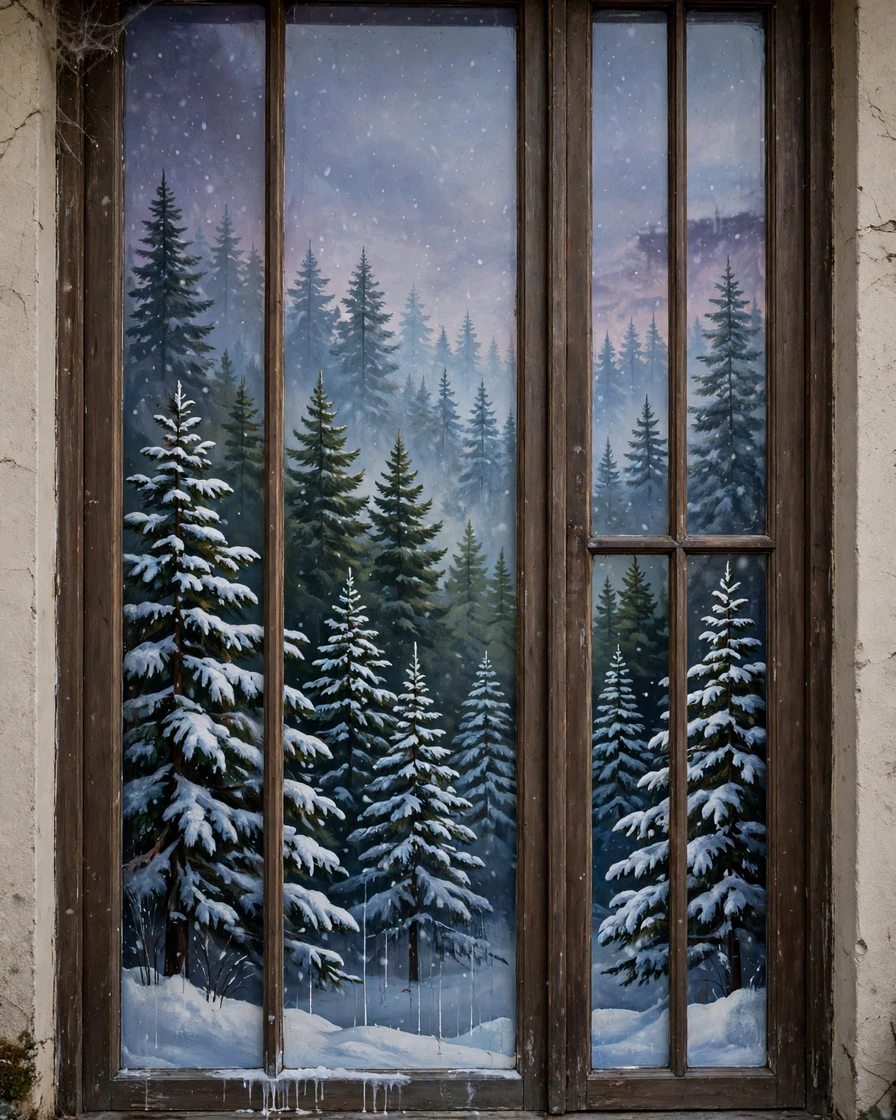
A snowy pine forest at dusk brings the quiet magic of winter woods to a tall window. Paint rows of pine trees in three depths: dark green silhouettes in front, mid-green trees in the middle, and pale blue-grey trees fading into the distance. Dust every branch with white snow using a sponge, and let soft white dots fall through the dusky purple sky above the treetops. Start with the background wash, a blend of deep blue and soft purple, then paint the far trees first and work forward so the layers overlap naturally. A triangular stencil makes each pine quick to paint, and a fan brush adds feathery branches in seconds. Add a gentle snowdrift along the bottom edge to ground the scene. This calm, layered design suits a bedroom window, where its soft colours feel restful at night.
Quick tip: Paint the farthest trees first and work forward, so each nearer row overlaps the last and the forest gains real depth.
12. A Red-Breasted Robin on a Snowy Branch
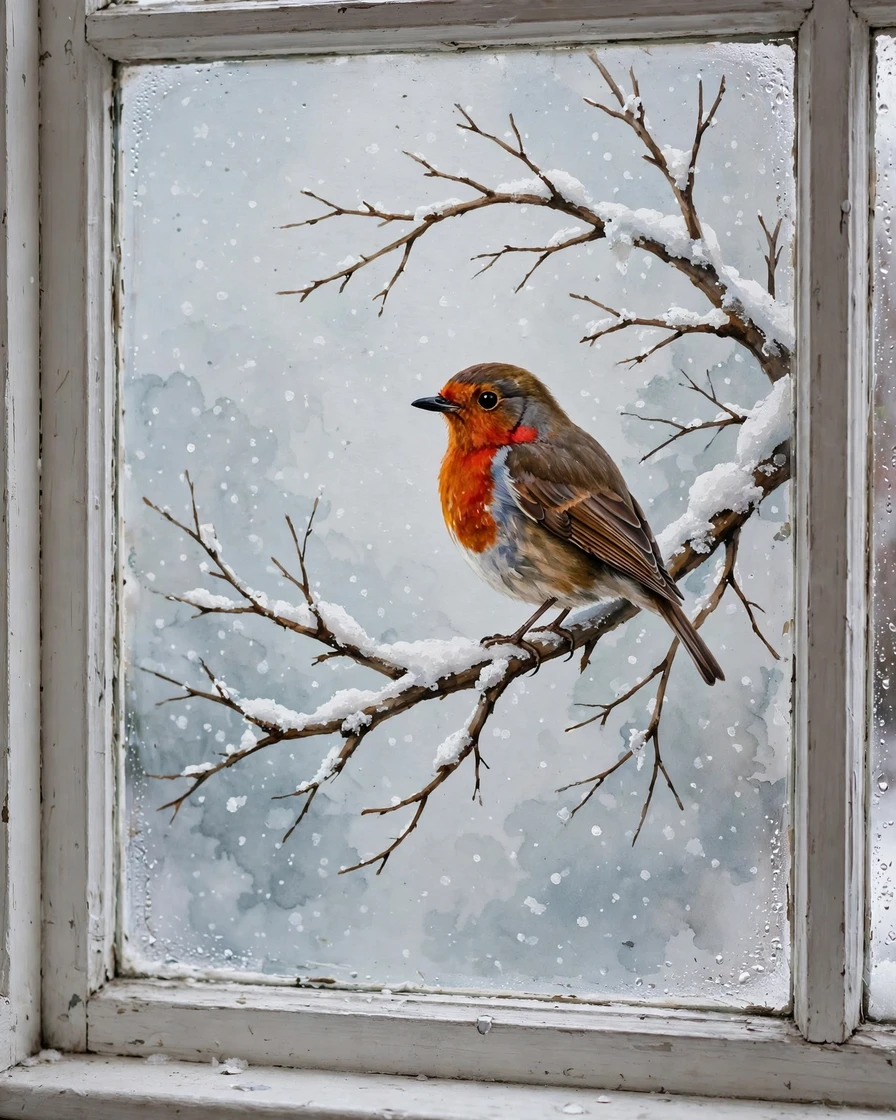
A red-breasted robin perched on a snowy branch is a classic winter sight and a delight to paint on glass. Paint one robin in the centre of the pane, with its bright red breast, soft brown back, and a small black eye, sitting on a snow-topped branch that sweeps in from the side. Add a few bare twigs, gentle falling snow dots, and a pale grey-blue background so the robin’s red breast glows like a tiny winter lantern. Build the bird from a round body and a smaller round head, then add the tail and the thin legs with a fine brush. A sponge dabs snow onto the branch and the robin’s back in seconds. Trace a printed robin picture taped behind the glass if you want the proportions perfect. This single-bird design suits a small window or the corner of a larger pane.
Quick tip: Paint the red breast with two thin coats rather than one thick one, so the colour stays bright and even.
13. Winter Berries on Bare Branches
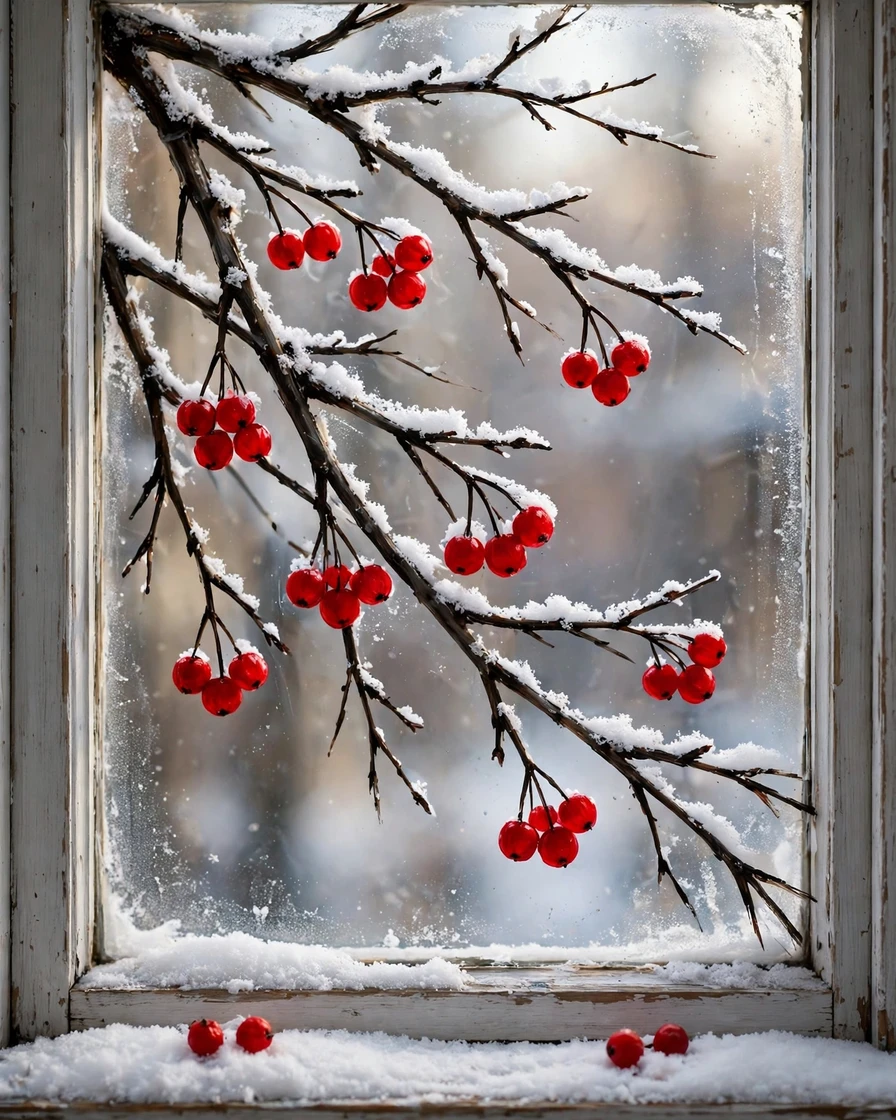
Bright red winter berries on dark bare branches make a bold, simple window design that looks stunning against a grey winter sky. Paint two or three bare branches sweeping across the glass from one corner, with clusters of round red berries hanging in groups of three or five along the twigs. Add a light dusting of snow on the upper side of each branch and a few berries resting on the snowy sill below. Use a dark brown or charcoal paint for the branches, keeping the lines thin and slightly wobbly so they look natural. A round sponge or a fingertip makes perfect berry circles, and a tiny white dot on each berry adds a glossy shine. This design is quick to paint, needs only three colours, and suits a narrow hallway window beautifully. It also pairs well with the icicle border for a full frosty frame.
Quick tip: Group the berries in odd numbers, threes and fives, because odd clusters look far more natural than even rows.
14. A Wooden Sled with Pine Boughs
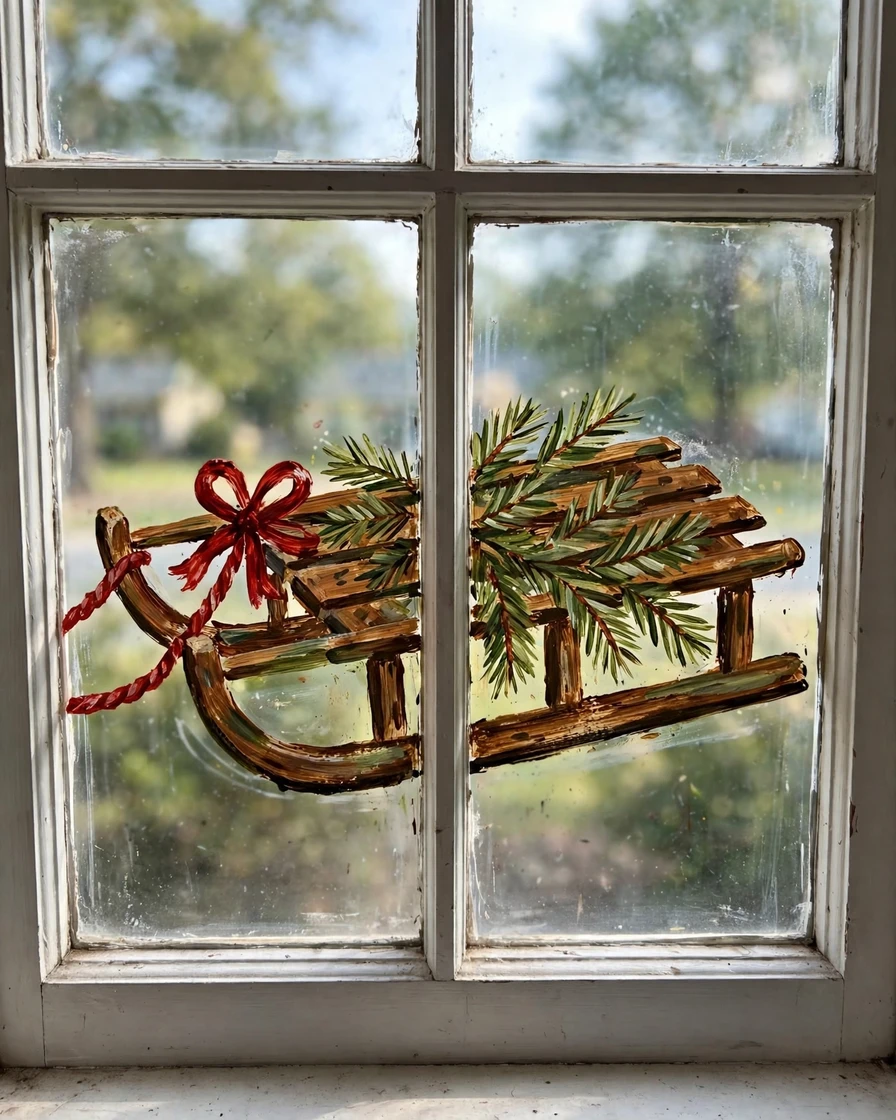
A vintage wooden sled piled with fresh pine boughs brings old-fashioned winter charm to a window. Paint the sled leaning at a gentle angle in the lower half of the pane, with its slatted wooden seat, curved runners and a red rope handle, then heap green pine boughs across the seat and tie them with a red ribbon bow. Add a soft snowy ground line beneath the runners and gentle falling snow dots all around. Sketch the sled as a long rectangle with two curved runners underneath, then add the slats with a ruler for straight lines. A fan brush makes quick work of the pine needles, and a sponge adds snow to the boughs. This nostalgic design suits a wide window beside the front door, where it greets every visitor with winter warmth. It takes about an hour to paint.
Quick tip: Paint the red ribbon bow last, so it sits on top of the pine boughs and becomes the bright focal point of the scene.
15. A Snowy Owl on a Frosty Branch
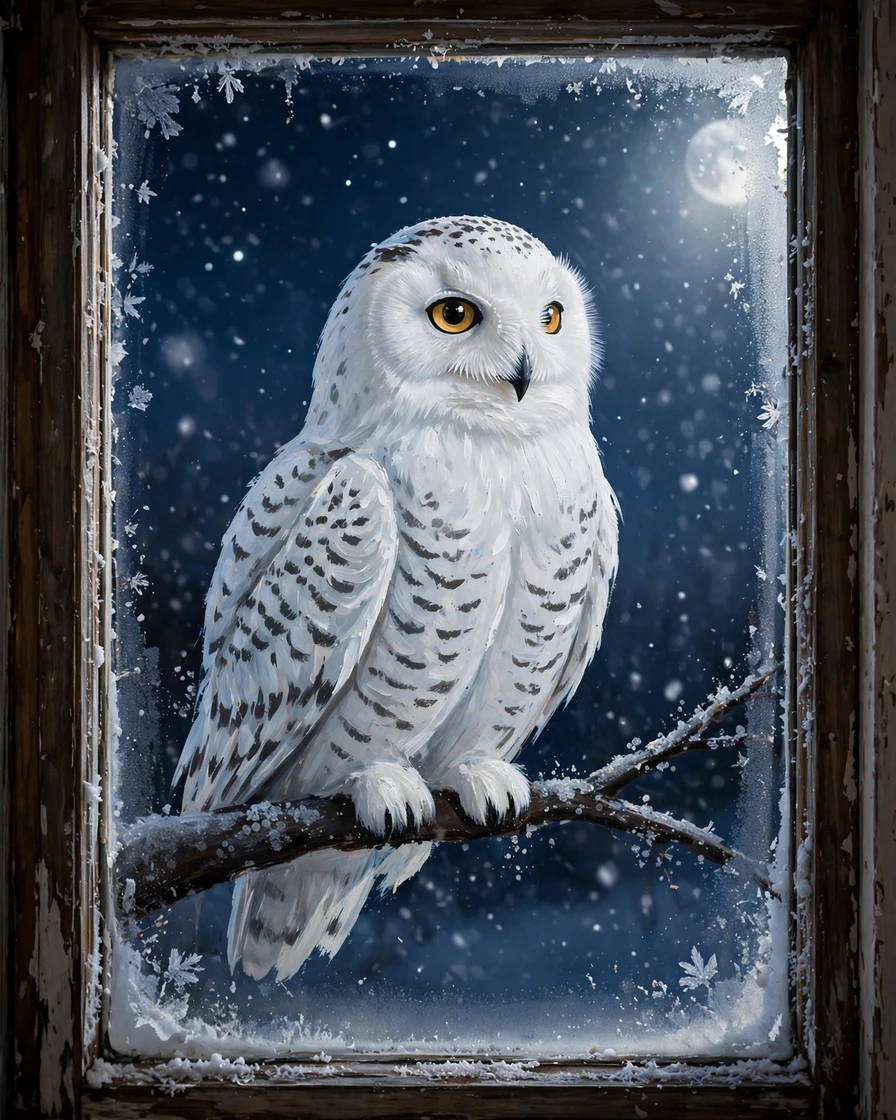
A white snowy owl perched on a frosty branch gives a window a magical nighttime feel. Paint the owl in the upper half of the pane, with its round white body, soft grey speckles, large golden eyes and a small black beak, sitting on a dark branch dusted with frost. Add a deep blue night sky behind it, with small white stars and a few drifting snow dots, and a pale wash of moonlight across the owl’s feathers. Build the owl from two overlapping circles, a large one for the body and a smaller one for the head, then add the wings and the ear tufts with a fine brush. A sponge dabs frost onto the branch and the owl’s shoulders. This elegant design suits a bedroom window, where the wise owl watches over the room through the long winter nights.
Quick tip: Leave a small white highlight in each golden eye, because that single dot of light makes the owl look alive.
Final Thoughts
You do not need all fifteen ideas to make your windows feel like winter. Pick the two or three that suit your home best, perhaps the frosted ferns for the living room, the hot cocoa mug for the kitchen, and the penguins for a child’s bedroom, and start there. Paint on a dry day, work in layers, and let each coat dry before adding the next. The best winter windows are not the most complicated, they are the ones that catch the light, make you smile when you walk past, and turn an ordinary pane of glass into a little piece of the season. When spring arrives, a bucket of warm soapy water takes it all away, ready for next winter’s designs.
Frequently Asked Questions
What kind of paint should I use for winter window painting?
Washable tempera paint is the best choice for window painting, because it sticks well to glass, dries quickly, and wipes away with warm soapy water. Acrylic paint also works but is harder to remove, so avoid it unless you want a permanent design. Window markers and chalk pens are a good option for fine details and lettering.
How do I remove window paint when winter is over?
Warm soapy water and a soft cloth remove most tempera paint in minutes. For stubborn patches, let a damp cloth sit on the paint for a minute to soften it, then wipe gently. A plastic scraper helps with thick spots, but avoid metal scrapers, which can scratch the glass. Finish with a normal glass cleaner for a streak-free shine.
Can I paint windows if I cannot draw freehand?
Yes, you can. Print a picture of your design, tape it to the outside of the window, and trace the outlines from inside with a fine brush or a paint pen. Stencils work just as well, and many of the designs in this article, such as the icicle border and the frosted ferns, need no drawing skill at all.
Will window paint damage my glass or window frames?
No, washable tempera paint and window markers will not damage glass, and they wipe off cleanly. Keep paint off wooden frames and rubber seals where possible, because it can stain unfinished wood. Masking tape along the frame edges protects them, and any paint on the frame wipes away with a damp cloth while it is still wet.
How long does a painted winter window design last?
A tempera paint design lasts all winter indoors, as long as it stays dry. Condensation is the main enemy, so wipe the glass dry before painting and avoid painting on very damp days. A design on the inside of a double-glazed window lasts longest, while an outdoor design may fade after heavy rain.