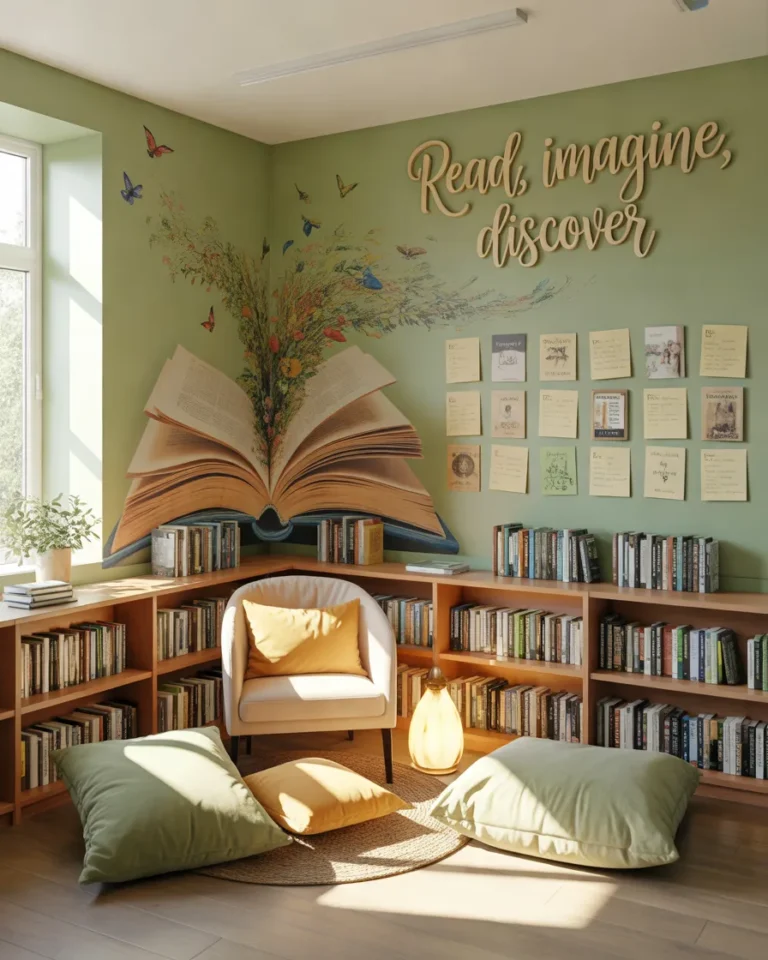
Wall decor ideas for bedroom aesthetic all start from the same feeling: bare walls make even the tidiest bedroom feel unfinished, like a room still waiting for someone to move in. Walls are the biggest empty surface in the room, and the right piece above the bed changes that in an afternoon, giving the room warmth and a mood you want to come home to.
The good news is that bedroom wall decor doesn’t need a big budget or a drill-happy landlord. From gallery walls and mirrors to shelves, woven hangings and paint, each idea below comes with steps, a realistic budget, and a cheaper way to get the same look.
1. A Gallery Wall — The First of 15 Wall Decor Ideas for Bedroom Aesthetic
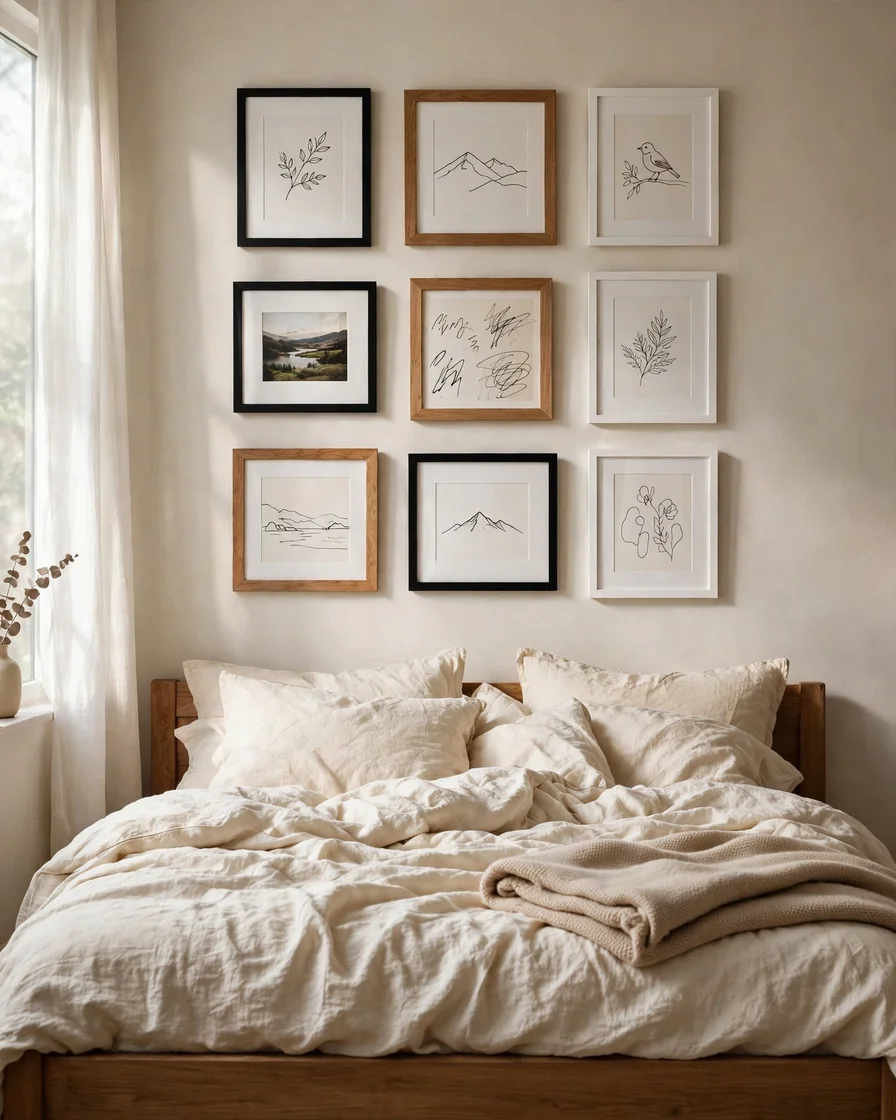
A cluster of framed prints above the bed is the fastest way to make a bedroom feel like yours. In the photo, nine frames in black, oak, and white hang in a loose grid over a linen-covered bed, mixing line drawings, a small landscape photo, and one handwritten quote. Two-inch gaps between frames make the whole group read as one piece instead of scattered pictures.
Start by laying the frames on the floor and shuffling them until the arrangement feels balanced, biggest piece slightly off-centre. Trace each frame on kraft paper, tape the cutouts up, and live with them a day before hanging. Use picture-hanging strips for light frames and a small nail or wall anchor for anything over five pounds.
Frames and prints are the only real expense, and the job takes about two hours. For a cheaper version, thrift mismatched frames, spray-paint them one colour, and print free public-domain art at a copy shop.
Quick Tip: Hang the grouping’s centre at eye level — about 57 inches from the floor — not centred on the wall.
2. An Oversized Arched Mirror
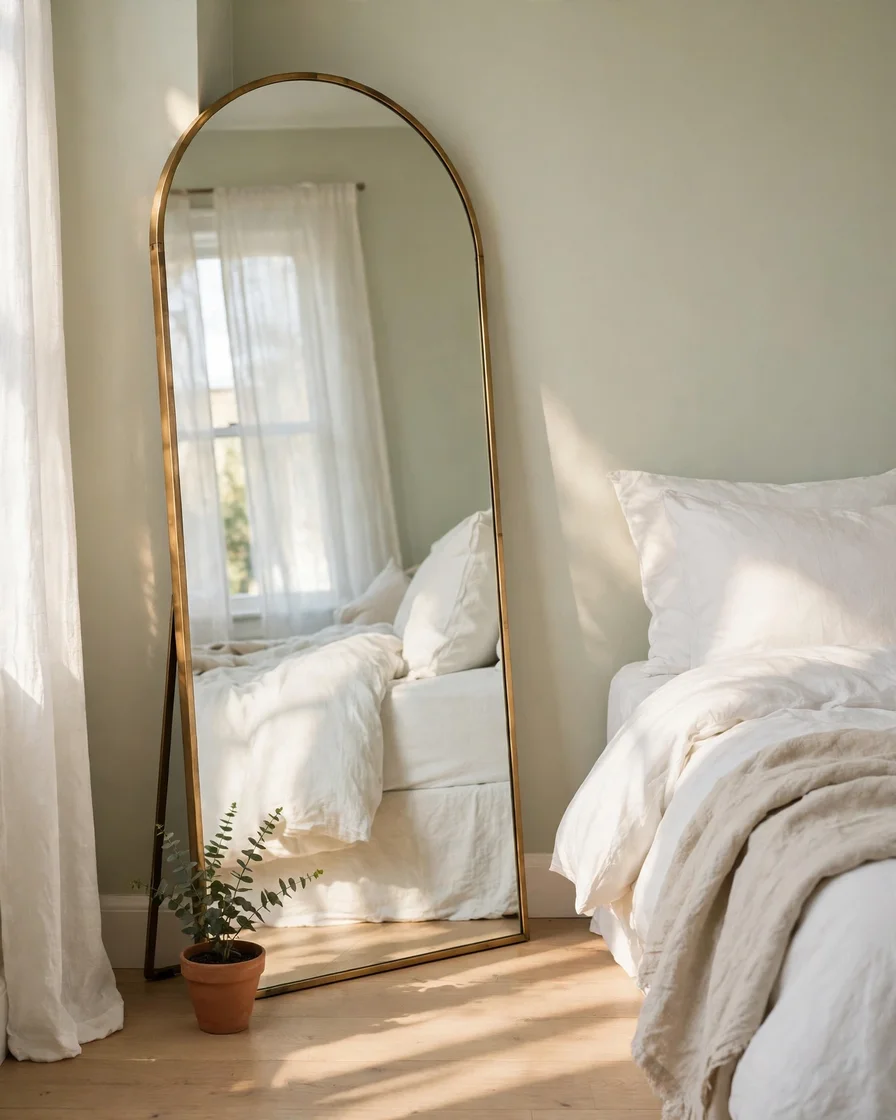
A tall arched mirror leaning against the wall bounces light around the room and makes a small bedroom feel twice its size. The one in the photo stands about six feet tall with a slim brass frame, catching the window light and reflecting the bed’s soft white bedding. It leans against a pale sage wall, a small potted plant tucked at its base.
Leaning is easier than hanging — no studs, no heavy-duty anchors. Place a non-slip pad under the base and secure the top to the wall with a small bracket or adhesive hook so it can’t tip. If you hang it instead, find a stud and use a hook rated for twice the mirror’s weight.
A full-length arched mirror is a bigger buy, but positioning it takes only 20 minutes. Thrift stores and marketplace listings are full of plain rectangular mirrors you can dress up with an arched stick-on frame or gold spray paint.
Quick Tip: Angle the mirror to reflect a window, not the bed — you’ll get far more light.
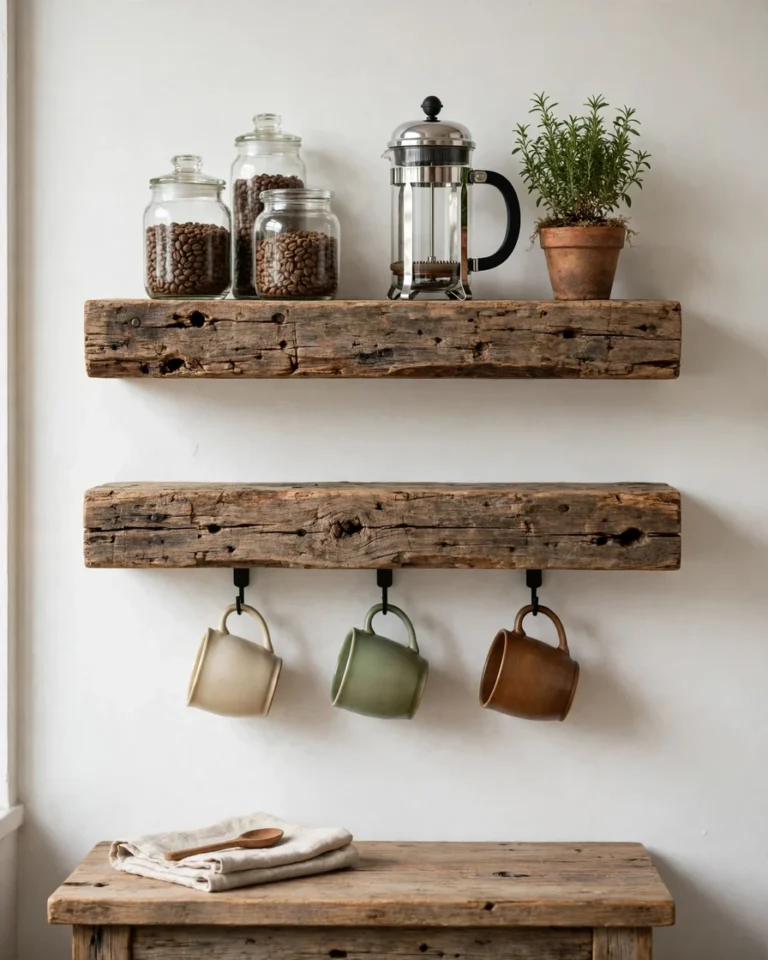
3. Floating Shelves Styled Like a Mini Gallery
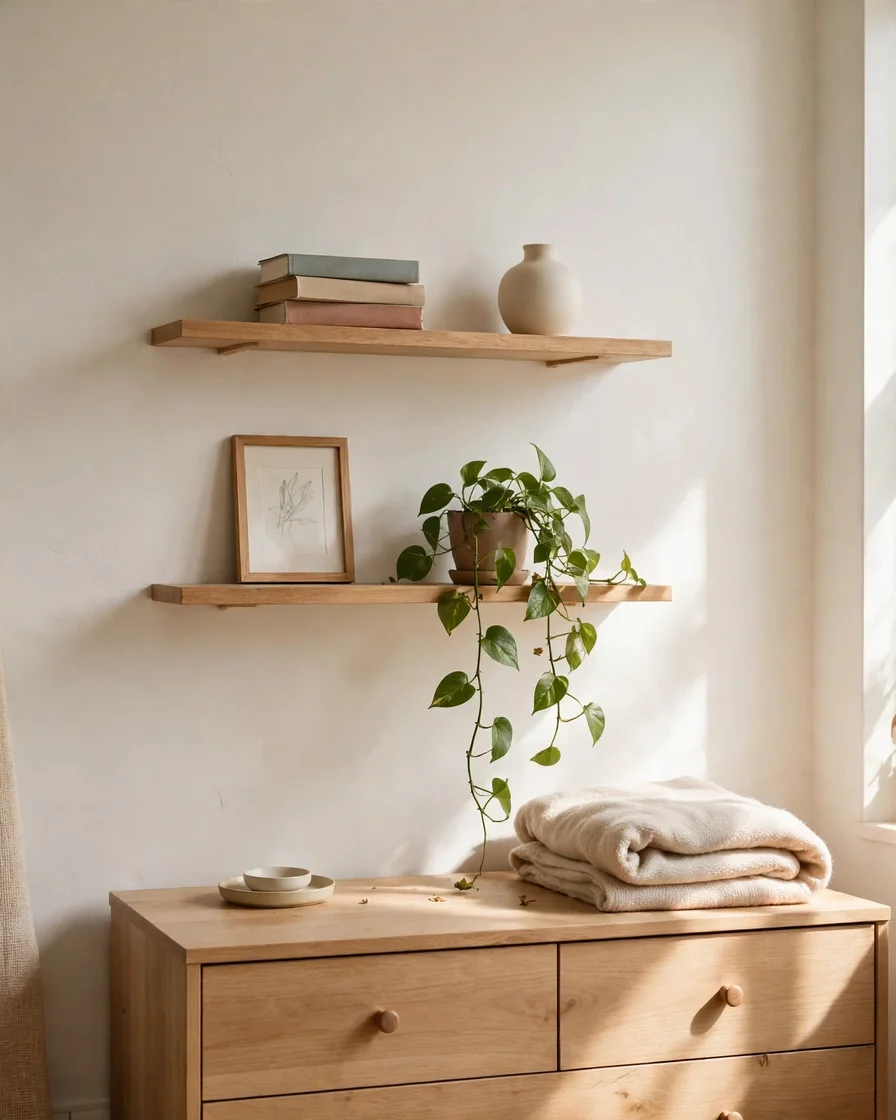
Two slim wooden shelves above a dresser turn a blank stretch of wall into a display you can rearrange whenever you like. The shelves in the photo hold a stack of paperbacks, a trailing pothos, a small framed sketch, and a ceramic vase, with a little breathing room between each object. Nothing matches exactly, but warm wood and cream ceramics hold it together.
Mount the shelves into studs with the hidden brackets they come with, 12 to 16 inches apart vertically. Start with the largest item — a book stack or framed print — then fill in with smaller pieces, keeping odd numbers on each shelf. Step back after every few items; it’s easier to edit before everything is in place.
A pair is inexpensive, and you can style them with whatever you already own. Plan on an hour for mounting. For a budget version, cut a pine board to size, sand it, and mount it on black metal brackets for even less.
Quick Tip: Leave a third of each shelf empty — crowded shelves look cluttered, not curated.
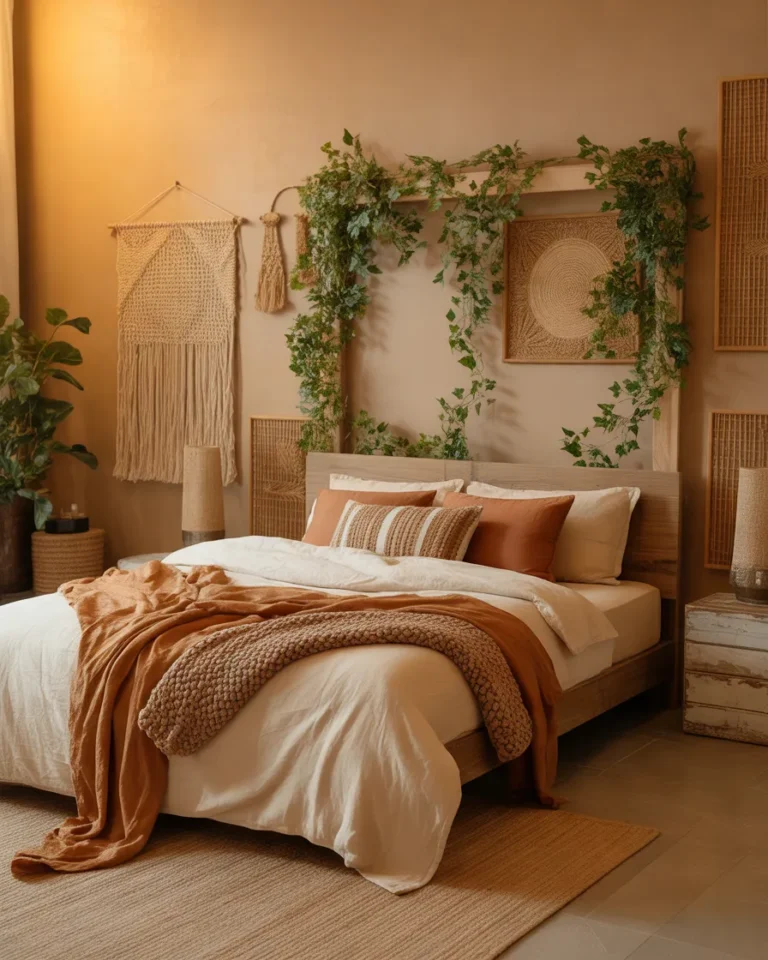
4. A Handmade Woven Wall Hanging
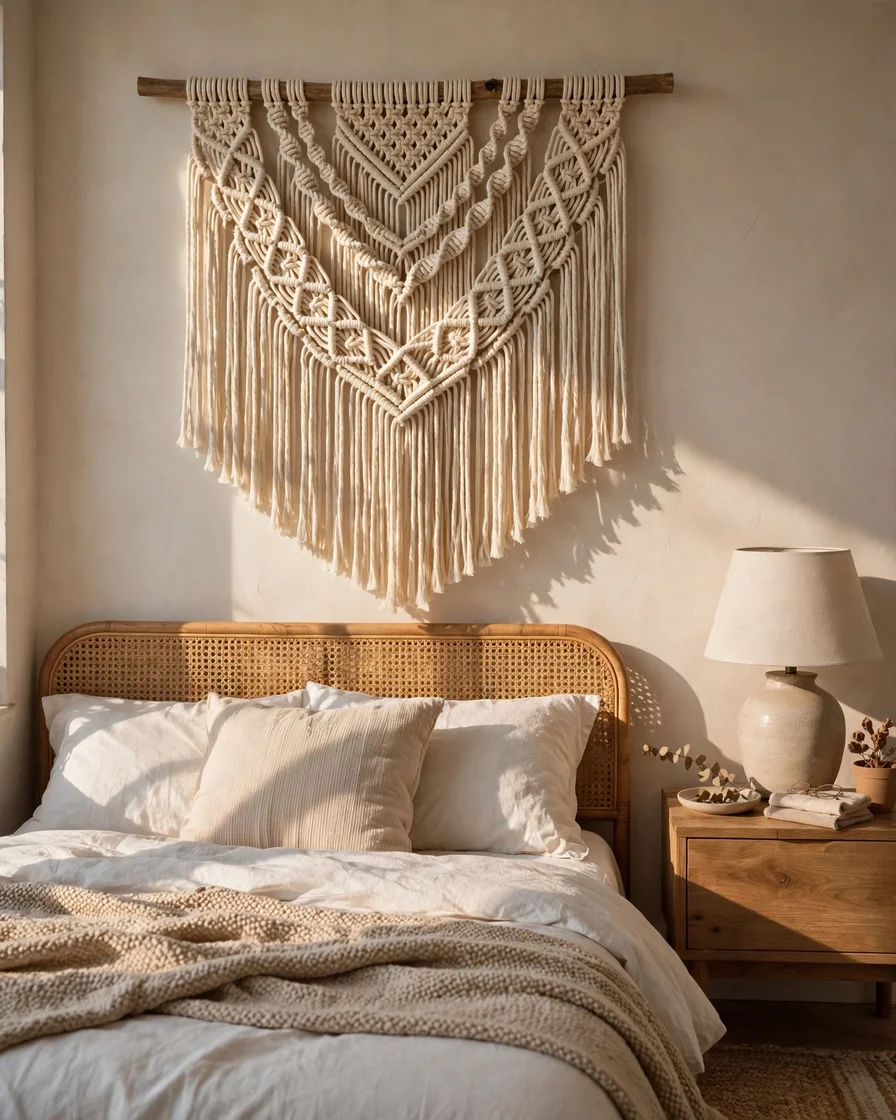
Soft texture separates a bedroom that looks nice from one that feels good to be in, and a woven wall hanging brings it instantly. The piece in the photo is a cream macramé hanging about three feet wide, knotted from cotton cord and draped over a dowel above a low rattan headboard. Its long fringe ends just above the pillows, and the knots catch the afternoon light the way flat art never does.
Hanging one takes five minutes: one nail or adhesive hook holds the dowel, and the cord loops over it. To make your own, a beginner kit with pre-cut cord and a pattern keeps costs low, and a simple design takes one relaxed evening to knot. Hang it where it won’t brush the bed when you sit up.
A finished piece is a modest buy, but the cheapest route is a thrifted dowel, cotton cord, and a free pattern video — a wall hanging that looks store-bought for very little.
Quick Tip: Steam the fringe gently after hanging so it falls straight instead of curling.
5. A Picture Ledge for Layered Art
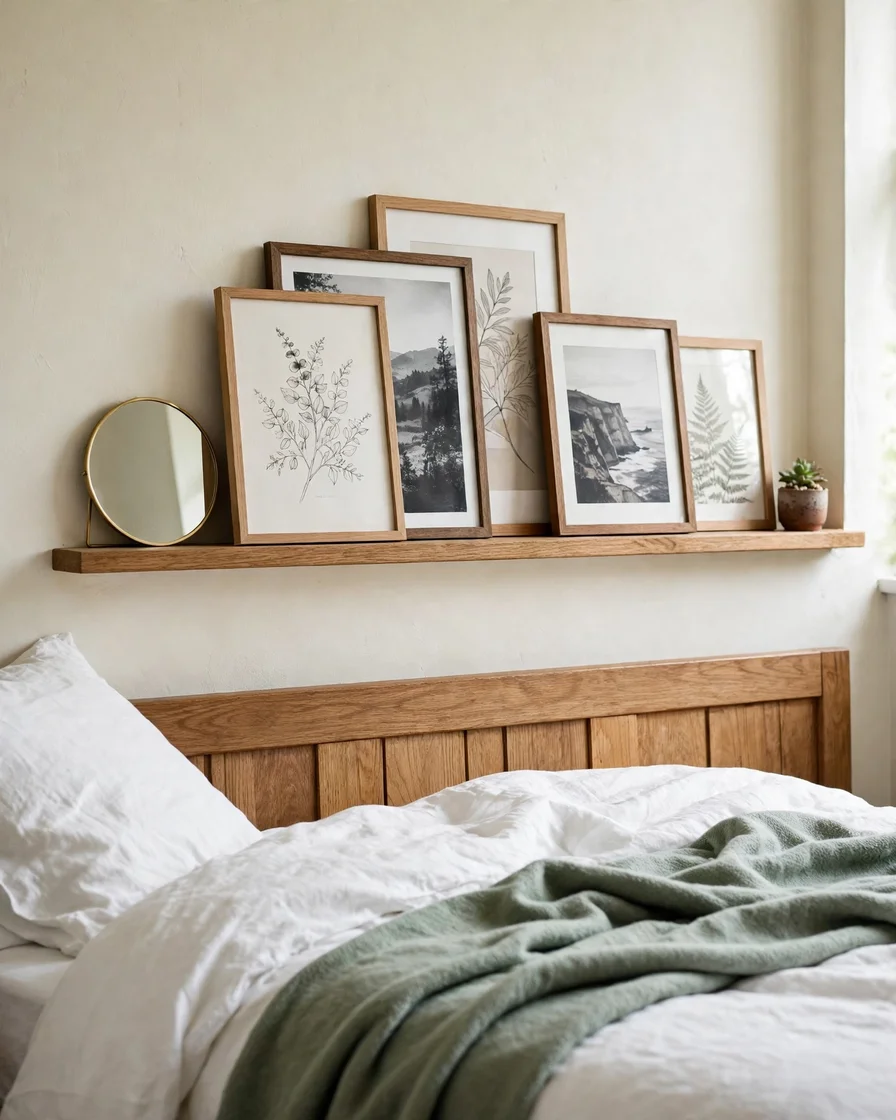
If you change your mind a lot, a picture ledge is the wall decor that keeps up with you. The narrow oak ledge in the photo runs above the bed, holding five framed prints layered at different heights — a botanical sketch in front, a black-and-white photo behind it, and a small round mirror at one end. Nothing is nailed in place, so the display can change in two minutes.
Mount the ledge with the screws and anchors in the box, into studs if you can, about six inches above the headboard. Lean the tallest frame at the back, then overlap smaller ones in front, mixing portrait and landscape orientations. A small plant at one end stops it looking like a row of identical frames.
One ledge is inexpensive and takes 30 minutes to install. A budget trick is a cheap spice rack — the same shallow depth, a fraction of the price — painted to match your wall.
Quick Tip: Keep the heaviest frame in the middle so the ledge doesn’t bow.
6. A Peel-and-Stick Wallpaper Accent Wall
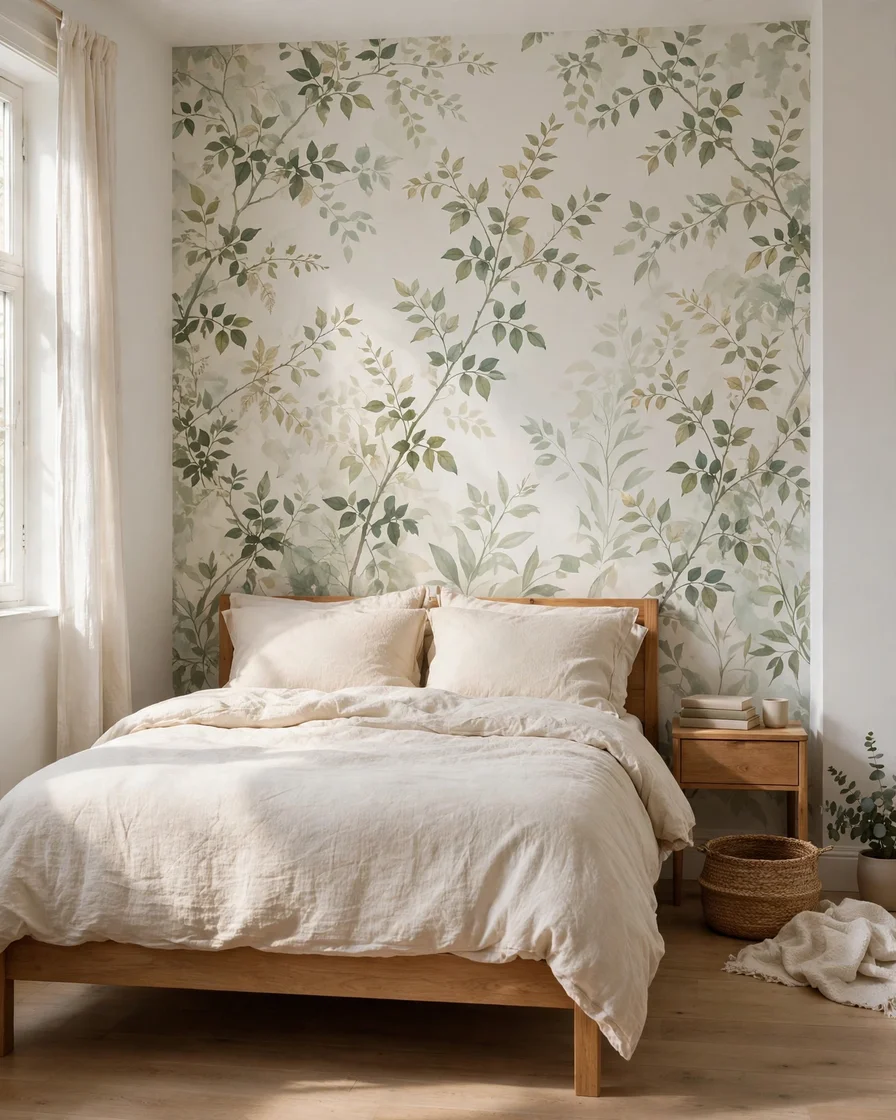
One patterned wall behind the bed can carry the whole room, and peel-and-stick wallpaper makes it a renter-friendly project. The wall in the photo wears a soft sage-and-cream botanical print, delicate leaves climbing behind a simple wooden bed frame. The other walls stay plain white, so the pattern feels like a backdrop rather than a takeover.
Measure the wall and order one extra roll — pattern matching eats more paper than you think. Start at the top corner, peel back a foot of backing, and smooth the strip down with a plastic smoother, working out bubbles as you go. Trim the excess at the ceiling and baseboard with a craft knife.
One accent wall takes two to three hours and a modest amount of paper. If the budget is tight, paper just the strip behind the bed, about four feet wide, and frame the edges with thin trim to use far less paper. For more pattern ideas, browse these wallpaper ideas for bedroom before you order.
Quick Tip: Test one strip in a hidden corner for 24 hours to make sure it peels off cleanly.
7. A Grid of Matching Botanical Prints
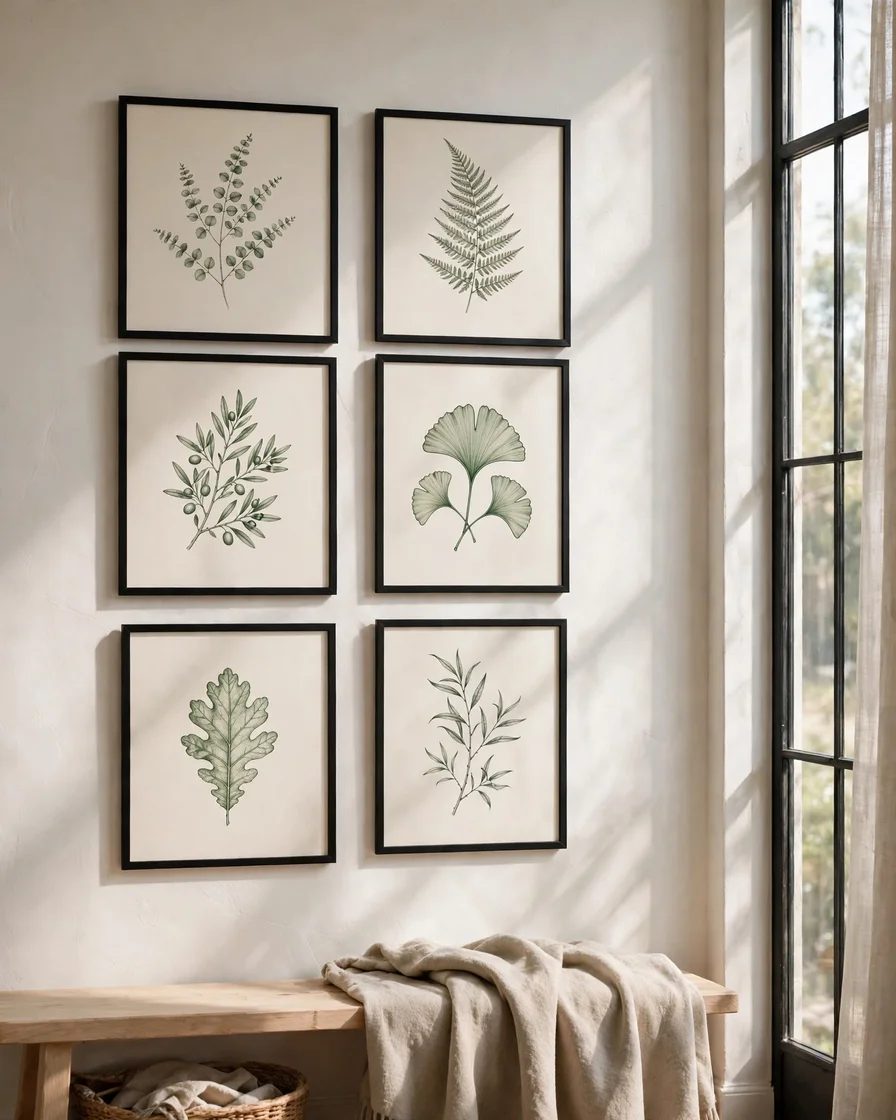
Sometimes the calmest wall is the most organised one. Six botanical prints in identical slim black frames hang in a neat two-by-three grid, each showing a different leaf or stem in muted green ink on cream paper. The grid sits beside the window, where daylight picks up the fine lines, and the even spacing gives the room a quiet, orderly feel.
The trick is precision: use a level and a cardboard spacer — two inches works well — so every frame lines up. Lay the grid out on the floor first, measure the total width, and mark the centre point before hanging the first frame. Matching frames matter more than matching art, so buy six identical frames rather than mixing sizes.
Six frames and prints are a modest spend, and hanging takes an hour. For a cheaper version, press real leaves between book pages for two weeks, then frame them on card stock — the result looks surprisingly like the prints in the photo.
Quick Tip: Keep the grid’s bottom edge at least eight inches above the furniture below it.
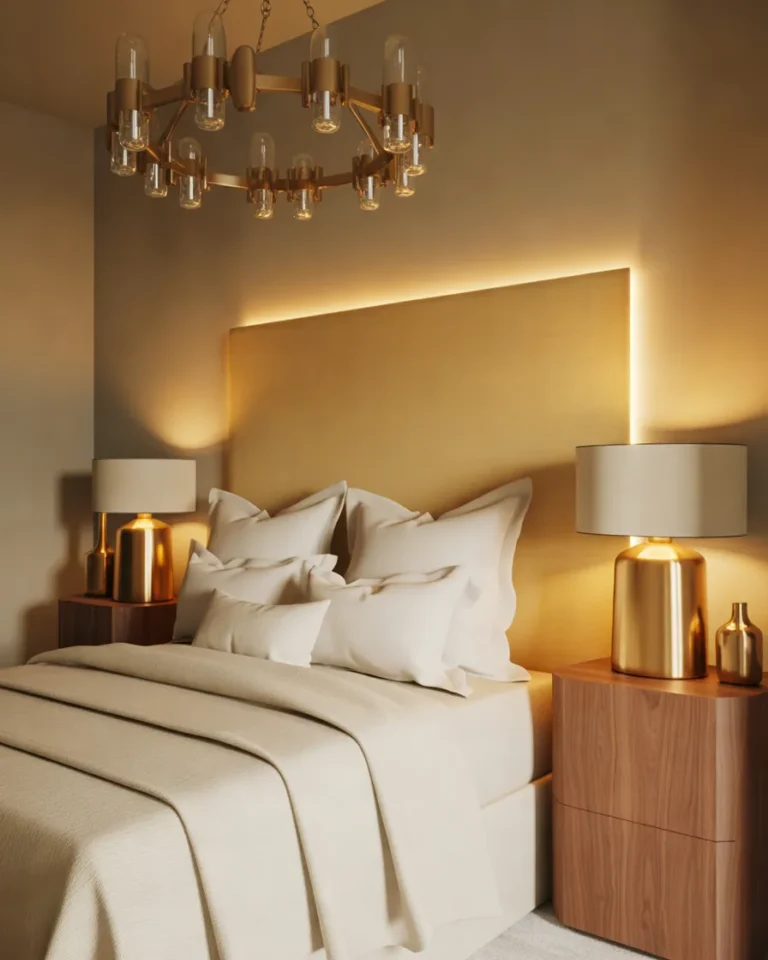
8. Wall Sconces — One of the 15 Wall Decor Ideas for Bedroom Aesthetic That Changes the Light
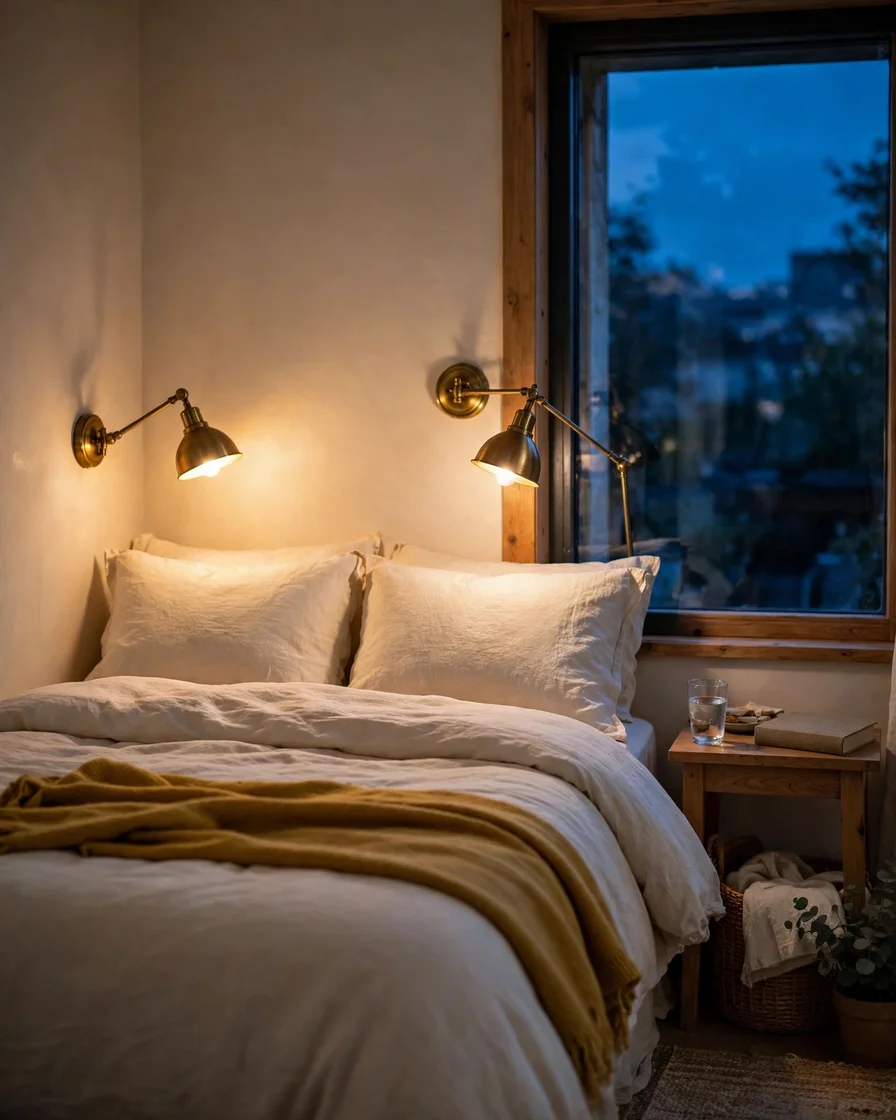
Wall sconces turn lighting into wall decor and free up your nightstands at the same time. In the photo, two brass swing-arm sconces sit on either side of the bed, their warm bulbs glowing against a soft beige wall at dusk. The arms extend over the pillows, so each side gets its own reading light, and the brass catches the light even when the lamps are off.
Plug-in sconces are the easy route — no electrician needed. Mount the bracket 18 inches above the mattress and 12 inches out from the headboard edge, then hide the cord with a paintable cord cover running to the outlet. Hardwired sconces look cleaner but need an electrician, so save those for a room you own.
A pair of plug-in sconces is a moderate buy, and mounting takes under an hour. Thrift stores often have single sconces for next to nothing; buy two that match in style and unify them with spray paint.
Quick Tip: Use warm bulbs, around 2700K, so the light feels cosy at night.
9. A Painted Arch Behind the Bed
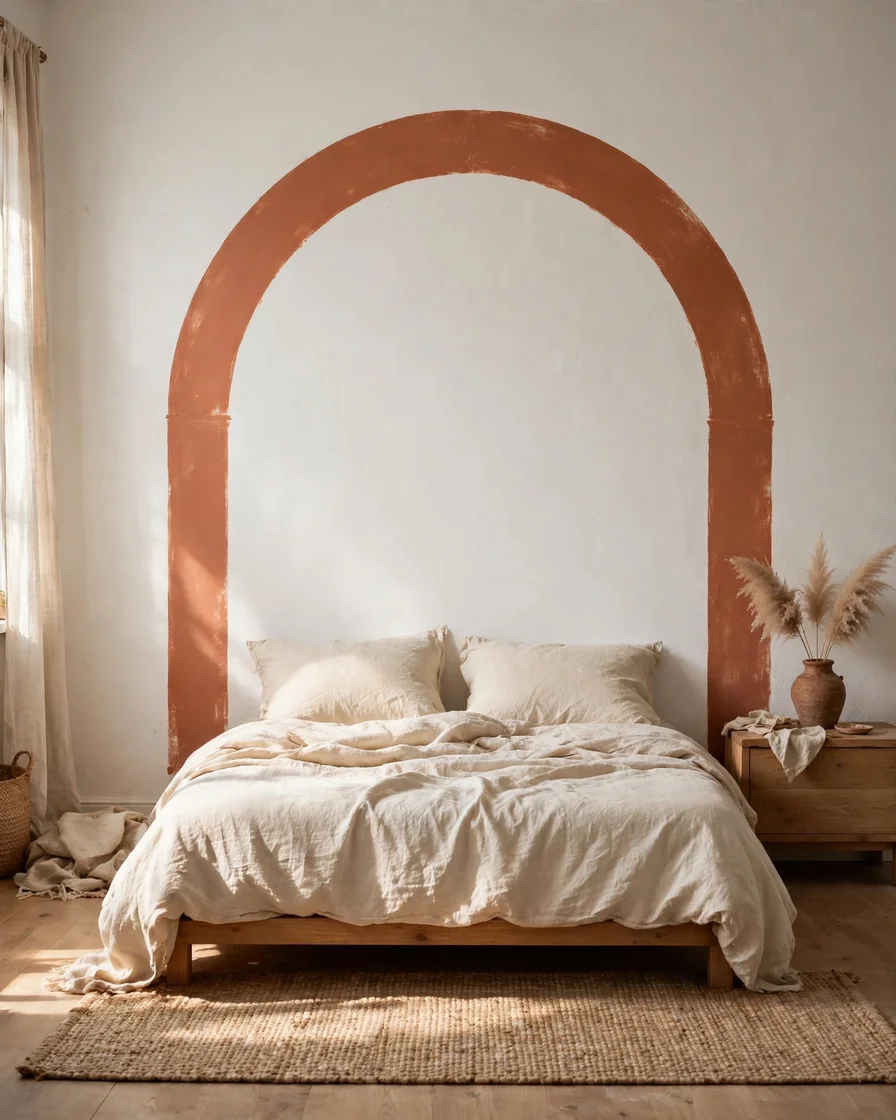
A painted arch gives you the look of a statement headboard for the price of a small can of paint. The arch in the photo is a terracotta curve rising five feet up a white wall, framing a low wooden bed with cream linen. The curve softens the room’s straight lines, and the colour pulls the eye to the bed as the focal point.
Mark the arch with a pencil on a string pinned at the centre point, then swing it to draw a clean curve. Paint the outline with a small brush, then fill in with a roller in two thin coats. Painter’s tape keeps the edges sharp, and a second, thinner arch in a lighter shade adds depth.
One quart of paint is all you need, and the job takes two to three hours including drying time. A sample pot is often enough for one arch, which costs even less. For more ideas for the wall behind your bed, see these behind bed wall decor ideas.
Quick Tip: Make the arch six inches wider than the bed on each side so it frames the bed.
10. A Collection of Decorative Wall Plates
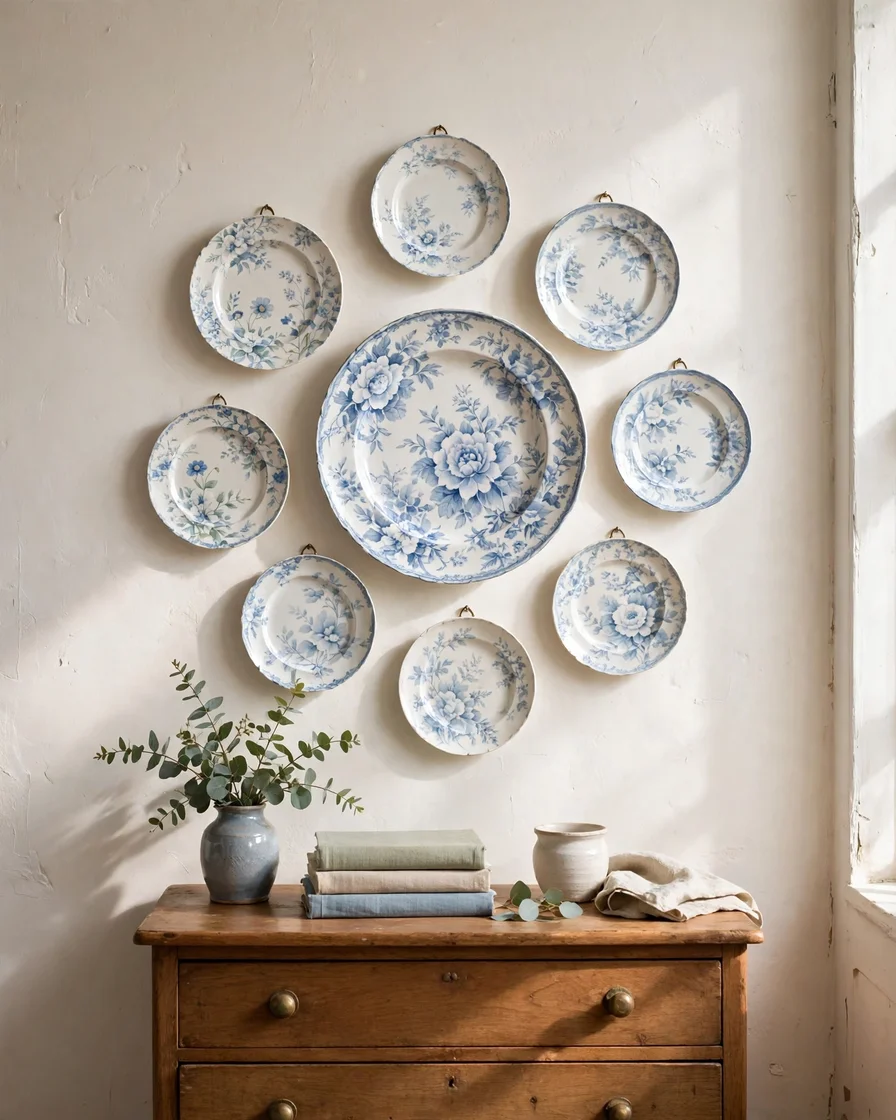
Wall plates sound old-fashioned until you see them done well — then they look like art with a story. Eight plates in blue, white, and soft floral patterns hang in a loose cluster above a dresser in the photo. Sizes range from salad plates to one large serving plate in the centre, and the mix keeps it from looking like a matching set from a catalogue.
Use adhesive or wire plate hangers sized to each plate, and lay the arrangement on the floor first to set the spacing. Start with the biggest plate in the centre and work outward, with gaps of two to three inches. A level helps, but a loose cluster forgives small mistakes better than a strict grid.
Hangers are cheap and thrifted plates cost very little, so the whole wall is a low-cost project that takes an hour to hang. Flea markets and charity shops are the best source — look for one shared colour so the mix still feels intentional.
Quick Tip: Keep plates away from the headboard so a bump in the night can’t knock one loose.
11. A Pegboard That Holds Your Everyday Favourites
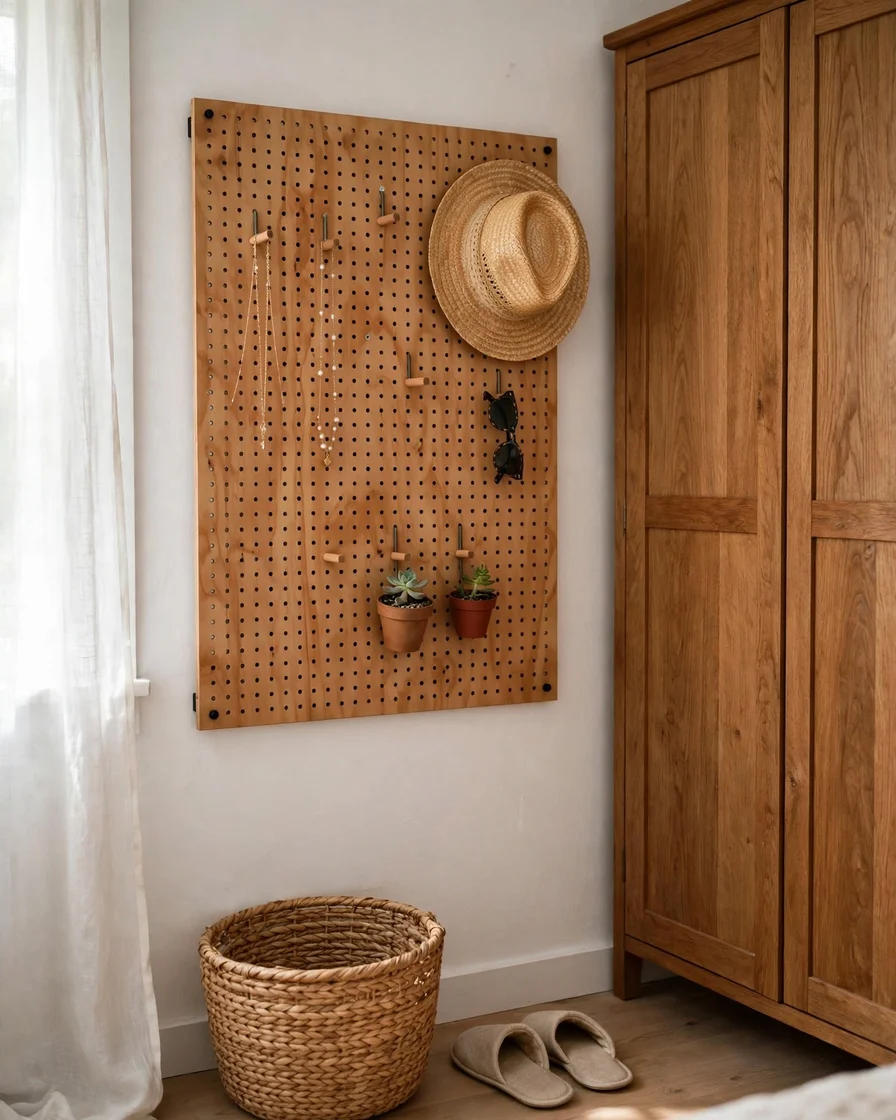
A pegboard turns wall decor into storage you actually use — perfect for a bedroom short on drawer space. The board in the photo is a warm plywood panel about three by four feet, hung beside the wardrobe with hooks holding necklaces, a straw hat, sunglasses, and two potted succulents. Everything is visible at a glance, and the wood warms up a plain white wall.
Mount the board on two battens screwed into studs so it sits an inch off the wall — the gap lets the hooks slide in. Arrange the hooks before hanging anything heavy — daily items at eye level, decorative pieces up high. A coat of stain or paint before mounting makes a plain board look like a design choice, not a workshop leftover.
A pegboard, battens, and hooks are inexpensive, and installation takes an hour. For a smaller version, a framed pegboard from a discount store, hung with adhesive strips, costs even less and holds a week’s worth of jewellery.
Quick Tip: Trace each item’s outline in pencil so everything has a home.
12. Photo Clips on Warm String Lights
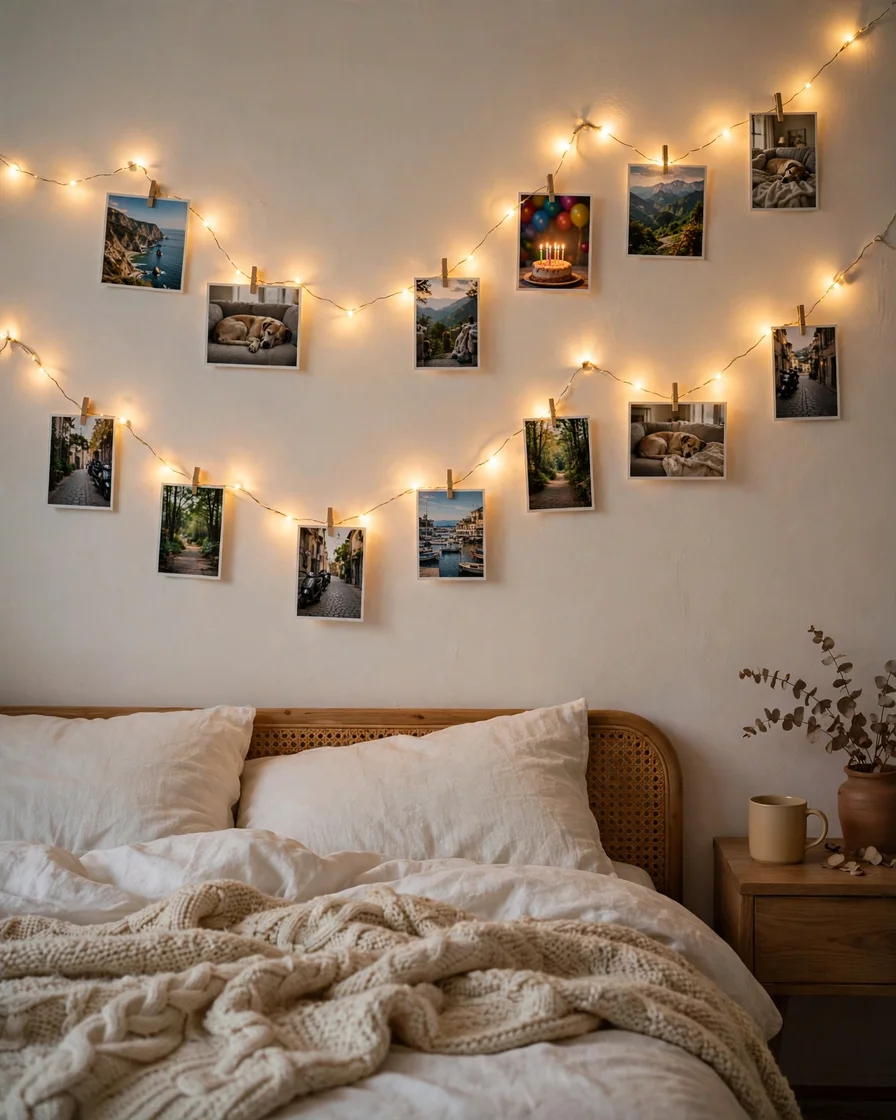
Your own photos make a bedroom feel personal, and string lights give them a glow no frame can match. Two strands of warm fairy lights zigzag above the bed in the photo, with a dozen small prints clipped along them — travel snapshots, a birthday, a dog asleep on a sofa. The lights cast a soft golden wash over the wall at night, and the photos turn it into a timeline of good days.
Hang the lights on small clear adhesive hooks, a foot apart, so the strands sag slightly. Print photos at home or a copy shop, three by four inches, and clip them on with tiny wooden pegs. Keep prints at the same height along each strand so the display looks neat, not tangled.
Lights, hooks, and clips are inexpensive, and the whole thing takes under an hour. Cheaper still: reuse last year’s holiday lights and print photos on regular paper. Find more ways to show photos on the wall in these bed wall decor ideas with photos.
Quick Tip: Use LED lights — they stay cool and won’t warm the photos or the wall.
13. A Picture-Frame Molding Wall for Instant Architecture
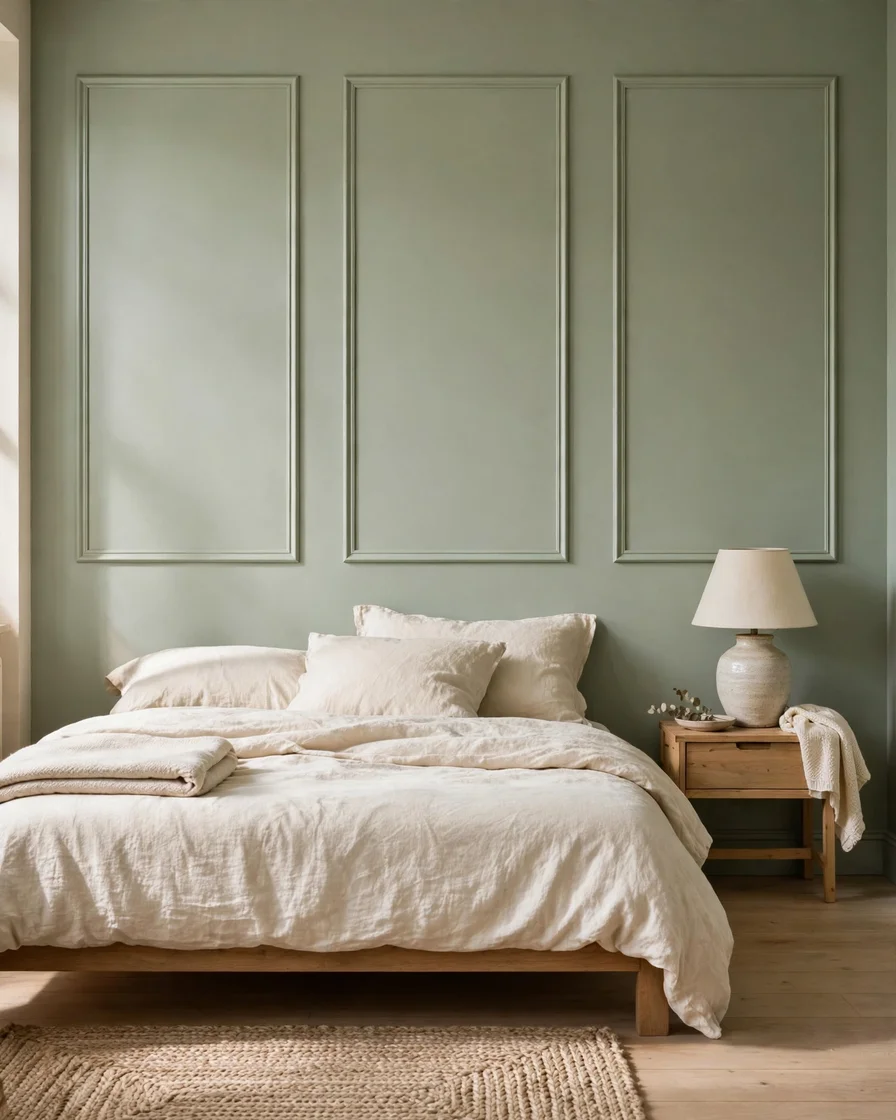
Picture-frame molding turns a flat, forgettable wall into something that looks built in. Thin molding strips form large rectangles on the wall behind the bed, painted the exact same color as the wall, so the panels read as shadows and depth rather than decoration. From the doorway it looks like the room came with the detail — quiet, tailored, and far more expensive than it was.
Start by marking your rectangles on the wall with a pencil and a level — two or three panels across the bed wall, each about 30 inches wide with 4 inches between them. Cut thin molding strips (pine or MDF) with a mitre box, glue them to the marked lines, and pin them with small brad nails. Fill the joints and nail holes, sand smooth once dry, then paint the whole wall, molding included, in one color.
Molding strips are inexpensive for a bed wall, plus paint you may already own, and the job takes a weekend afternoon. The budget version uses peel-and-stick molding strips, which need no nails and come off cleanly in a rental.
Quick Tip: Keep the rectangles the same size and spacing — even gaps are what make molding look professional rather than homemade.
14. A Hand-Painted Mural in Soft Tones
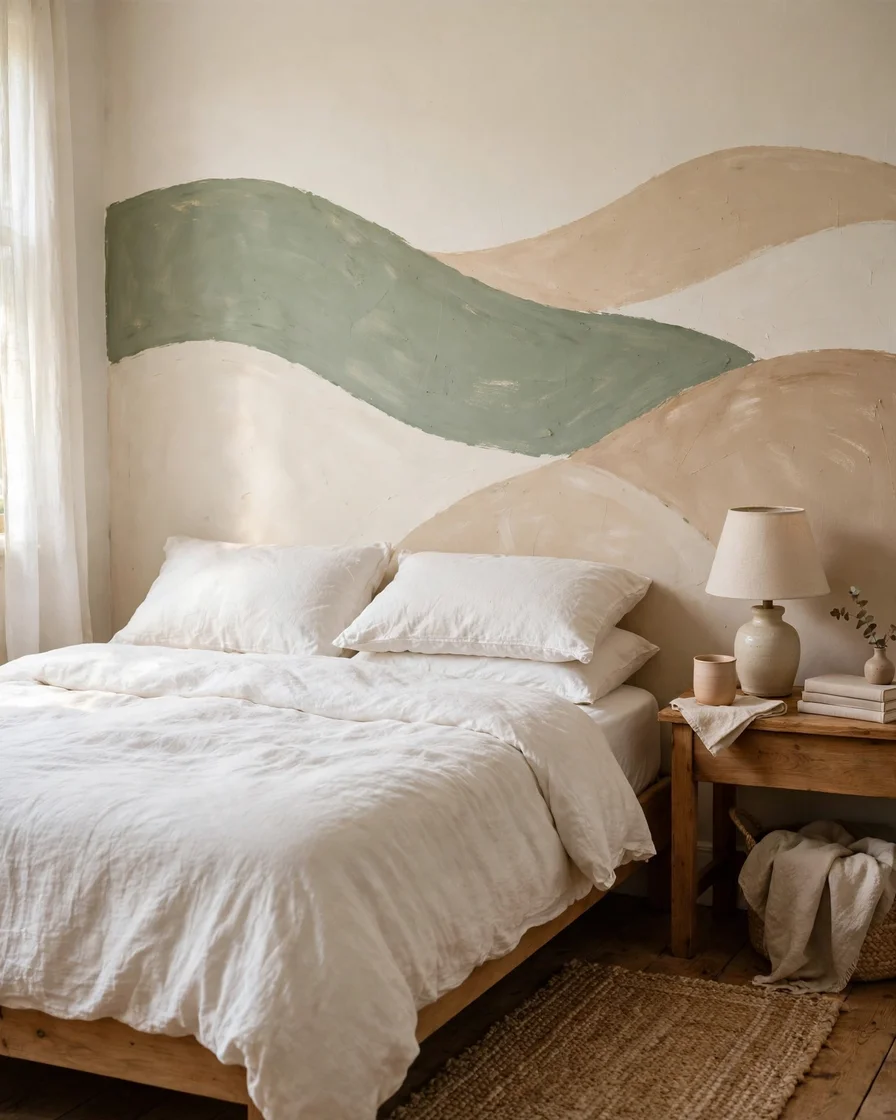
A mural is the boldest move here, and it doesn’t need an artist’s hand — simple shapes in soft colours do the work. The wall in the photo shows rolling hills in muted sage, clay, and cream, painted in wide curves behind a bed with white bedding. The shapes are simple enough to paint with a roller and a brush, but the effect is anything but: the room feels calm, like waking up in a landscape.
Sketch the design on paper, then draw it on the wall with a light pencil grid. Paint the largest shapes first with a roller, let each colour dry before adding the next, and use a small angled brush where colours meet. Two or three muted colours are plenty — more starts to look busy.
Paint and brushes are a low-cost buy, and a simple mural takes an afternoon. If freehand feels risky, project the design with a cheap projector or trace a printed template taped together on the wall — the lines stay clean without any drawing skill.
Quick Tip: Pick mural colours a shade lighter than you want — paint dries darker than it looks wet.
15. Woven Baskets for a Warm, Handmade Wall
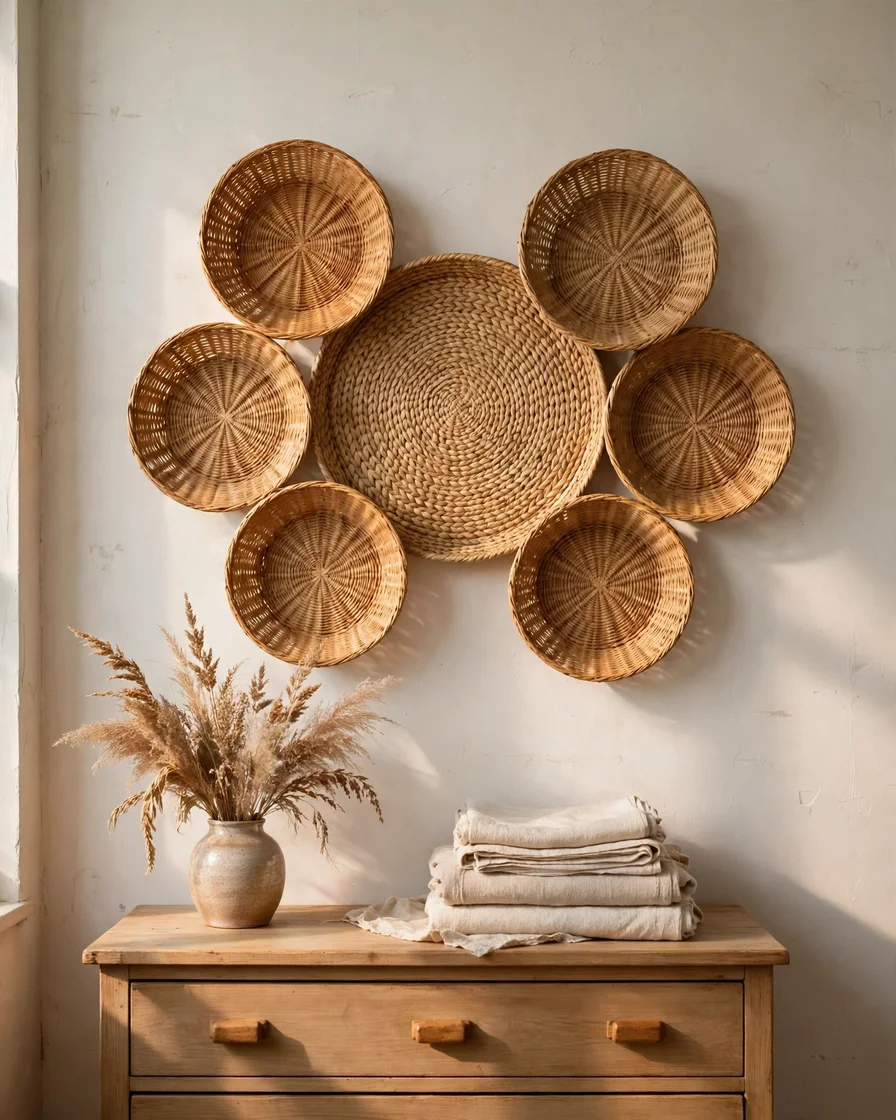
Woven baskets bring natural texture and a handmade feel to the wall for very little money. Seven seagrass and rattan baskets group above a dresser in the photo, from a wide flat tray in the centre to small round bowls at the edges. Their honey tones play well against the pale wall, and the woven patterns add detail you notice the longer you look.
Hang each basket with a nail through its weave or an adhesive hook for lighter ones, starting with the largest in the centre. Overlap the edges slightly so the group reads as one composition, not separate pieces. Thrift stores are the best hunting ground — baskets turn up for next to nothing, and mixed sizes matter more than matching patterns.
The display is low-cost and takes 45 minutes to arrange. For an even cheaper version, use baskets you already own; a kitchen fruit basket and a couple of storage baskets work just as well on the wall as on a shelf.
Quick Tip: Seal the baskets with clear spray first so dust doesn’t settle in the weave.
Expert Tips
- Hang at eye level: Keep the centre of a piece or grouping about 57 inches from the floor — gallery height.
- Renters, skip the drill: Command strips, adhesive hooks, and leaning pieces hold most wall decor without a hole. Test adhesives on a hidden spot first, and follow the weight limits on the packet.
- Think in odd numbers: Groups of three, five, or seven look more natural than even numbers — for frames, plates, baskets, and shelf objects alike.
- Mind the scale: Art above a bed should span about two-thirds of the bed’s width — a small print over a king bed looks lost, and an oversized piece over a twin looms.
- Light your walls: A small picture light or sconce aimed at a gallery wall keeps the art alive at night. Warm bulbs keep the mood soft.
Final Thoughts
Not sure where to start? Begin with the gallery wall, the woven wall hanging, or the photo string lights — all three are cheap, quick, and forgiving. Each one changes the room in a single evening, with no drill, big budget, or design degree needed.
Pick one wall, one idea, and one evening this week. Hang the first frame, knot the first row, or clip the first photo — the rest of the wall can wait. The hardest part is starting, and you’ve already got the ideas.
How much does bedroom wall decor cost?
It depends on whether you buy new or repurpose and thrift what you already own. Most ideas here are low-cost — a painted arch or basket display uses little more than paint or baskets you already have — while a full gallery wall costs more. Start with one wall and add pieces as you go.
Can I decorate bedroom walls in a rented home?
Yes — most of these ideas are renter-friendly if you skip the drill. Use adhesive strips and hooks, lean mirrors and ledges against the wall, and choose peel-and-stick wallpaper that removes cleanly. Test adhesives in a hidden spot first. If in doubt, ask your landlord before hanging anything heavy.
How do I choose wall decor for a small bedroom?
Pick one focal wall and keep the rest simple. A large mirror or a single oversized print works better than many small pieces, because it opens the room up instead of chopping it into pieces. Light colours and vertical shapes help too.
What height should I hang art above the bed?
Hang art so its centre sits about 57 inches from the floor, or 6 to 8 inches above the headboard. For a grouping, measure the centre of the whole arrangement, not one frame. That keeps the art connected to the bed instead of floating near the ceiling.
How do I stop wall decor from looking cluttered?
Limit each wall to one main display and leave empty space around it. Group similar items together — one gallery wall, one shelf, one basket cluster — instead of scattering pieces everywhere. If your eye doesn’t know where to land, remove one thing.