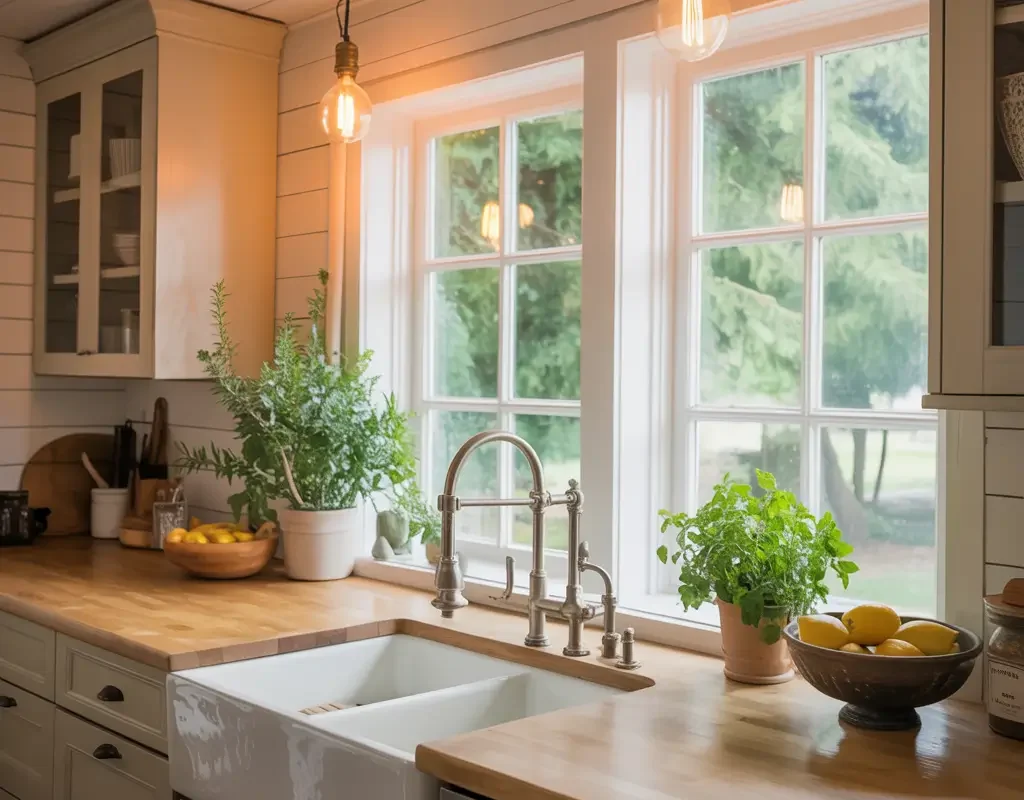
Look up! No, seriously, when was the last time you actually noticed your kitchen ceiling? If you’re like most people, that bland white expanse above your head gets about as much attention as your router manual. But here’s the thing – your kitchen ceiling is literally the fifth wall, and ignoring it is like wearing a gorgeous outfit with dirty shoes.
I learned this lesson the hard way after spending thousands on a kitchen remodel, only to realize my popcorn ceiling made everything look like a 1980s time capsule. Three weeks and one ceiling makeover later, my kitchen went from “meh” to magazine-worthy. Trust me, the ceiling makes or breaks the entire space.
Ready to transform that forgotten surface into something that’ll make your morning coffee taste better? Let’s explore these game-changing ceiling ideas that’ll brighten your kitchen and maybe even make washing dishes slightly less awful.
Table of Contents
- 1 Coffered Ceiling with Recessed Lighting
- 2 Exposed Wooden Beams
- 3 Tray Ceiling with LED Cove Lights
- 4 Painted Patterned Ceiling
- 5 Shiplap Ceiling Panels
- 6 Glossy Stretch Ceiling
- 7 Skylight-Integrated Ceiling
- 8 Metal Tile Ceiling
- 9 Rustic Beam and Plank Combination
- 10 Floating Panel Ceiling
- 11 Mirrored Ceiling Accents
- 12 Industrial Pipe and Pendant Ceiling
- 13 Vaulted Ceiling with Skylights
- 14 Textured Plaster Ceiling
- 15 Minimalist White Ceiling with Recessed Spots
- 16 Bringing It All Together
Coffered Ceiling with Recessed Lighting
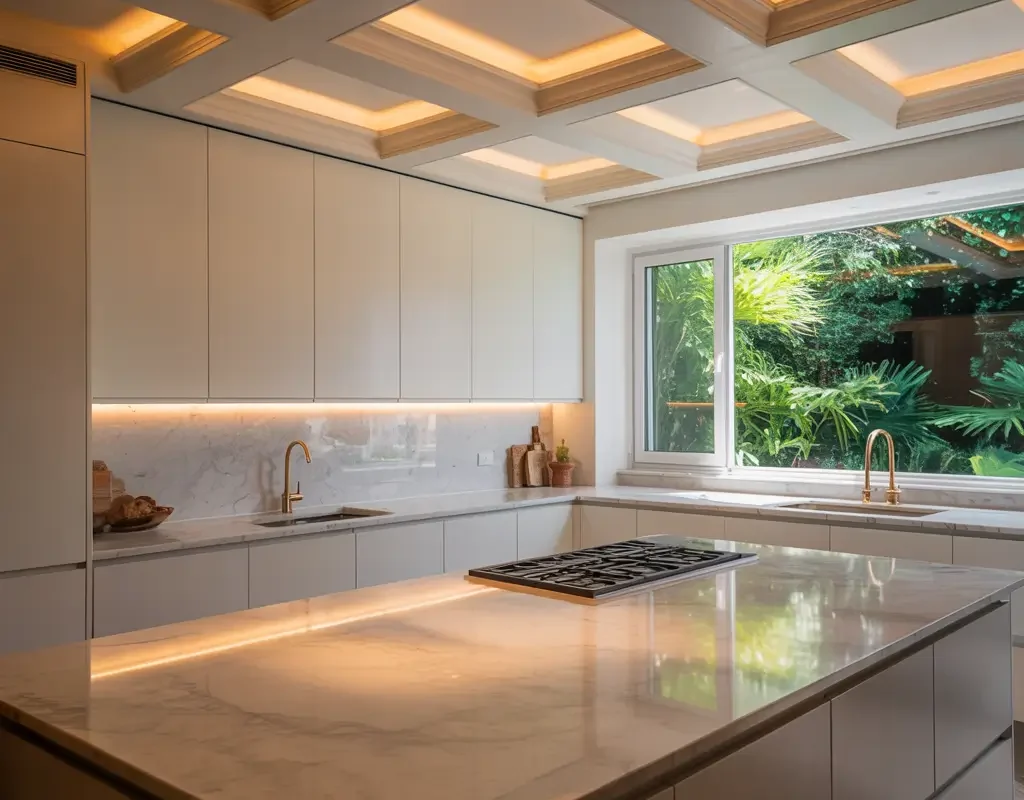
The Classic That Never Gets Old
Coffered ceilings bring instant sophistication to any kitchen, and when you add recessed lighting? Chef’s kiss. These geometric grids create depth and drama while providing perfect spots to hide your lighting fixtures.
I installed coffered ceilings in my last kitchen renovation, and the transformation stunned everyone who walked in. The recessed lights tucked into each coffer eliminated shadows completely – suddenly I could actually see what I was chopping instead of playing vegetable roulette.
The best part? You control exactly where light falls. Position lights over your prep areas, sink, and island for task lighting that actually works. No more cooking in your own shadow like some culinary vampire.
Installation Insights
Here’s what nobody tells you about coffered ceilings:
• Budget for at least $25-35 per square foot (unless you’re handy with DIY)
• Minimum 9-foot ceilings work best (8-foot can feel cramped)
• White coffers reflect light better than wood tones
• LED bulbs save money and last forever
• Dimmer switches are non-negotiable for ambiance
Exposed Wooden Beams
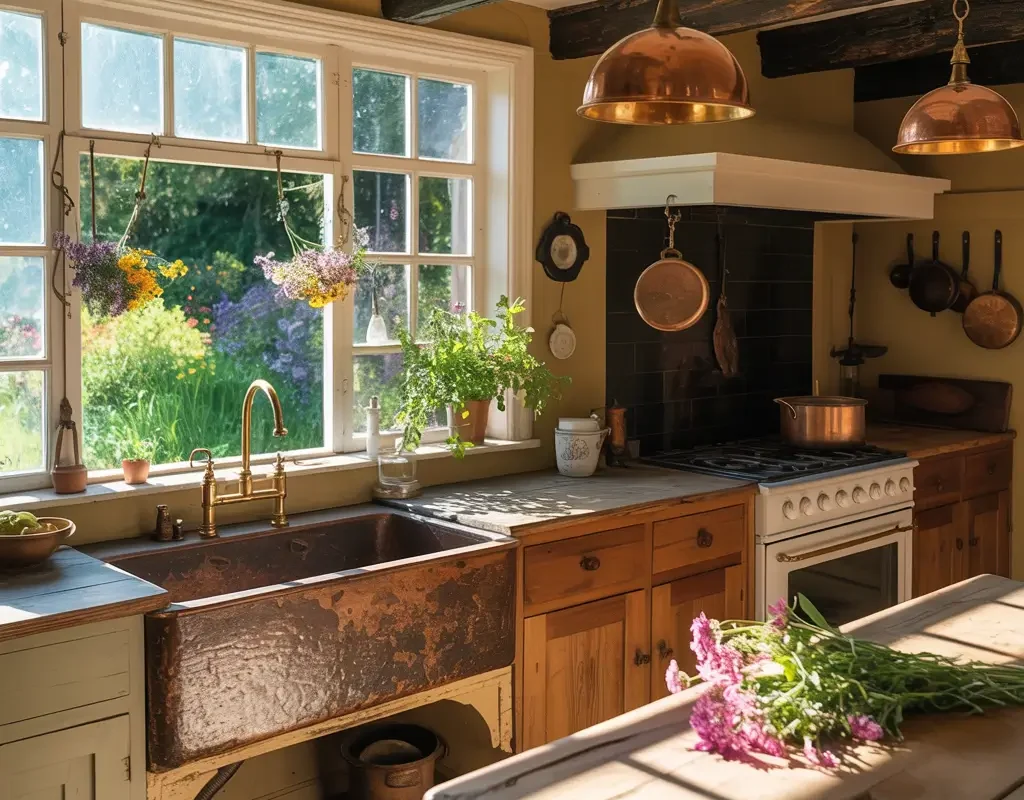
Bringing Warmth Overhead
Want to make your kitchen feel like that cozy farmhouse on Instagram? Exposed wooden beams deliver instant character without requiring an actual farm. Whether you go real or faux (no judgment here), beams add architectural interest that plain ceilings can only dream about.
My friend installed faux beams last summer, and I honestly couldn’t tell they weren’t real until she confessed. The lightweight polyurethane versions look incredibly authentic and won’t have you reinforcing your ceiling structure. Plus, they’re hollow – perfect for hiding those ugly cables.
Natural wood beams work magic in modern kitchens too. The contrast between sleek cabinets and rustic beams creates that coveted transitional style everyone’s after these days.
Beam Selection Strategy
Consider your kitchen’s personality when choosing beams. Dark walnut beams create drama in white kitchens. Weathered gray beams complement coastal themes. Light pine keeps things airy in smaller spaces.
Remember that beams can make low ceilings feel even lower. If your kitchen feels cramped, paint beams the same color as your ceiling to add texture without sacrificing height.
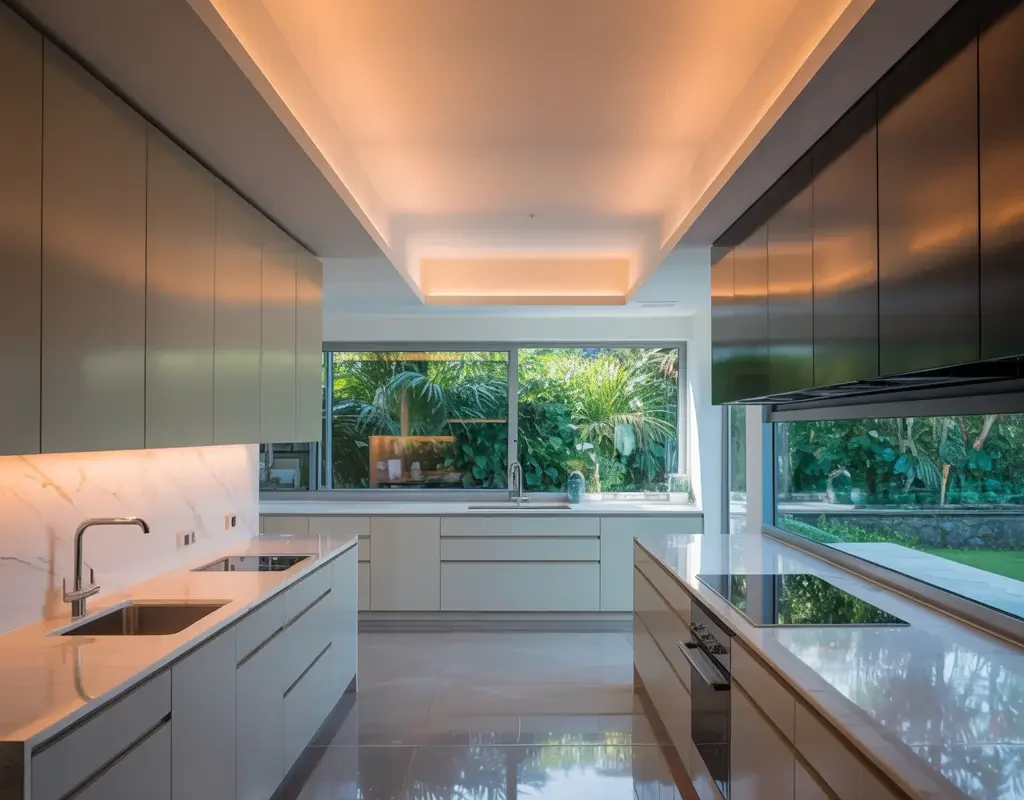
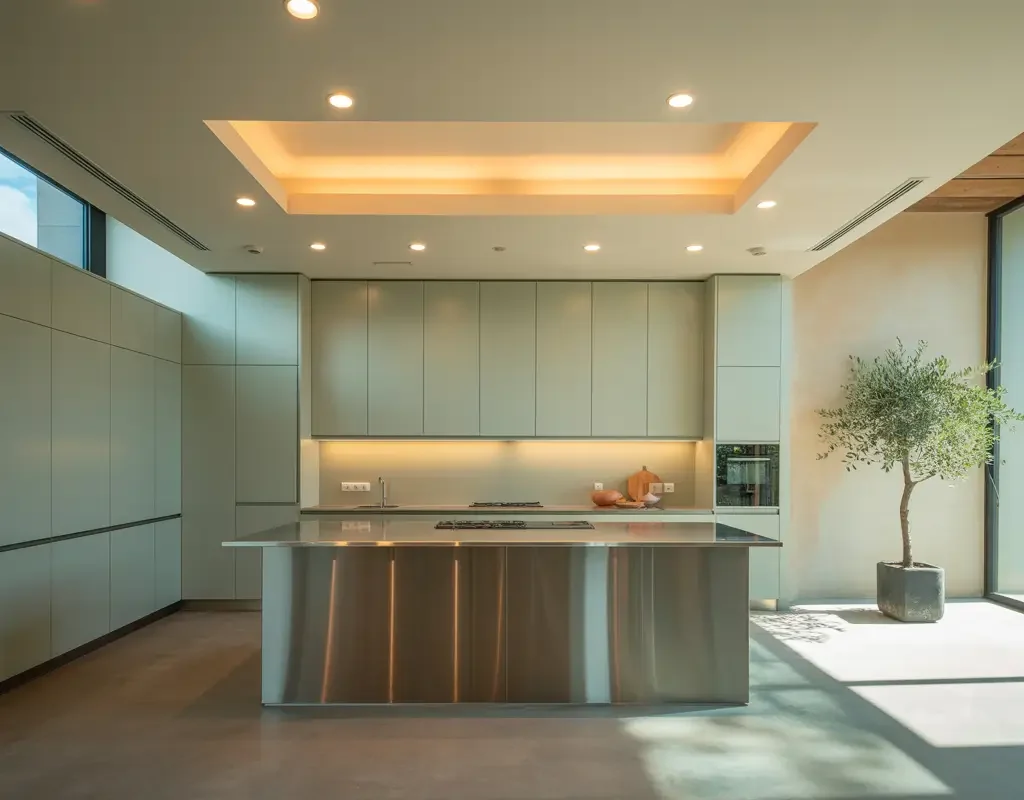
Tray Ceiling with LED Cove Lights
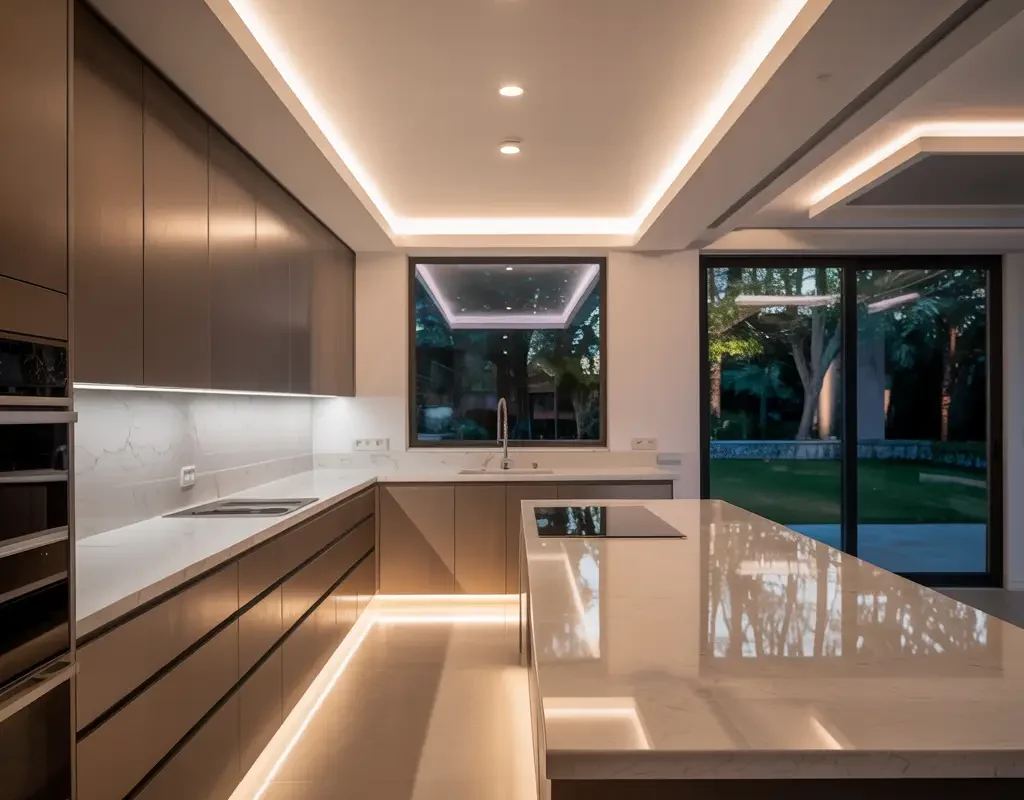
The Mood-Maker Special
Tray ceilings with LED cove lighting turn ordinary kitchens into something special. That recessed center section creates an architectural focal point while the hidden LED strips provide ambient lighting that makes everyone look better. Seriously, it’s like having a permanent Instagram filter for your kitchen.
I installed cove lighting in my current kitchen, and now I barely use the overhead fixtures. The soft glow bouncing off the ceiling creates perfect mood lighting for dinner parties. Even my burned casseroles look appetizing under this lighting.
What makes this combo brilliant? The light washes upward, eliminating harsh shadows while making your ceiling appear higher. It’s an optical illusion that actually delivers practical benefits.
LED Strip Selection Tips
• Choose warm white (3000K) for cozy vibes
• Cool white (4000K) works for modern aesthetics
• Install dimmers to adjust intensity
• Use waterproof strips near cooking areas
• Consider smart LED strips for color options
Also Read: 15 Lovely Ceiling Design Bedroom Ideas Bright Space Lift
Painted Patterned Ceiling
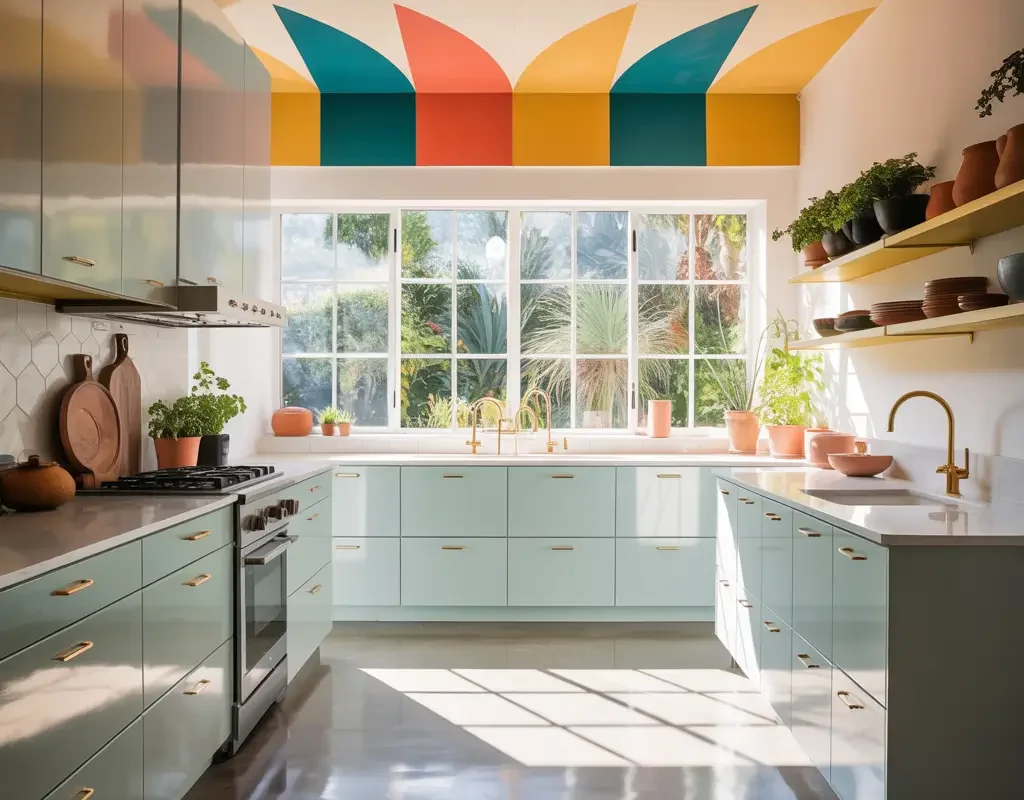
Bold Moves for Brave Souls
Who says ceilings must be white? A painted pattern overhead adds personality that transforms your kitchen from basic to breathtaking. Think geometric designs, stripes, or even a subtle stenciled pattern that makes guests look up and smile.
My neighbor painted chevron stripes on her kitchen ceiling last year. Did everyone think she’d lost it? Absolutely. Does her kitchen now look like it belongs in a design blog? Also absolutely. The key is choosing patterns that complement, not compete with, your existing décor.
Start subtle if you’re nervous. A tone-on-tone pattern in similar shades creates interest without screaming for attention. Metallic accents in the paint catch light beautifully and add unexpected glamour.
Pattern Painting Pointers
The ceiling is actually easier to paint than walls – no furniture to work around! Use painter’s tape for crisp lines, and please, invest in a good roller extension pole. Your neck will thank you.
Consider your kitchen’s size before going wild. Large patterns overwhelm small spaces, while tiny patterns get lost in big kitchens. Test your pattern on poster board first to avoid expensive mistakes.
Shiplap Ceiling Panels
Coastal Charm Meets Kitchen Function
Shiplap isn’t just for walls anymore, folks. Installing shiplap on your kitchen ceiling creates texture and visual interest that flat drywall could never achieve. Plus, those horizontal lines make narrow kitchens feel wider – it’s basically architectural wizardry.
I jumped on the shiplap bandwagon two years ago, and honestly? No regrets. The installation was straightforward enough for a weekend DIY project, and the transformation was immediate. My kitchen went from builder-grade boring to custom charming.
Paint shiplap white for that classic coastal look, or go bold with navy or charcoal for drama. Natural wood shiplap brings warmth, while painted versions offer endless color possibilities.
Shiplap Success Secrets
• MDF shiplap costs less than wood and paints beautifully
• Leave gaps consistent (nickels work as spacers)
• Run planks perpendicular to joists for easier installation
• Prime before installing to save time
• Caulk gaps for a seamless painted finish
Glossy Stretch Ceiling

The Modern Marvel
Ever wanted a ceiling that looks like glass? Glossy stretch ceilings deliver that wow factor while being completely practical for kitchens. These PVC membranes stretch tight across your ceiling, creating a perfectly smooth, reflective surface that makes your kitchen feel twice as big.
A friend installed one last year after water damage ruined her original ceiling. Instead of just replacing drywall, she went for a glossy stretch ceiling. Now her tiny galley kitchen feels enormous, and the reflection of her pendant lights creates this gorgeous sparkle effect.
The material resists moisture, mold, and stains – basically everything kitchens throw at it. Spatter spaghetti sauce? Wipes right off. Steam from cooking? No problem.
Stretch Ceiling Considerations
This isn’t a DIY project unless you’re seriously handy. Professional installation runs $15-20 per square foot, but the results last decades. The membrane hides imperfections, pipes, and wiring while providing a flawless finish.
Also Read: 10 Chic Profile Light Ceiling Design Ideas for Dream Homes
Skylight-Integrated Ceiling
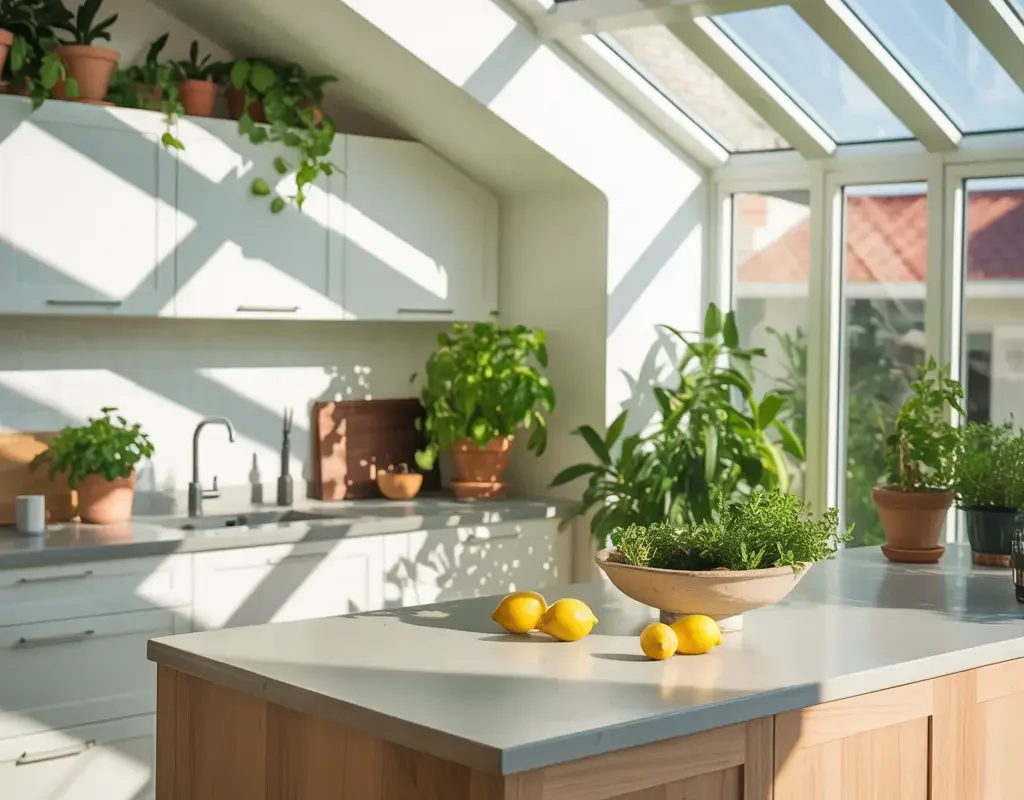
Natural Light Game-Changer
Nothing beats natural light, and skylights flood your kitchen with sunshine while making your ceiling infinitely more interesting. Modern skylights come with rain sensors, remote controls, and even built-in blinds for when that sunshine gets too enthusiastic.
I added two skylights during my renovation, positioning them strategically over my island. Morning coffee now comes with a side of vitamin D, and my herb garden on the counter actually thrives. The natural light makes colors pop and eliminates that cave-like feeling many kitchens suffer from.
Energy bills dropped too – who needs lights during the day when the sun provides free illumination? Ventilating skylights also help release cooking heat and odors, basically turning your ceiling into a giant exhaust fan.
Skylight Shopping Wisdom
• Fixed skylights cost less but don’t open
• Ventilating models provide airflow
• Tubular skylights work for small spaces
• Consider solar-powered options for eco-points
• Install UV-filtering glass to protect interiors
Metal Tile Ceiling
Industrial Chic Excellence
Metal ceiling tiles bring unexpected elegance to kitchens, whether you choose genuine tin or modern aluminum alternatives. These pressed patterns add vintage charm while being completely practical for kitchen environments.
My sister installed copper-finished metal tiles in her kitchen, and the warmth they add is incredible. The metallic surface bounces light around while the raised patterns create shadows and depth. It’s like having artwork overhead that also happens to be water and fire-resistant.
Don’t think metal tiles mean industrial only. Painted versions offer color options while maintaining that distinctive texture. White metal tiles look surprisingly cottage-appropriate, while dark bronze screams sophisticated urban loft.
Metal Tile Installation Tips
Most metal tiles install directly over existing ceilings with adhesive or nail-up systems. The lightweight materials won’t stress your ceiling structure. Choose nail-up systems for authentic looks, or go with drop-in tiles for easier installation.
Rustic Beam and Plank Combination
Double the Texture, Double the Impact
Why choose between beams and planks when you can have both? Combining rustic beams with wood planks creates a ceiling that demands attention while making your kitchen feel like a cozy lodge.
This combination worked perfectly in my cousin’s mountain house kitchen. Dark beams against lighter planks created contrast that defines the space beautifully. The planks run perpendicular to the beams, creating a grid pattern that’s architectural eye candy.
This style works surprisingly well in modern kitchens too. Painted white planks with natural wood beams bridge traditional and contemporary styles perfectly. Add modern lighting, and you’ve got that transitional look everyone’s chasing.
Combination Coordination
Balance is everything here:
• Thick beams need wider planks for proportion
• Contrast colors for definition
• Space beams evenly for symmetry
• Consider faux options to reduce weight
• Seal everything to handle kitchen moisture
Also Read: 10 Charming POP Ceiling Design Ideas with Wow Factor
Floating Panel Ceiling
The Acoustic Advantage
Floating panels create a modern, layered look while secretly improving your kitchen’s acoustics. These suspended elements break up sound waves, reducing that echo chamber effect that makes kitchens sound like train stations.
I discovered floating panels at a restaurant and immediately wanted them for my kitchen. The installation involved creating a suspended grid with decorative panels that appear to float below the actual ceiling. LED strips between panels create this amazing glow that makes the panels seem to levitate.
Beyond looking incredible, these panels hide ugly ceiling imperfections, HVAC systems, and wiring. You get a clean, modern look without major ceiling reconstruction.
Panel Planning Points
The gap between your existing ceiling and floating panels needs planning. Too close and you lose the floating effect; too far and you sacrifice headroom. Aim for 6-12 inches for the best visual impact.
Mirrored Ceiling Accents

Reflection Perfection
Before you panic – I’m not suggesting you mirror your entire kitchen ceiling like some 1970s nightmare. Strategic mirror accents brighten your kitchen while adding unexpected glamour that actually works.
I added mirror tiles in a border pattern around my kitchen ceiling’s perimeter. The reflection doubles the impact of my pendant lights while making the space feel larger. Plus, checking if you have spinach in your teeth while cooking? Priceless convenience.
Antique mirror tiles add character without the harsh reflection of standard mirrors. The slightly distressed surface creates a softer, more forgiving reflection that flatters everyone.
Mirror Mounting Methods
• Use lightweight acrylic mirrors to reduce weight
• Antiqued mirrors hide imperfections better
• Install in patterns rather than solid coverage
• Consider tinted mirrors for subtle color
• Ensure secure mounting (falling mirrors = bad day)
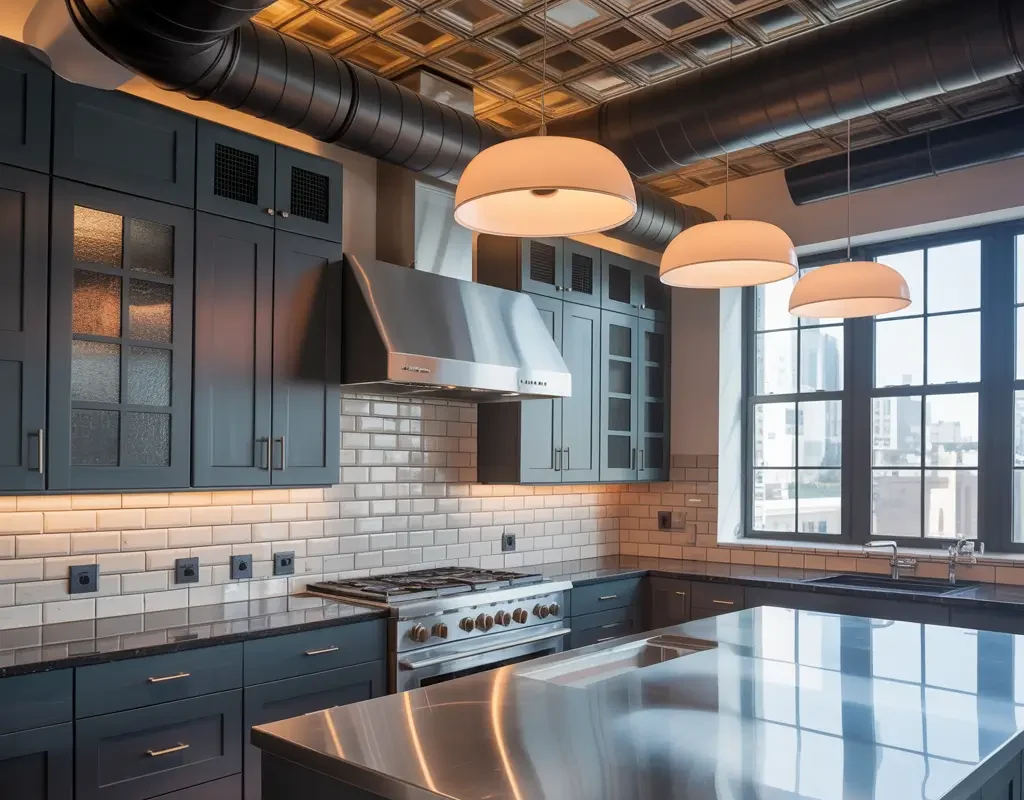
Industrial Pipe and Pendant Ceiling
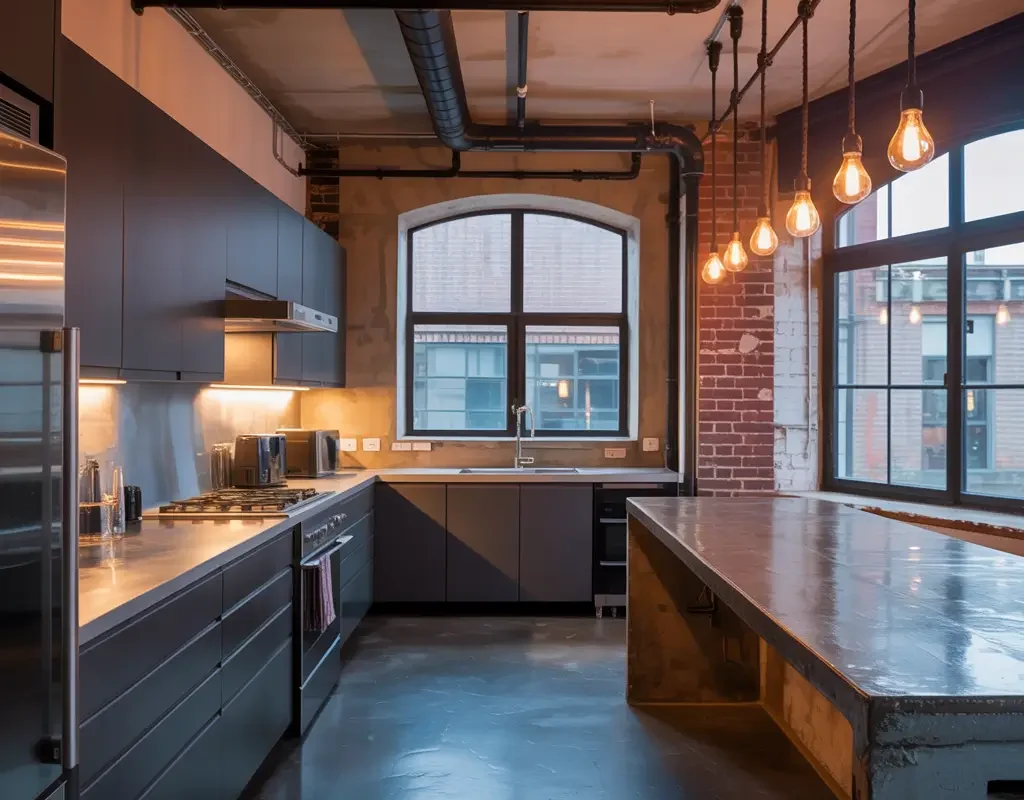
Exposed Elements Excellence
Industrial design celebrates function as form, and exposed pipes paired with pendant lighting create a ceiling that’s both practical and stylish. This isn’t about hiding infrastructure – it’s about making it the star.
My downtown loft came with exposed pipes that I initially wanted to cover. Instead, I painted them matte black and added vintage Edison bulb pendants. Now everyone asks who my designer was. (Spoiler: it was poverty and creativity.)
The key to nailing industrial style? Intentionality. Painted pipes look deliberate; rusty ones look neglected. Choose pendants that complement the rawness without looking out of place.
Industrial Implementation
Group pendants at varying heights for visual interest. Run electrical conduit along pipes for an authentic industrial look. Black or copper pipes work best – galvanized can look unfinished unless that’s your goal.
Vaulted Ceiling with Skylights
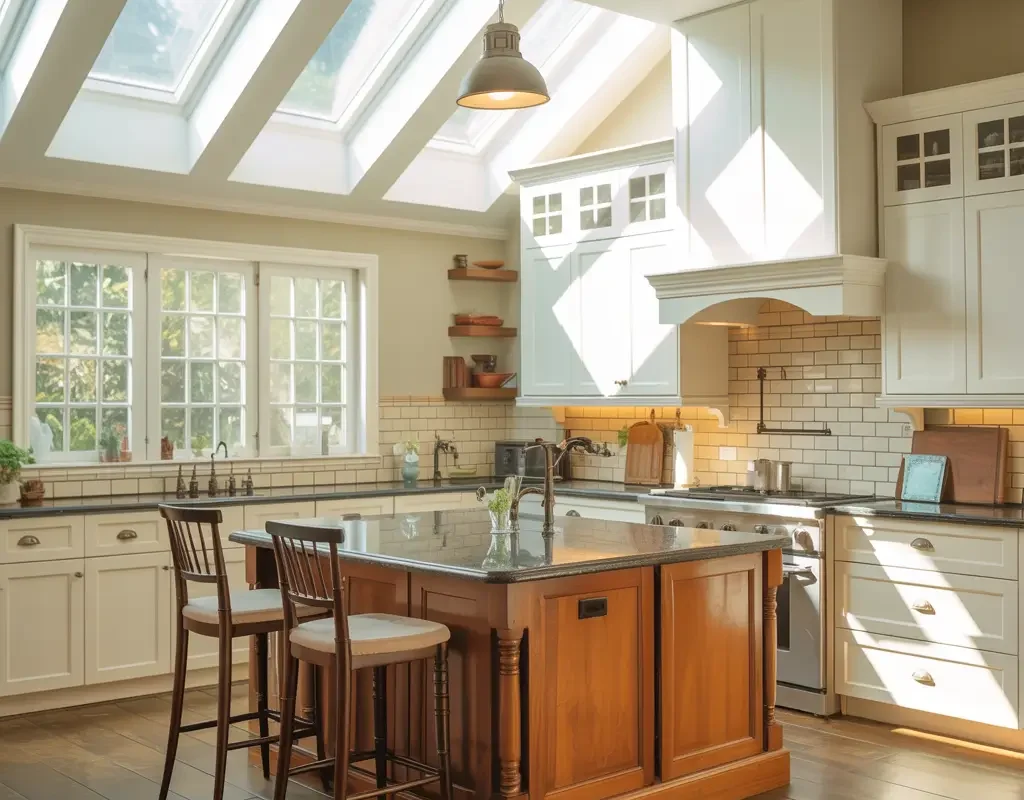
Maximum Drama and Light
Vaulted ceilings make kitchens feel palatial, and adding skylights takes them from impressive to incredible. The soaring height combined with natural light creates an airy atmosphere that makes cooking feel less like a chore and more like performance art.
When we removed our attic to create a vaulted kitchen ceiling, everyone thought we were crazy. Six skylights later, our kitchen became the neighborhood gathering spot. The space feels enormous, and the natural light eliminates dark corners completely.
Paint vaulted ceilings white to maximize light reflection, or add wood planks for warmth. Either way, those skylights ensure your kitchen stays bright from dawn to dusk.
Vaulted Victory Tips
FYI, vaulted ceilings cost more to heat and cool :/ Budget for better insulation and possibly ceiling fans to circulate air. Position skylights carefully – morning sun over the coffee maker, not directly over where you stand to cook.
Textured Plaster Ceiling
Artisan Appeal
Textured plaster brings old-world craftsmanship to modern kitchens. Skip the popcorn texture (please, for everyone’s sake) and opt for subtle swirls, skip trowel, or Venetian plaster techniques that add depth without looking dated.
I learned plaster texturing from a YouTube rabbit hole and decided to try it myself. Three practice boards later, I created a subtle swirl pattern that adds just enough interest without overwhelming. The texture catches light differently throughout the day, creating an ever-changing canvas overhead.
Modern plaster techniques can mimic everything from rough stone to smooth silk. The versatility means you can match any kitchen style while adding that handcrafted touch that makes spaces feel special.
Texture Technique Tips
• Practice first on drywall scraps
• Work in small sections for consistency
• Keep patterns subtle in small kitchens
• Seal textured surfaces in kitchens
• Consider hiring a pro for Venetian plaster
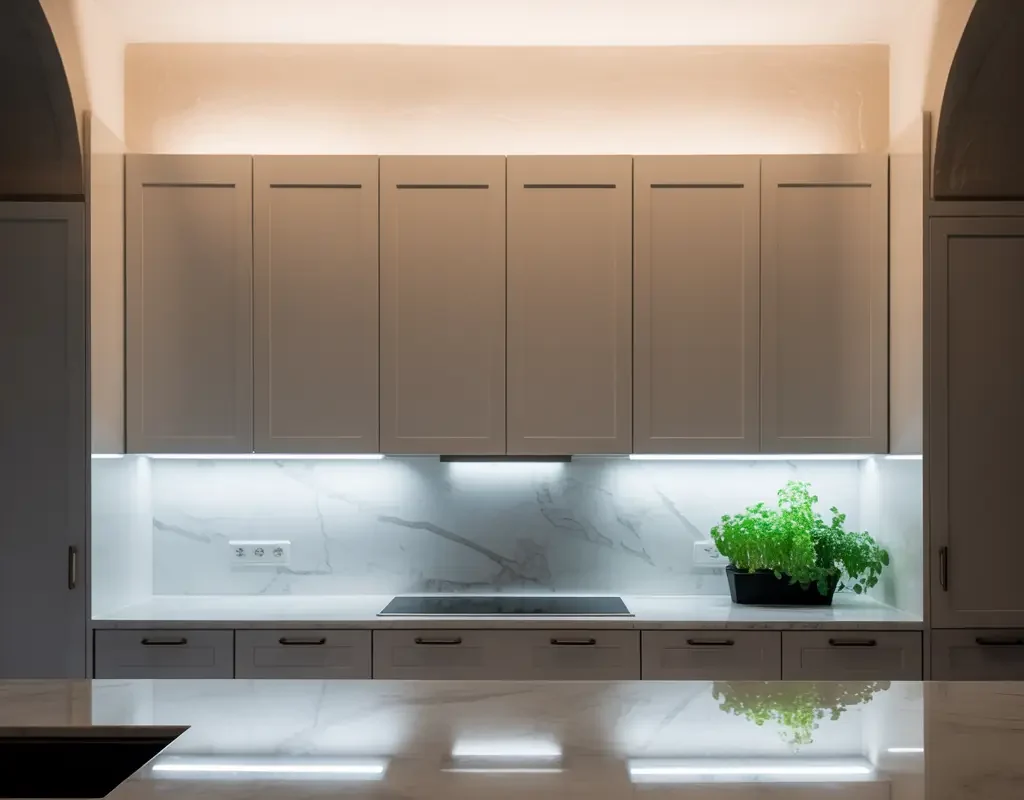
Minimalist White Ceiling with Recessed Spots
Less Is More Magic
Sometimes the best ceiling is one you don’t notice. A clean white ceiling with perfectly placed recessed spotlights creates a minimalist backdrop that lets your kitchen’s other elements shine.
This approach transformed my friend’s chaotic kitchen into a zen cooking space. The white ceiling reflects maximum light while the recessed spots provide targeted illumination exactly where needed. No visual clutter, just clean lines and perfect lighting.
IMO, this style works best in modern or contemporary kitchens where simplicity rules. The key lies in spot placement – too many and you’ve got an airport runway; too few and you’re cooking in shadows.
Spot Light Strategy
Map out your kitchen’s work zones before installing spots:
• Task lighting over counters and island
• Ambient spots around the perimeter
• Accent lighting for display areas
• Install dimmers for flexibility
• Choose warm white bulbs for residential feel
Bringing It All Together
Your kitchen ceiling doesn’t have to be an afterthought anymore. Whether you go bold with painted patterns or keep it clean with minimalist white, the right ceiling design transforms your entire kitchen from forgotten space to unforgettable showcase.
Start by considering your kitchen’s existing style and your practical needs. Need more light? Skylights or glossy stretch ceilings deliver. Want character? Beams or coffered ceilings add instant architecture. Working with a tight budget? Paint and creativity go surprisingly far.
Remember, you look at your kitchen ceiling every single day – might as well make it worth looking at. Pick one of these ideas that speaks to you, and watch your kitchen transform from regular room to the heart of your home. Now stop reading and start measuring that ceiling. Your kitchen’s crown jewel awaits!