Living in 300 square feet teaches you things. Like how quickly clutter multiplies when you blink, or that your bed, couch, dining table, and office can technically be the same piece of furniture. When I first moved into my studio apartment three years ago, I stood in the middle of that single room and genuinely wondered if I’d made a huge mistake.
Fast forward to now, and I actually love my tiny space. Studios force you to get creative, and honestly? That constraint breeds some seriously genius design solutions. Plus, there’s something oddly satisfying about having your entire life perfectly organized within arm’s reach.
Let me show you what actually works when you’re trying to make a shoebox apartment look like something from a design blog. These aren’t just pretty concepts that fall apart when real life happens – these ideas survive takeout dinners, work-from-home chaos, and that friend who always crashes on your couch.
Multi-Functional Furniture Layouts
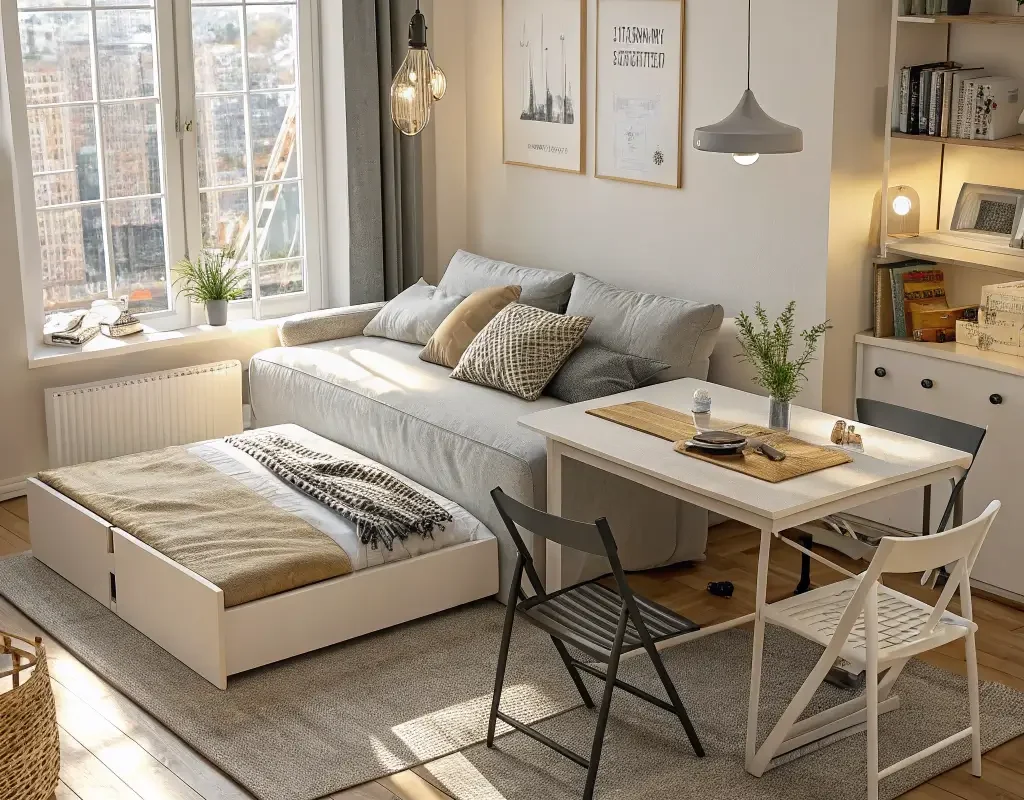
The biggest lie we tell ourselves about studio apartments? That we need separate furniture for everything. Your coffee table should store things, display things, and occasionally become your dining table. Every single piece needs to multitask or it doesn’t deserve floor space.
I learned this lesson after trying to squeeze a traditional living room setup into my studio. Couch, coffee table, TV stand, bookshelf – suddenly I couldn’t walk without bumping into something. Now? My ottoman stores blankets and doubles as a coffee table, my bookshelf acts as a room divider, and my dining chairs tuck under my desk when not in use.
The Layout Triangle
Here’s what works for studio furniture placement:
- Create a triangle between your main pieces (bed, seating, work area)
- Keep pathways clear (at least 24 inches wide)
- Float furniture away from walls when possible
- Use corners for storage, not seating
The magic happens when you stop thinking linearly. Why push everything against walls when you can create zones with strategic placement?
Multi-Function MVPs
These pieces earn their keep:
- Sofa beds that don’t suck (yes, they exist now)
- Storage benches along walls
- Expandable console tables
- Nesting furniture sets that stack when unused
Vertical Storage Solutions

Look up. See all that empty wall space judging you while your floor drowns in stuff? Vertical storage transforms wasted air into organized paradise. And before you say “but I’m renting,” remember that Command strips exist for a reason.
My studio has exactly one closet. One. But I installed floor-to-ceiling shelving on my longest wall, and suddenly I had room for books, plants, storage baskets, and all those random things that used to live on my floor. The best part? Going vertical actually makes your ceiling look higher.
Strategic Vertical Planning
Start with these zones:
- Above doorways (perfect for seasonal items)
- Kitchen walls for pots and utensils
- Bathroom walls for toiletries
- Behind doors for hanging organizers
The Height Rules
Keep function in mind:
- Daily items at eye level
- Weekly items within easy reach
- Seasonal stuff up high
- Display pieces scattered throughout
Going vertical isn’t just about storage – it’s about drawing the eye upward and making your studio feel less like a box.
Foldable and Space-Saving Tables
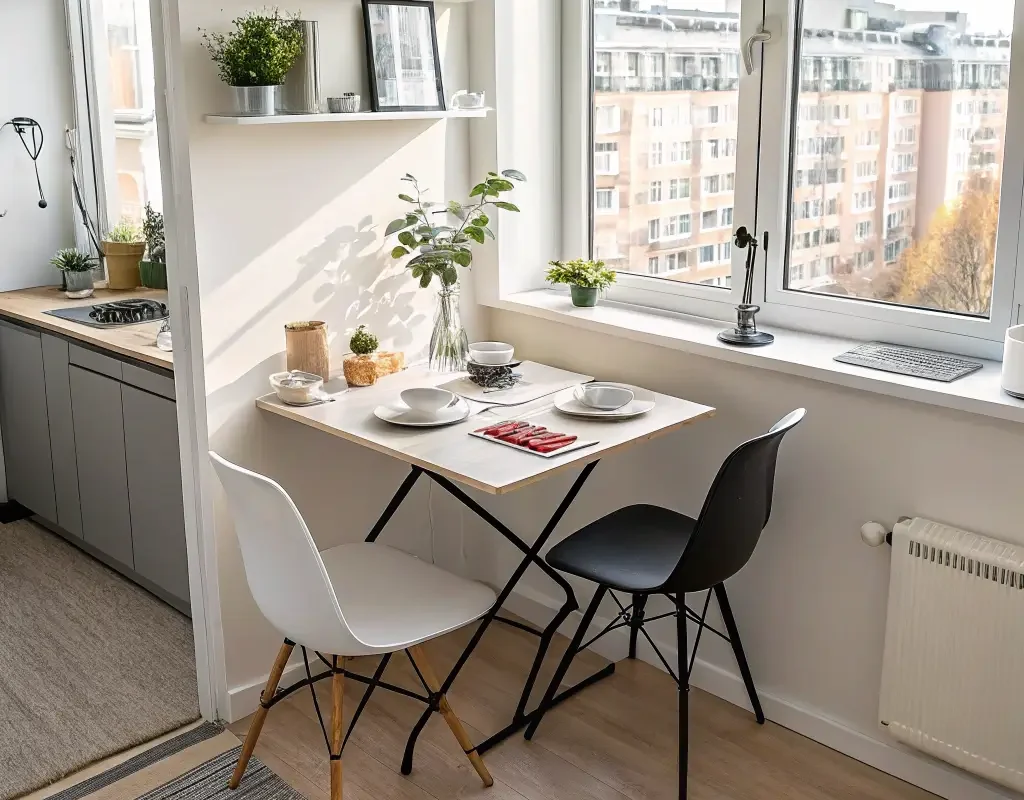
Real talk: how often do you actually use a full dining table? Maybe twice a month when friends come over? Foldable tables give you dining space on demand without the permanent footprint.
My wall-mounted drop-leaf table changed everything. It folds completely flat during the day, then extends to seat four when needed. I eat breakfast at the kitchen counter, work at my desk, and only unfold the table for actual dinner parties. Why sacrifice floor space for something you rarely use?
Table Options That Actually Work
Consider these styles:
- Wall-mounted drop-leaf tables (my personal favorite)
- Gateleg tables with folding sides
- Console-to-dining transformers
- Coffee tables that lift and extend
Making It Seamless
The trick with foldable tables? Location and accessibility:
- Mount near the kitchen for easy serving
- Keep chairs that stack or fold nearby
- Clear the area so setup takes seconds
- Choose designs that look good folded
Nobody wants to move five things just to eat dinner. Keep it simple.
Also Read: 15 Easy Small Apartment Decorating Ideas for Renters
Lofted Bed with Underneath Workspace
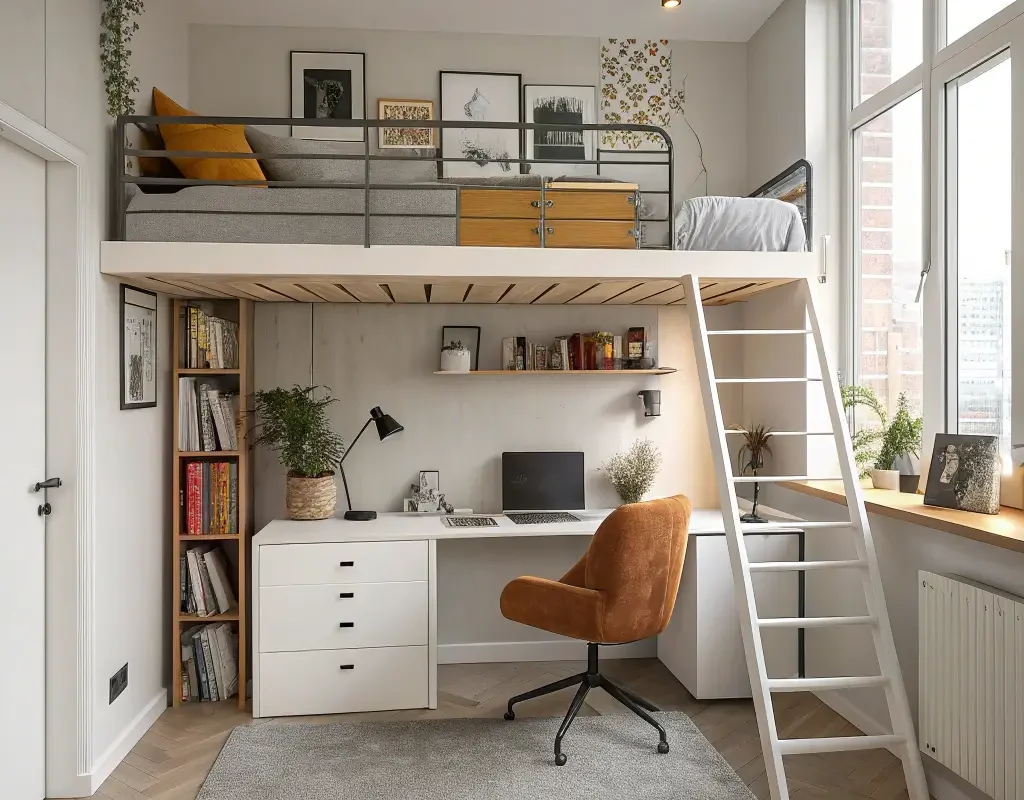
Want to literally double your square footage? Loft your bed. Creating a workspace underneath your sleeping area gives you a bedroom and office without needing two rooms.
I helped my neighbor build her loft bed setup, and watching her studio transform blew my mind. She fits a full desk, filing cabinet, and reading chair underneath her queen bed. The ceiling’s only 8 feet high, but with careful planning, she created two distinct living levels.
Loft Bed Considerations
Before you commit:
- Measure ceiling height (minimum 8 feet, ideally 9+)
- Check weight limits with your landlord
- Invest in quality construction
- Plan lighting for both levels
Alternative Loft Solutions
Not ready for full lofting? Try these:
- Mid-height lofts with storage below
- Murphy beds with integrated desks
- Platform beds with pull-out workspaces
- Bunk-style arrangements with desk below
The key? Making sure both spaces feel intentional, not like an afterthought.
Minimalist Color Schemes
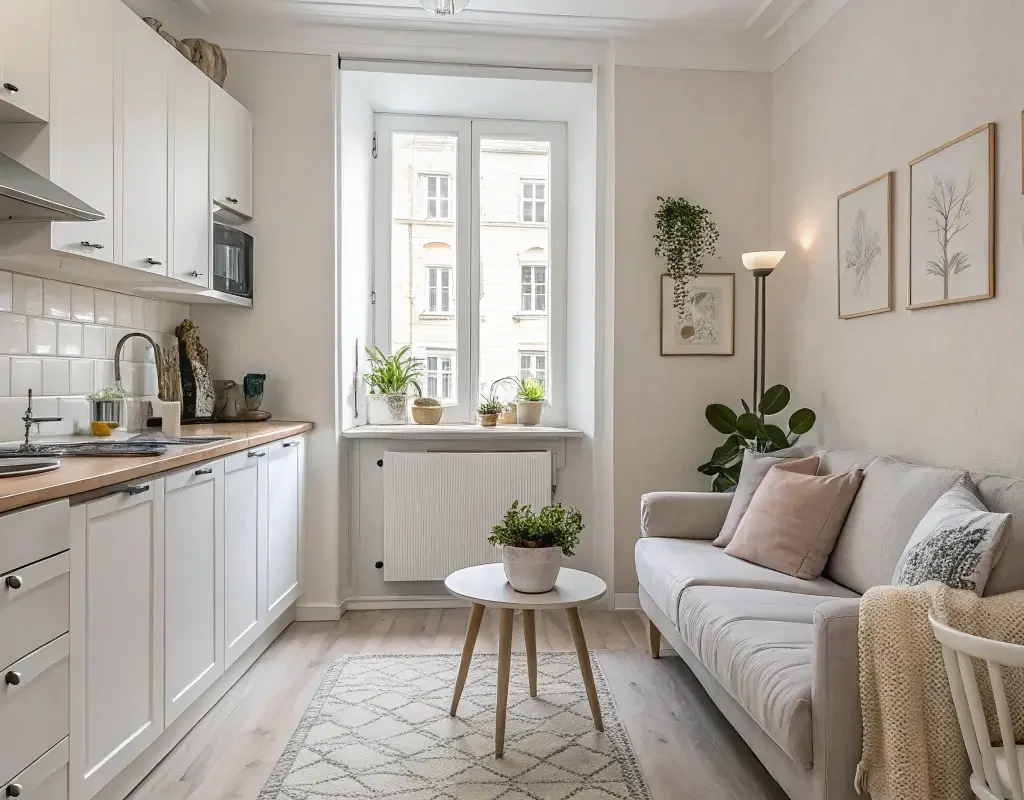
Studios can handle bold colors, but here’s the thing – too many colors in a small space creates visual chaos. Minimalist color schemes create cohesion and make your studio feel intentional rather than cramped.
I tried the maximalist thing. Had a red accent wall, blue pillows, green plants everywhere. My studio looked like a bag of Skittles exploded. Now I stick to whites, grays, and one accent color (currently sage green), and suddenly everything feels calm and twice as spacious.
Building Your Palette
Start with this formula:
- 60% dominant color (usually white or light gray)
- 30% secondary color (medium tone)
- 10% accent color (your fun pop)
This ratio keeps things interesting without overwhelming your space.
Where Color Works Best
Strategic color placement matters:
- Textiles (easiest to change)
- One accent wall or large art piece
- Small decor items throughout
- Plants for natural color variation
Remember, you can always add color. Starting neutral and building up beats trying to tone down a rainbow explosion.
Mirrors for Spacious Illusion

Mirrors in studios aren’t just for checking your outfit – they’re legitimate space-doubling weapons. Position them right, and your 300 square feet suddenly feels like 600.
My studio has three mirrors: a full-length one opposite the window (doubles my natural light), a decorative one above my desk (makes the workspace feel bigger), and mirrored closet doors (because why not?). Do I occasionally startle myself with my reflection? Sure. But my place looks huge, so worth it.
Mirror Placement Strategy
Maximize impact with placement:
- Opposite windows for light multiplication
- Behind light sources for glow effect
- At the end of your longest sightline
- Above low furniture to add height
Beyond Basic Mirrors
Get creative with styles:
- Mirrored furniture (subtle but effective)
- Gallery walls mixing mirrors and art
- Antiqued mirrors for character
- Geometric mirrors as statement pieces
The goal? Make mirrors feel intentional, not like you raided HomeGoods during a sale.
Also Read: 15 Minimalist Apartment Decorating Ideas That Feel Warm
Floating Shelves for Decor and Storage
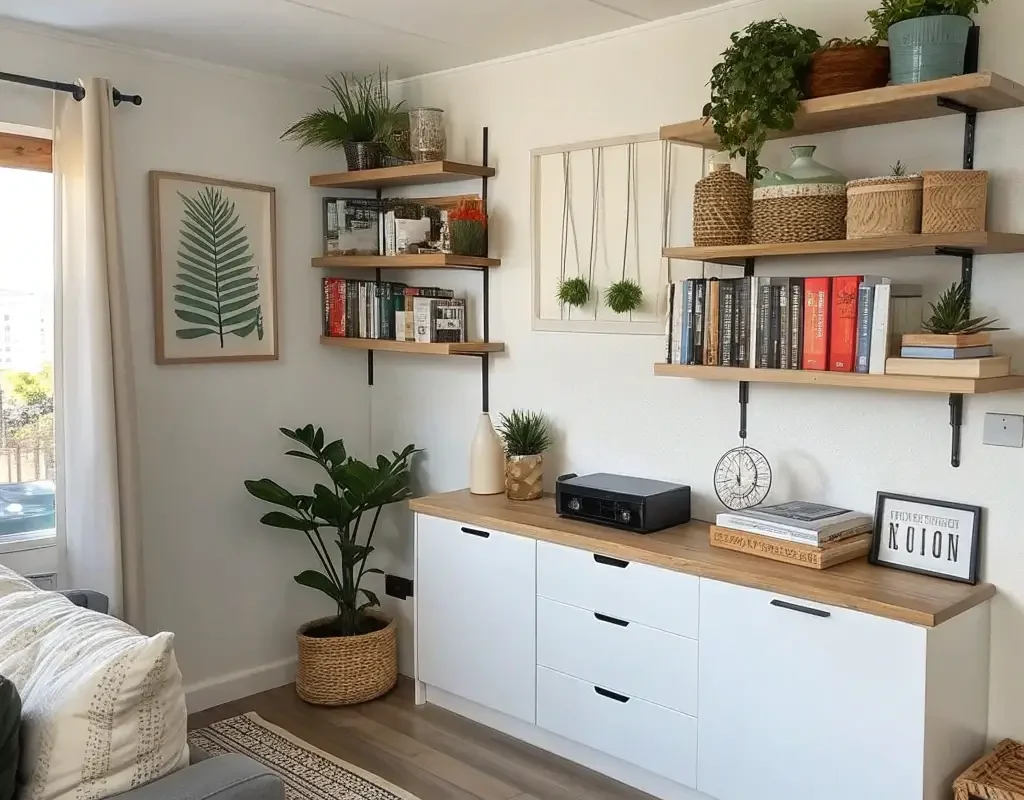
Floating shelves hit that sweet spot between functional and decorative. They store your stuff while making your walls look purposeful instead of empty.
I installed floating shelves in my kitchen using rental-friendly brackets, and they transformed dead wall space into stylish storage. Spices, oils, and my mug collection all live up there now, freeing up precious cabinet space for actual food. Plus, they make me look like I have my life together when really I just ran out of cabinet space.
Shelf Styling Secrets
Make them magazine-worthy:
- Mix heights (tall vases, medium boxes, small plants)
- Leave breathing room between items
- Incorporate bookends or decorative objects
- Layer items front to back for depth
Installation Without Drama
Renter-friendly options exist:
- Heavy-duty Command strips for light shelves
- Ladder shelves that lean against walls
- Tension-mounted systems
- Rail systems with minimal holes
FYI, always check weight limits. That beautiful ceramic vase collection might be too ambitious for adhesive strips.
Room Divider Curtains
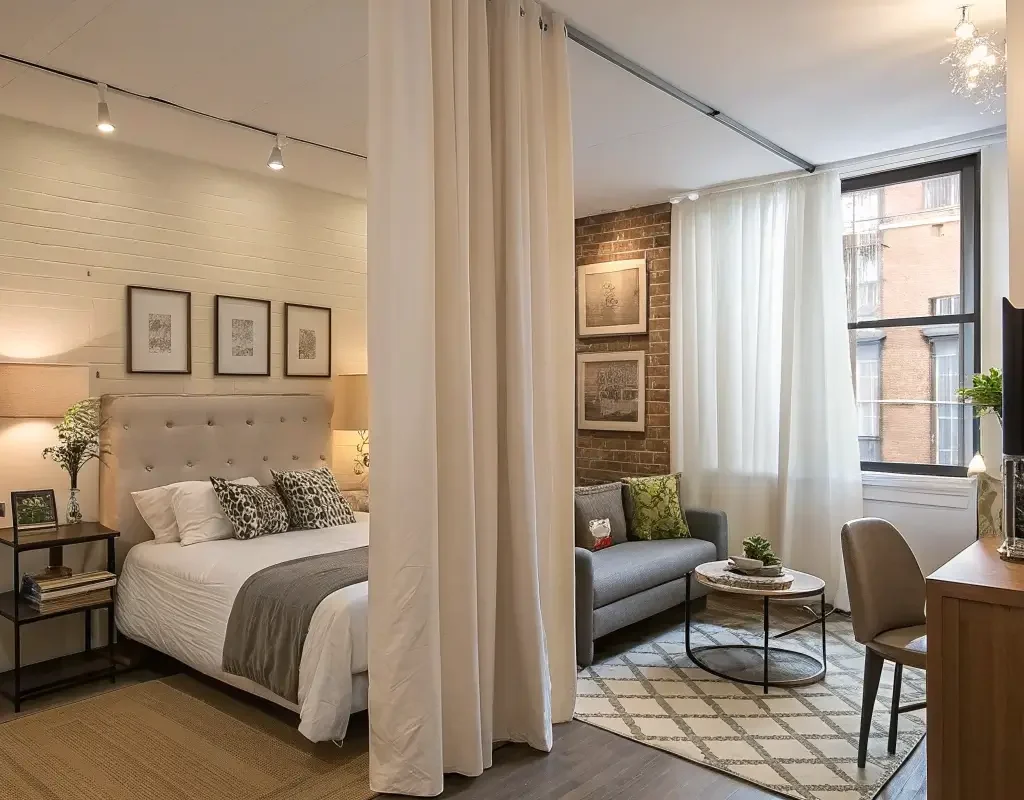
Open floor plans sound great until you realize guests can see directly into your bedroom from the front door. Curtains create flexible boundaries without permanent walls or bulky furniture.
I hung ceiling-mounted curtains to separate my sleeping area, and honestly? Game changer. Pull them closed for instant bedroom privacy, open them up for party mode. Cost me $60 total and took an afternoon to install. My friends think I’m a design genius, but really I just wanted to hide my unmade bed 🙂
Curtain System Options
Choose based on your needs:
- Ceiling-mounted tracks (smoothest operation)
- Tension wire systems (no ceiling damage)
- Room divider stands with curtains
- Cable systems for industrial vibes
Choosing the Right Curtains
Consider these factors:
- Weight (heavier = better sound dampening)
- Opacity (sheer for light, blackout for privacy)
- Length (floor-to-ceiling looks best)
- Pattern (solids usually work better in small spaces)
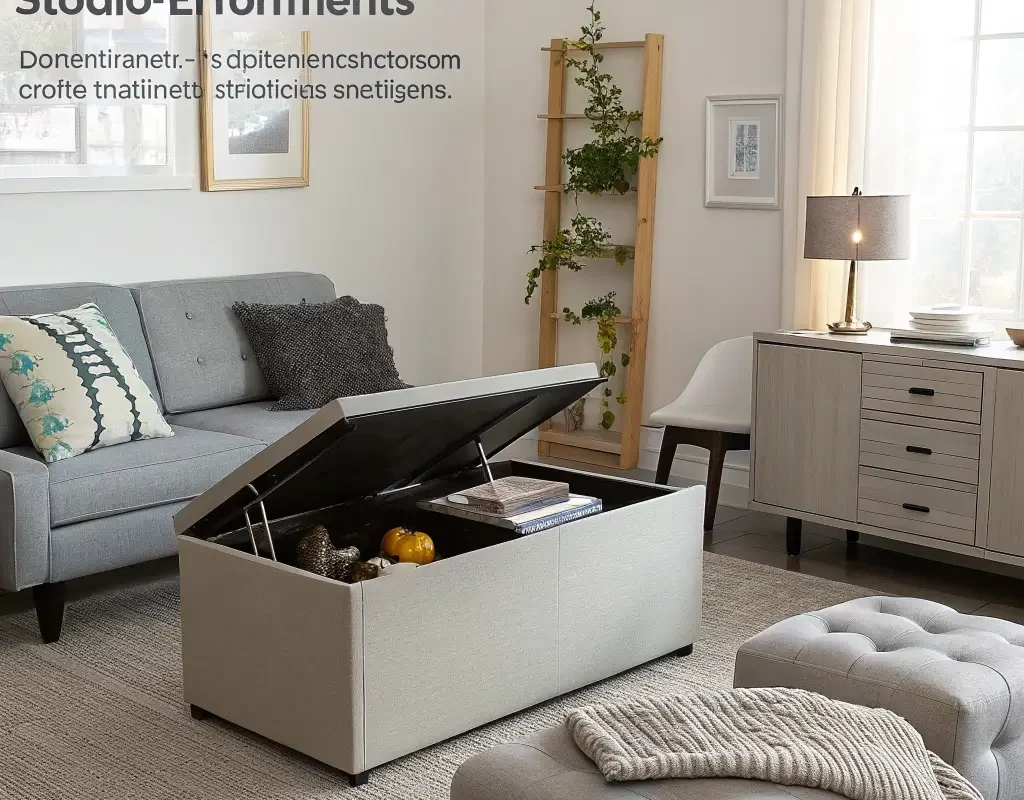
Ottomans that open up for storage? Revolutionary for studio living. They’re seats, footrests, coffee tables, and secret hiding spots for everything you don’t want visible.
My storage ottoman holds my entire winter wardrobe during summer. Seriously. Sweaters, boots, scarves – all hiding under where my friends prop their feet during movie nights. They compliment my minimalist vibe while having no idea they’re basically sitting on my closet.
Ottoman Placement Strategy
Make them work harder:
- At foot of bed (extra blanket storage)
- As coffee table (board games inside)
- Window seat (seasonal items)
- Entryway bench (shoes and bags)
Choosing the Right Ottoman
Look for these features:
- Sturdy construction (people will sit on it)
- Easy-open mechanism
- Breathable interior (prevents mustiness)
- Style that matches your decor
The best storage ottoman doesn’t look like storage at all.
Also Read: 10 Amazing Living Room Ceiling Design Modern Ideas and Tips
Compact Kitchen Organization Hacks

Studio kitchens barely deserve the name “kitchen” – they’re more like cooking corners. Smart organization turns your tiny cooking space into a functional zone that actually works for real meal prep.
My kitchen has two cabinets. Two. But with magnetic knife strips, wall-mounted spice racks, and under-shelf baskets, I cook full meals daily. The secret? Everything has a designated spot, and nothing lives on the counter that doesn’t get used daily.
Vertical Kitchen Solutions
Maximize every inch:
- Magnetic strips for knives and tools
- Pegboard for pots and pans
- Ceiling-mounted pot racks
- Wall-mounted dish drying racks
Inside Cabinet Magic
Double your storage:
- Shelf risers for stacking
- Under-shelf baskets
- Door-mounted organizers
- Lazy Susans for corners
Counter Space Savers
Keep counters clear:
- Over-sink cutting boards
- Stovetop covers for extra prep space
- Appliance garages (hidden storage nooks)
- Wall-mounted paper towel holders
Small kitchens force you to be ruthless about what you keep. That bread maker you used once? It’s gotta go.
Wall-Mounted Desks
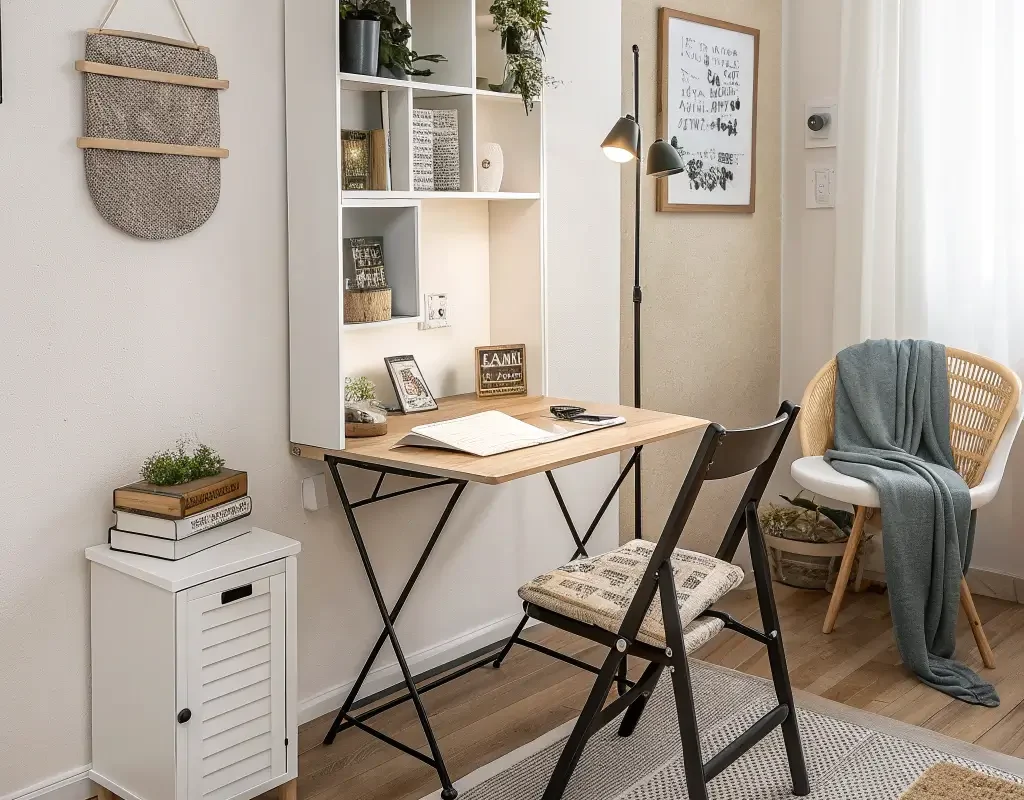
Working from a studio means your office can’t sprawl across the room. Wall-mounted desks provide workspace without the footprint of traditional desks.
I installed a floating desk that’s basically a shelf with brackets. It holds my laptop, a lamp, and a coffee mug – everything I need, nothing I don’t. When work ends, I close my laptop and my “office” disappears. No constant reminder of work looming in my living space.
Desk Placement Options
Find your perfect spot:
- Under windows for natural light
- Corner installations for maximum surface
- Behind the sofa as a console table
- In alcoves or nooks
Making It Ergonomic
Don’t sacrifice comfort:
- Mount at proper height (elbows at 90 degrees)
- Add a keyboard tray if needed
- Ensure good lighting
- Pair with a comfortable chair that tucks under
Wall-mounted desks work best when they blend into your decor when not in use.
Statement Rugs to Define Zones
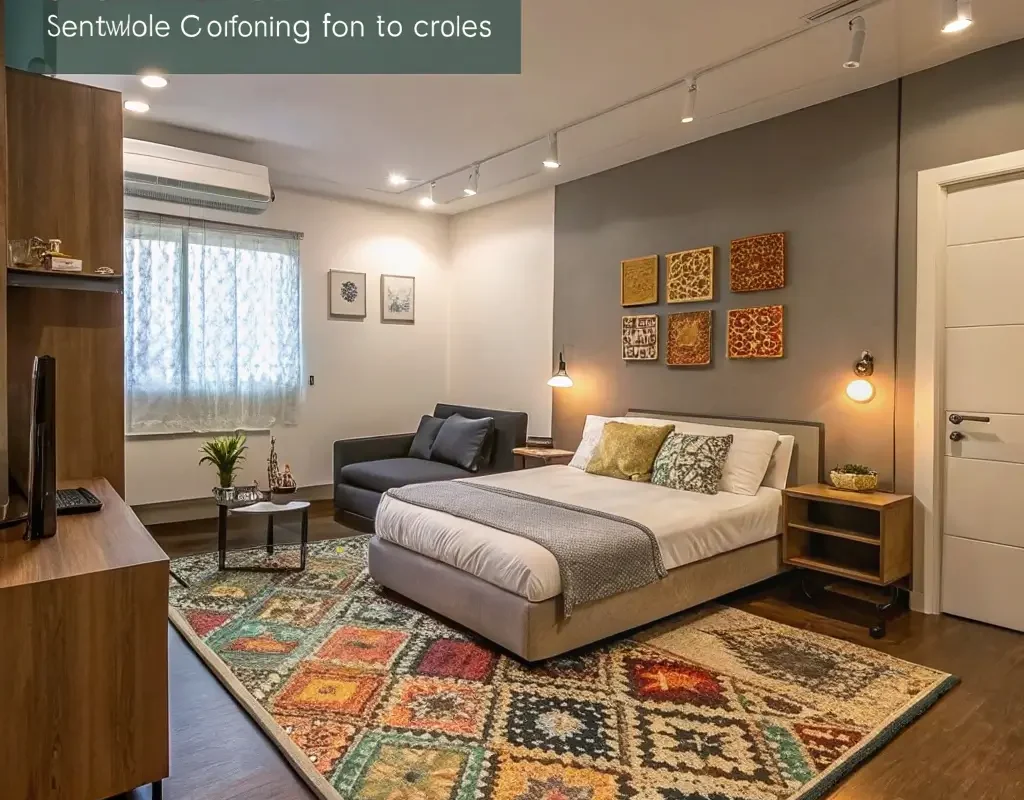
Rugs do what walls can’t in a studio – they create visual boundaries that define separate living areas. One room becomes many with strategic rug placement.
I use two rugs to split my studio: a large one anchoring my living area and a runner defining my “bedroom” space. The visual separation tricks your brain into seeing distinct rooms. Plus, rugs add warmth and personality that studio apartments desperately need.
Rug Size Guidelines
Get the proportions right:
- Living area rugs should fit under front furniture legs
- Bedroom rugs need 2-3 feet on each side of bed
- Runners for narrow pathways
- Small accent rugs for entryways
Creating Cohesion
Multiple rugs need connection:
- Stick to similar color families
- Vary patterns but keep consistent style
- Different textures add interest
- Maintain consistent quality level
The wrong rug size makes everything look off. When in doubt, go bigger – small rugs make small spaces look even smaller.
Bringing It All Together
Here’s what three years of studio living taught me: constraints force creativity. Every single item in your studio needs to earn its place through function, beauty, or both. No random purchases, no “maybe I’ll use this someday” items.
Start with one or two ideas from this list. See how they transform your space. Then add more as you figure out your studio’s personality. My space evolved constantly the first year as I learned what worked and what didn’t.
The truth about studio living? Once you nail the setup, you might never want a bigger place. Everything you need within reach, minimal cleaning, lower rent – studios done right are actually pretty brilliant.
Your tiny space can be just as stylish and functional as any sprawling apartment. Sometimes more so, because every choice matters.
So measure that wall, order those Command strips, and start transforming your studio. Make it work for your life, not Instagram. Although if it ends up Instagram-worthy too? That’s just a bonus. Your friends will wonder how you made 300 square feet look so good, and you can just smile and say it’s all about being strategic. They don’t need to know you’re literally sitting on your winter wardrobe :/